
Hi everyone. I have two posts up today about the Hawthorn pattern – this one is all about the options and details included in the pattern. My other post is over on the Willow & Co blog where I’m sharing some amazing sweatshirts that my testers made. Testing is such an important part of the process before a pattern is released and I’m so grateful for all the help and suggestions they gave. Listening to their feedback helps me to make the final pattern the best it can be so make sure to head over once you’ve read this post.
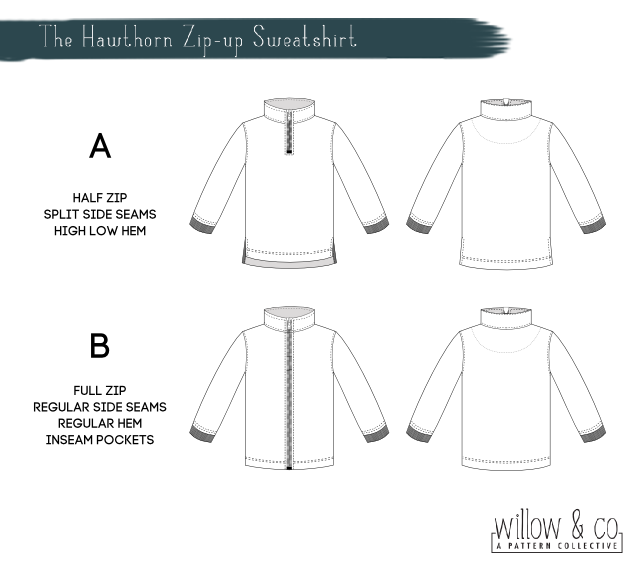
My initial idea for this pattern was a classic half zip sweatshirt. They are such a staple in my house. It made sense to add a full zip option too. I also wanted to include some special details that work for either zip option, like the split side seam and facings. While I had boys in mind with this design you will see from the tester photos that it works just as well for girls.
You can see all of the options in the sketches below.
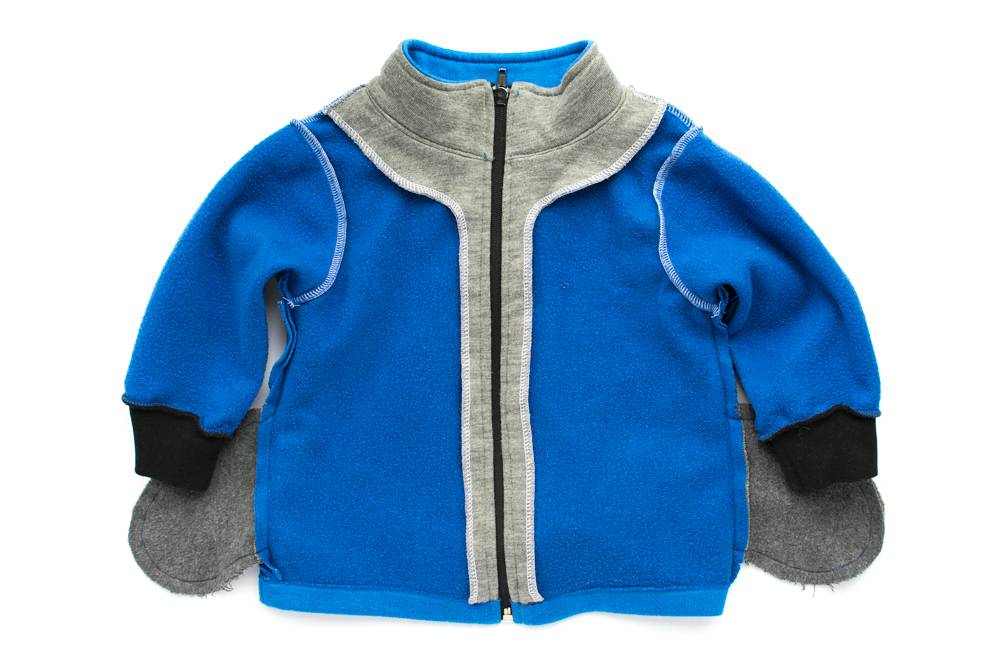
One thing the sketches do not show is the view from the inside. If you use the front and back facings then the inside of your sweatshirt will look just as neat as the outside. You can see the inside views of both the half zip and full zip options below.
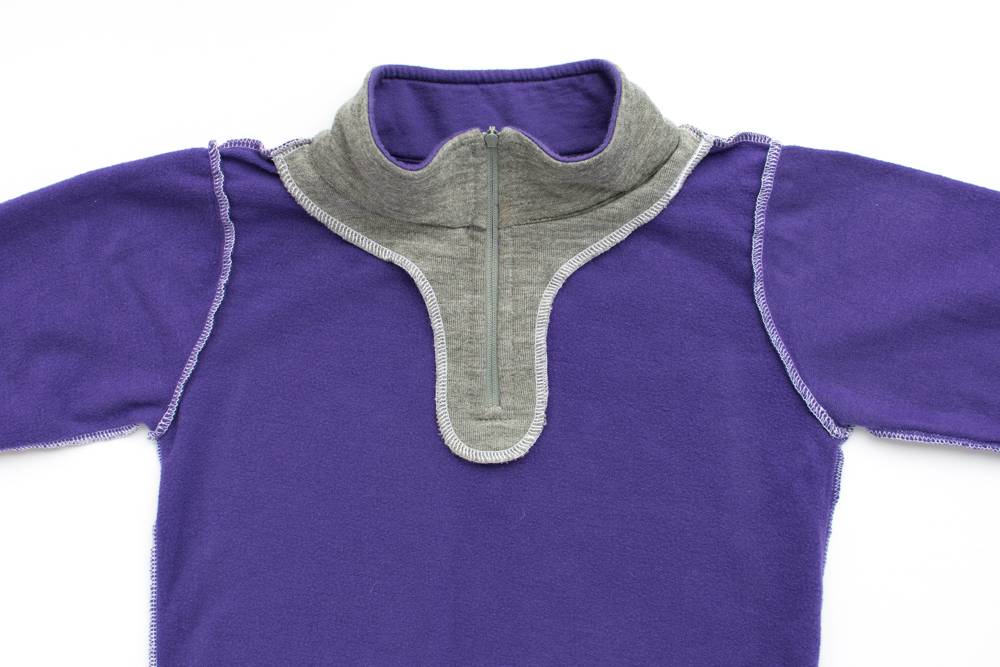
The photos below shows the subtle detail the back facing adds from the outside of the sweatshirt.
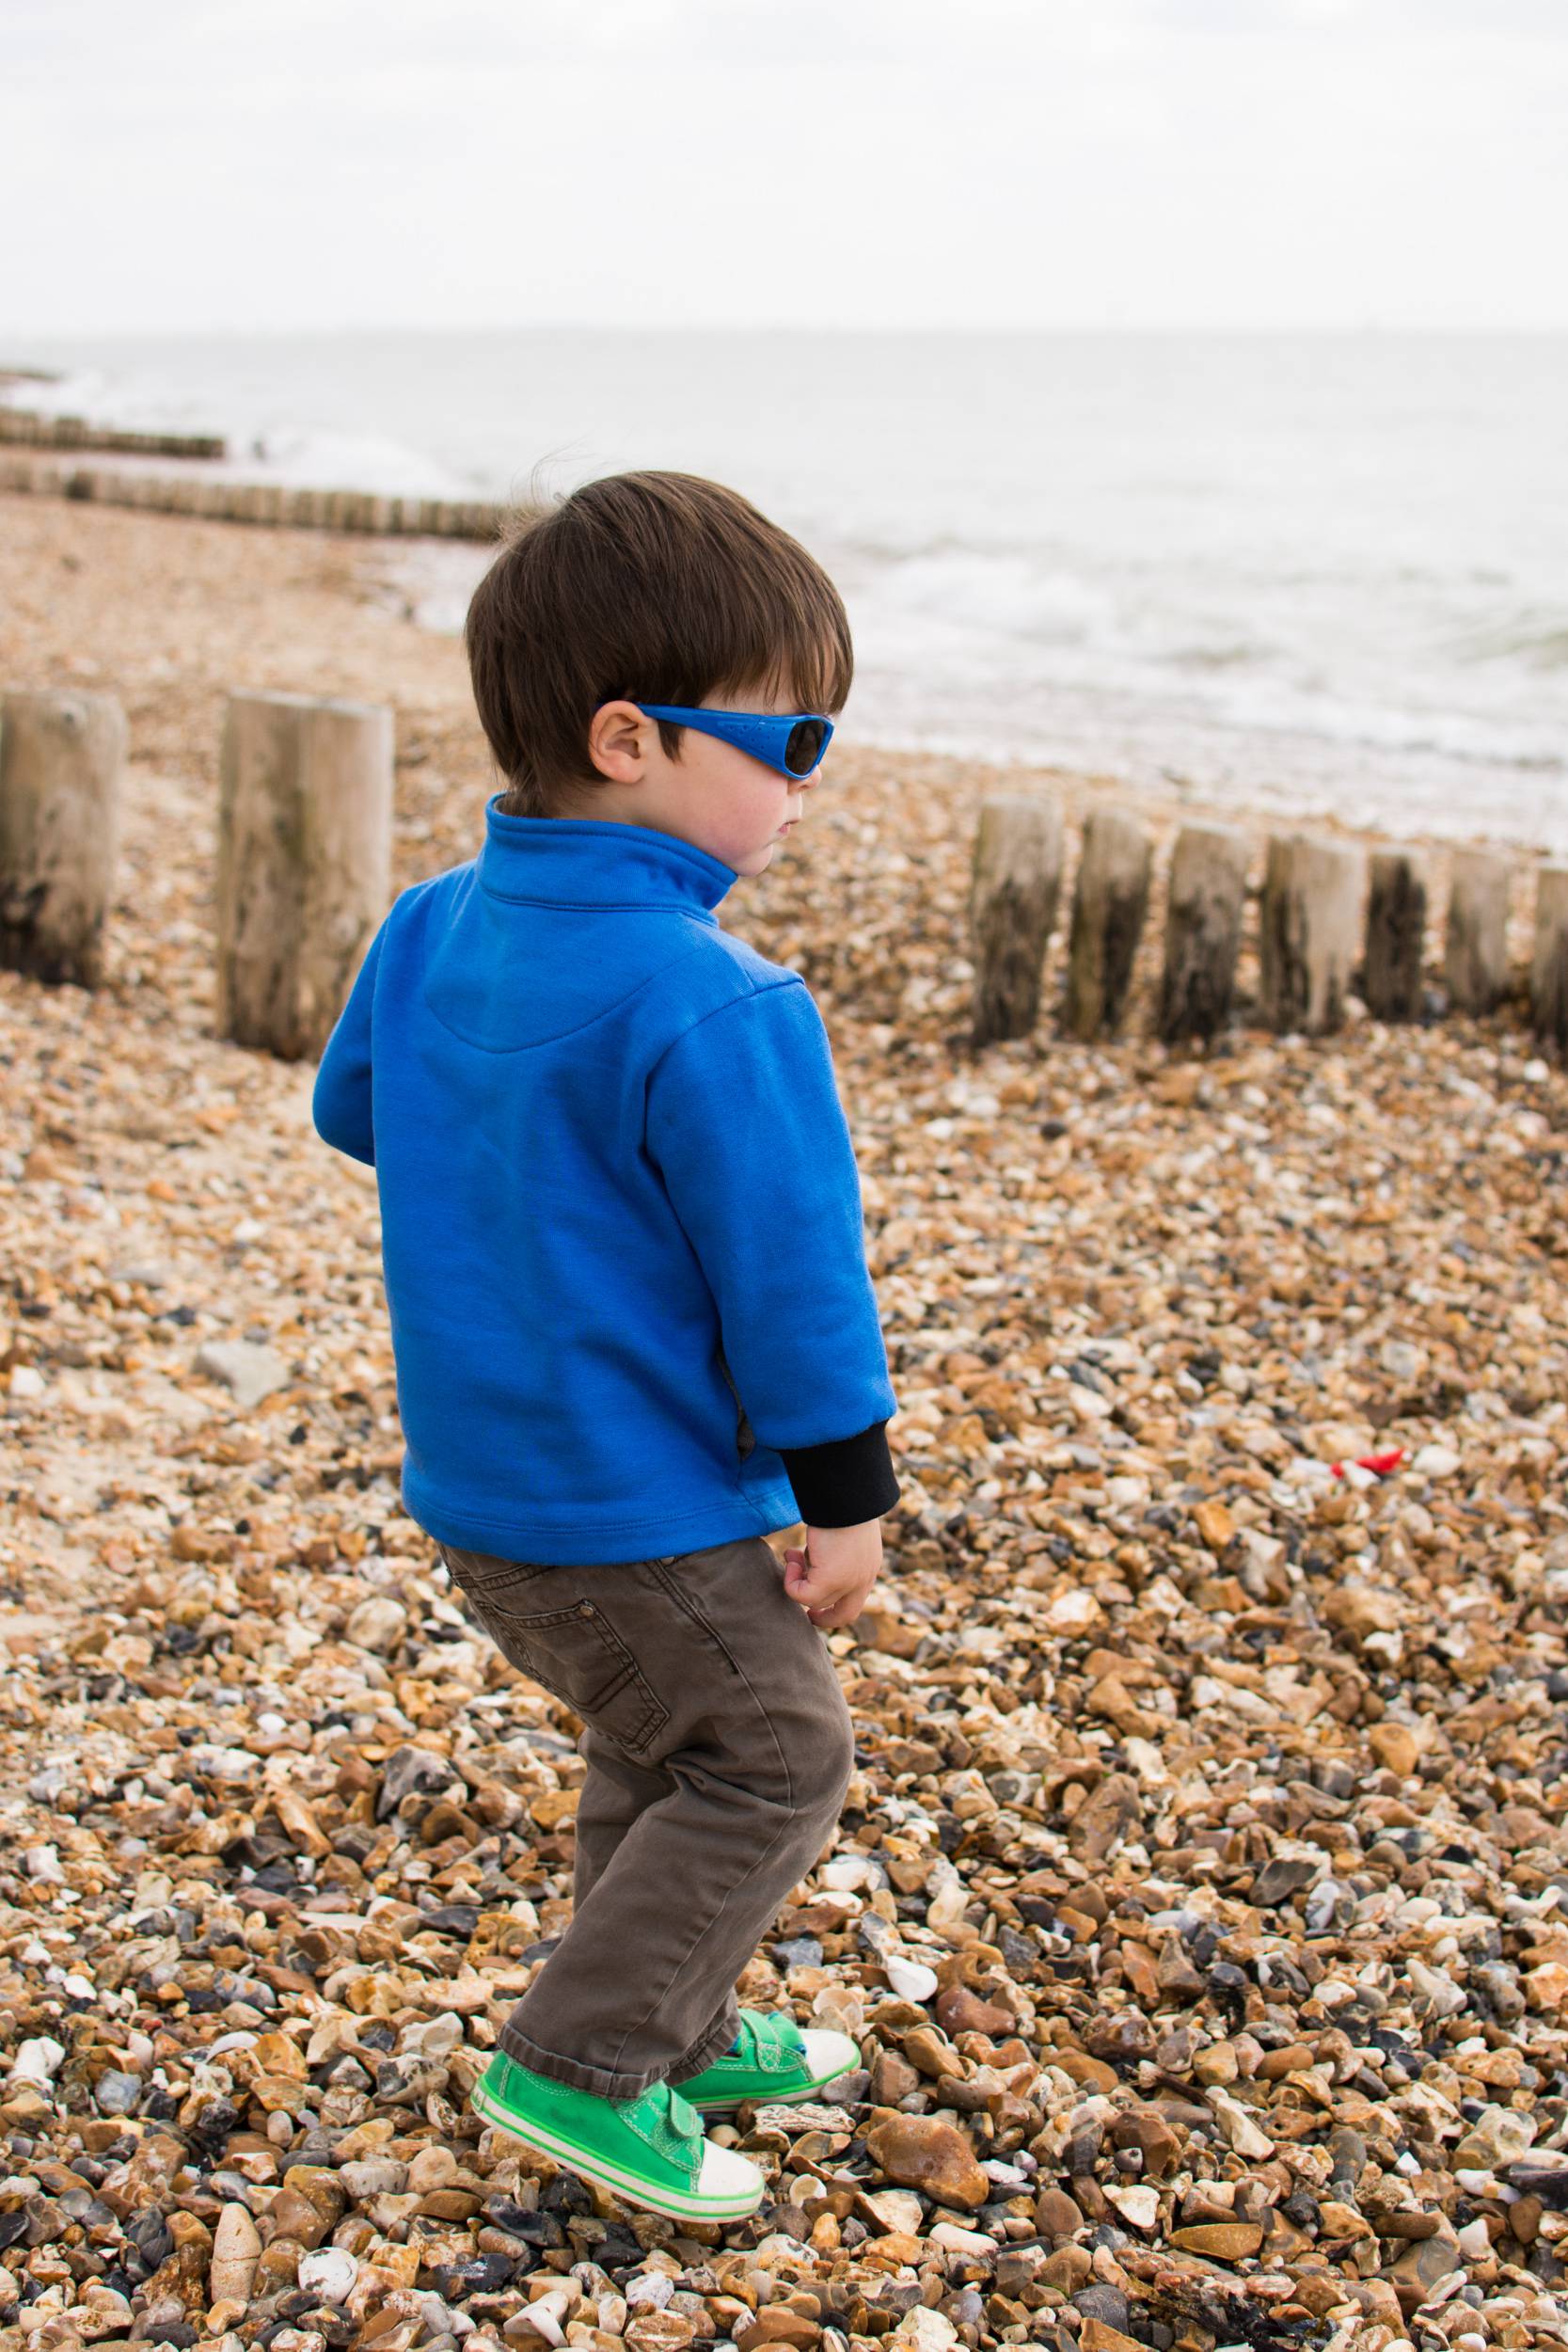
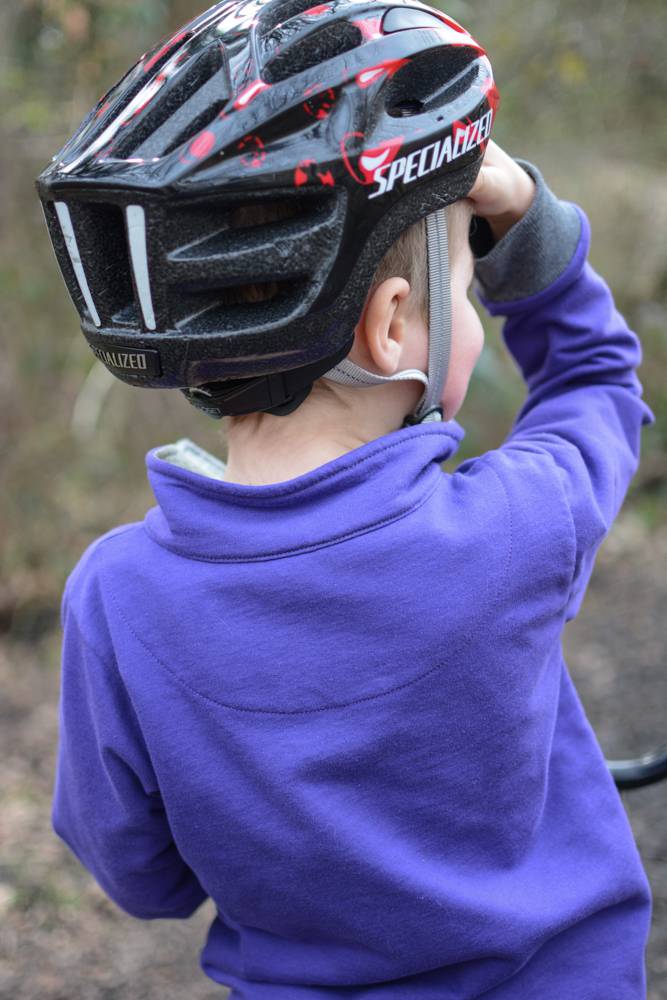
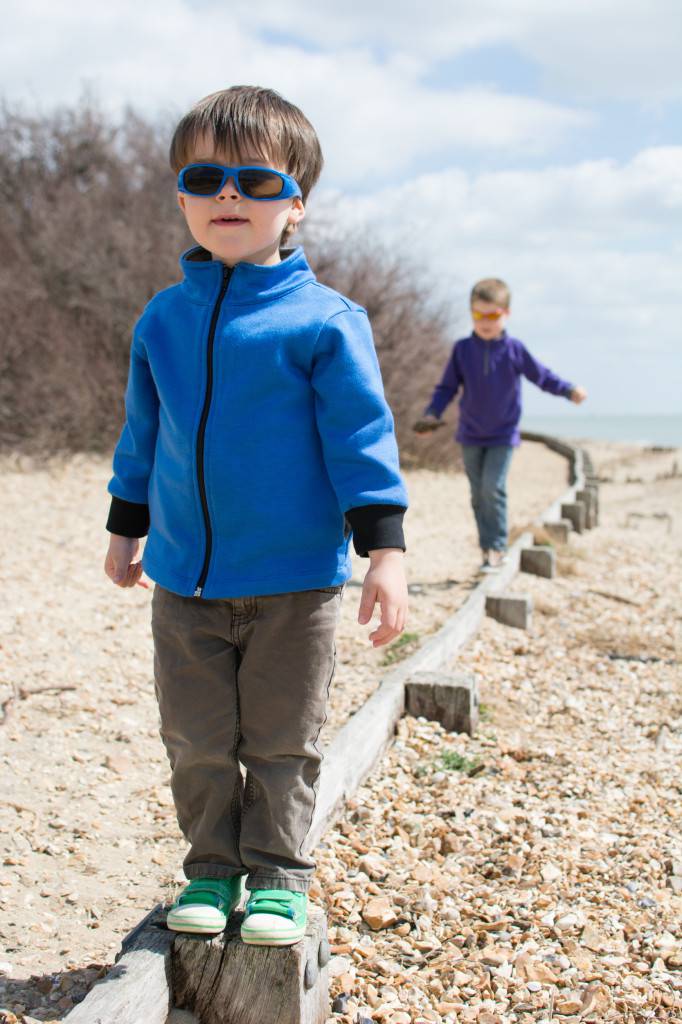
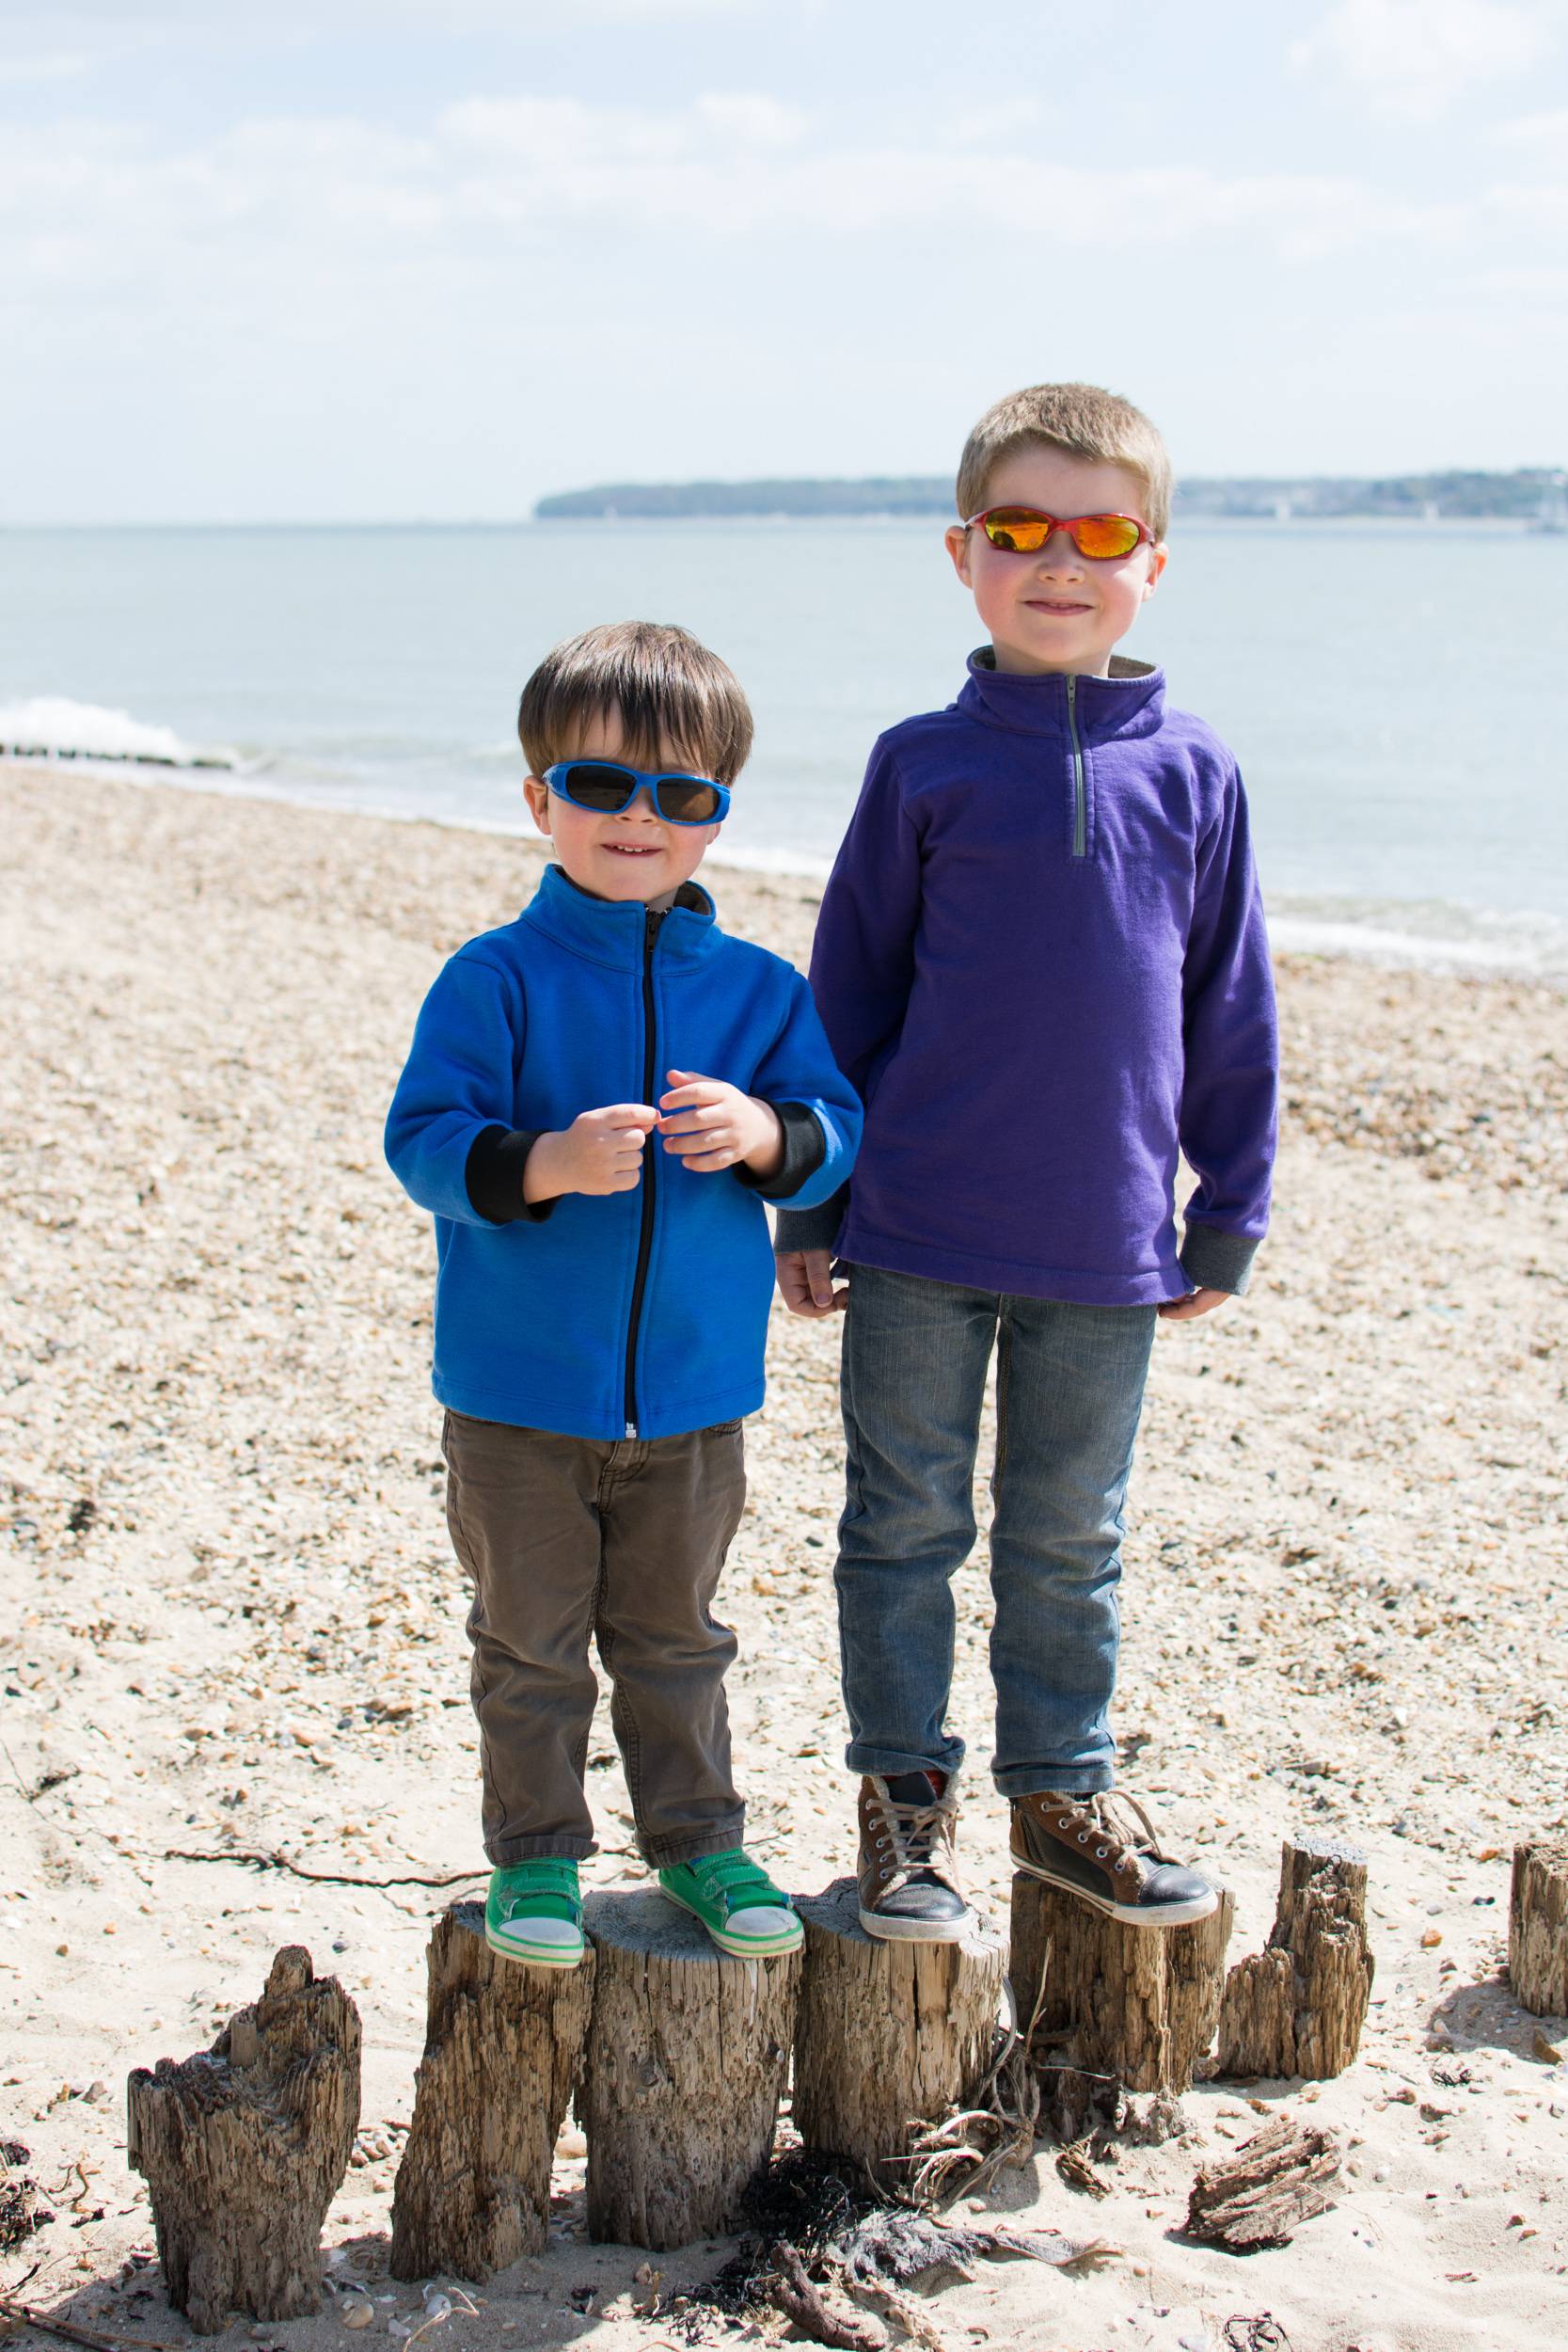
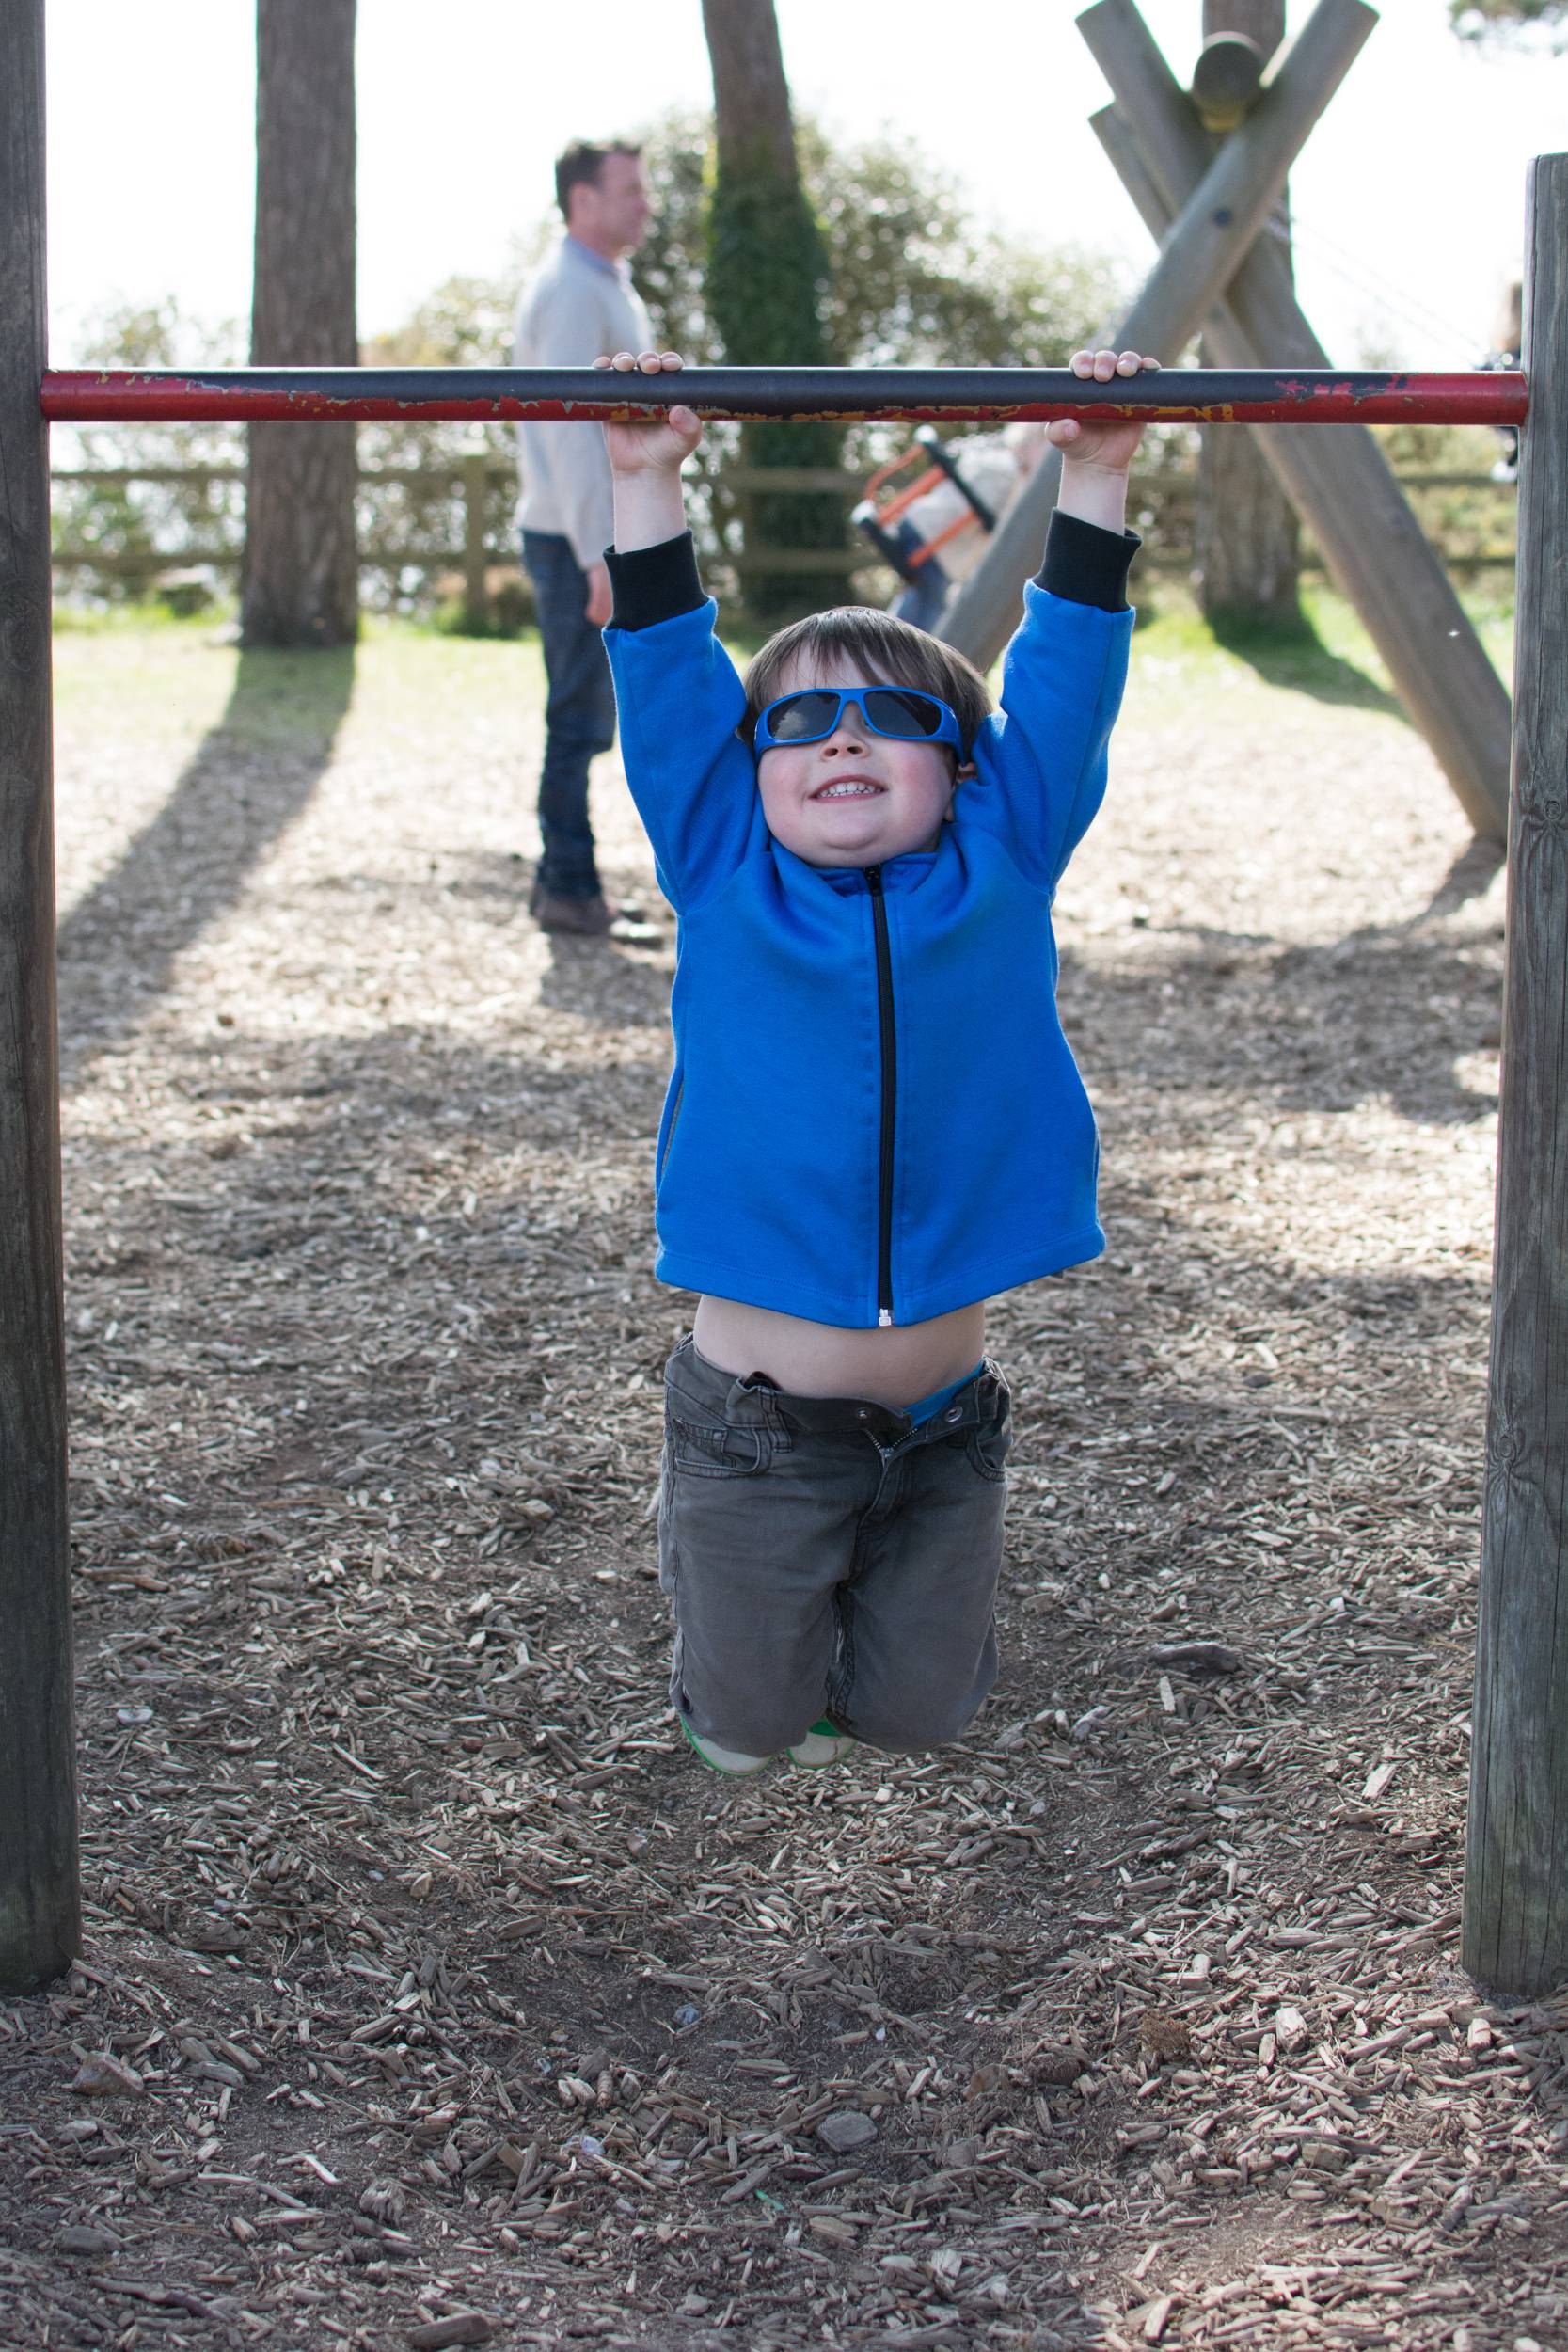
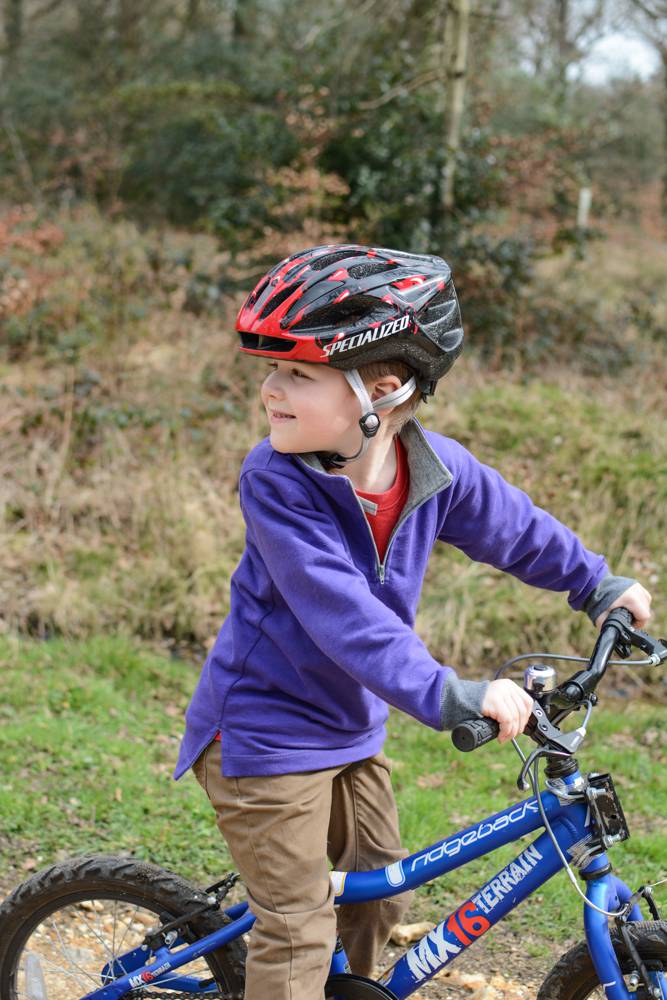
In all the photos in this post Rowan is wearing a full zip sweatshirt in royal blue. It has inseam pockets and regular side seams. Casper has the half zip option in purple, which has split side seams. Both were made with sweatshirt fabric.

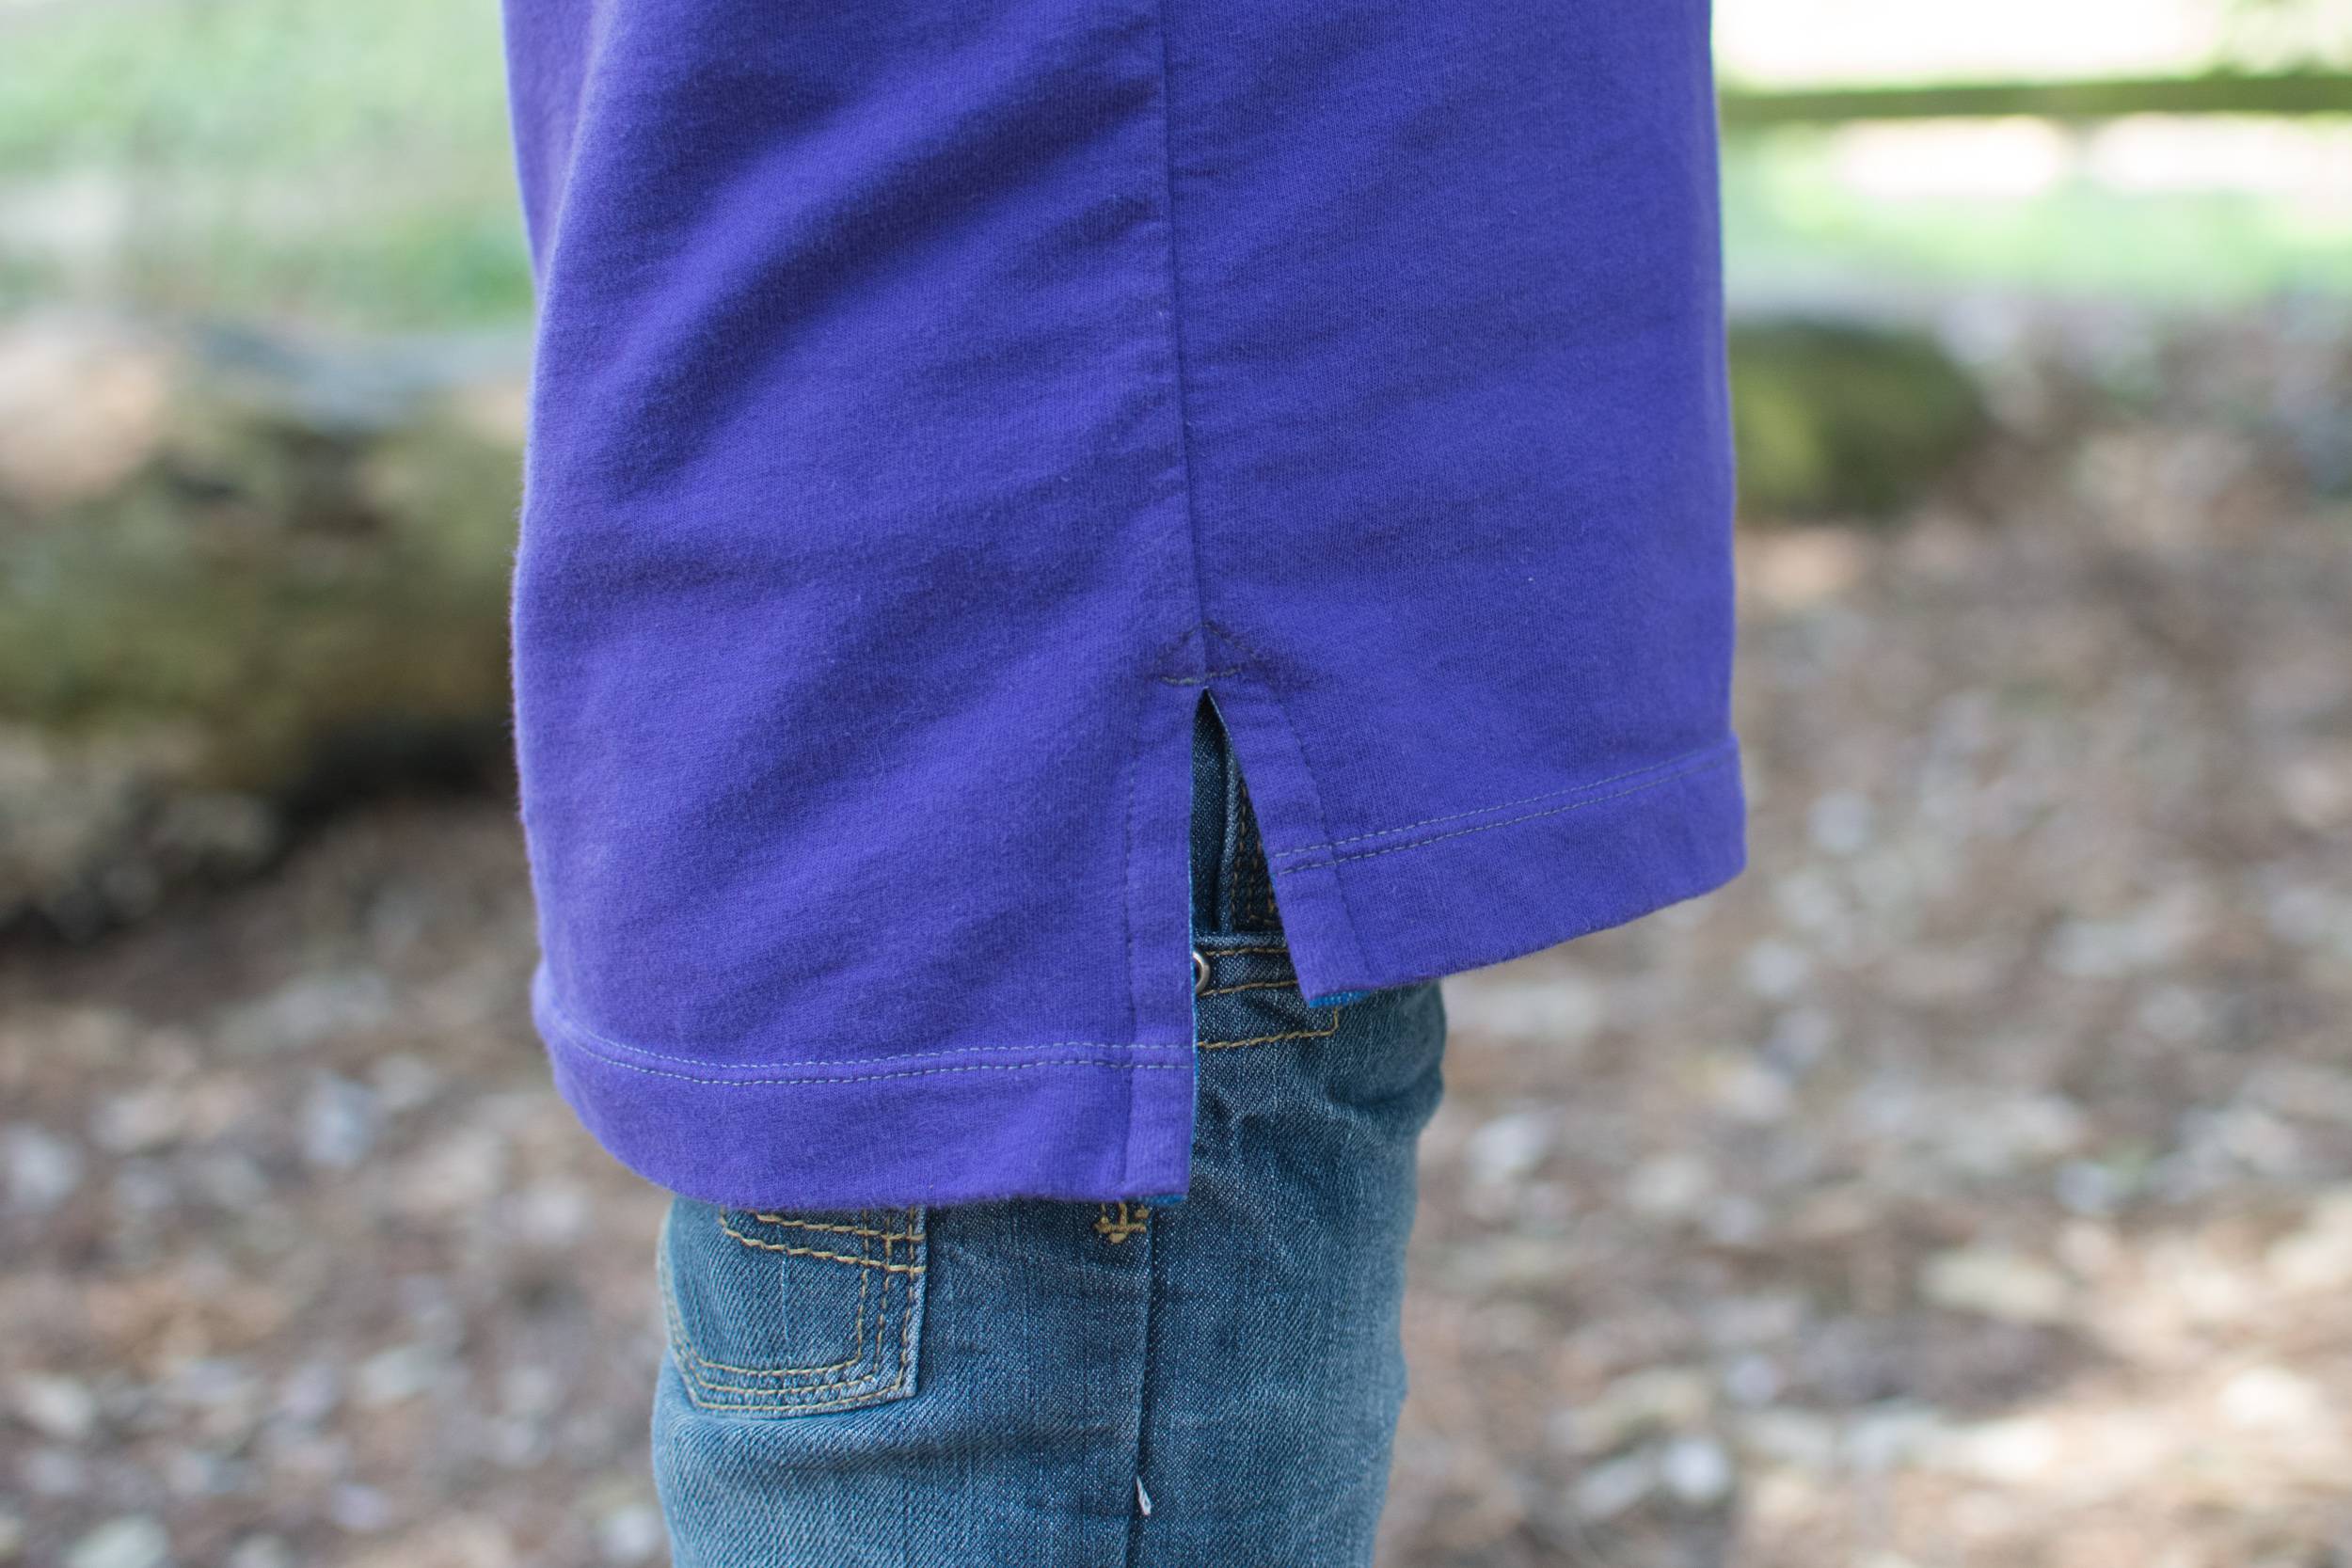
You can see a close up of the split side seam below. The inside is finished with twill tape and I love how neat it ends up looking.
The boys love wearing their sweatshirts and as we move into spring they are the perfect weight for an extra layer on the sunny but cool days we’ve been having.

I will be back later this week to discuss some great sources I’ve found for fabrics suited to this pattern.
Don’t forget to visit the Willow & Co blog to get inspired by all the Hawthorns my testers made.


Looks great Laura! Well done:)
You two boys are just adorable 🙂 The Hawthorne looks like the perfect make for the encroaching winter here in oz – I’ll be making a few of these up ASAP!!
Timmy wears his Hawthorn all the time! I love this pattern!
Gorgeous boys! I love the look of this pattern – such a great winter staple 🙂
Your boys are adorable, and this looks like a great pattern… as always!