
Sewing
Announcing the teen Rowan Tee pdf pattern
I am thrilled to share that the Rowan Tee is now available in teen sizes. Find the pattern here…
October 5, 2021
I am thrilled to share that the Rowan Tee is now available in teen sizes. Find the pattern here…
October 5, 2021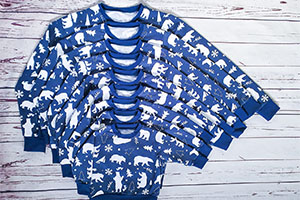
The testing process is hugely important when we are developing a new pattern. I am so grateful to all…
August 29, 2020
I’m so excited to share that my latest sewing pattern, the Quadrant Sweatshirt and Hoodie, is now available in…
August 24, 2020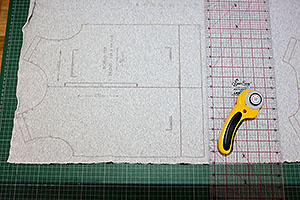
I have already discussed the main features of a projector for pdf sewing patterns in my previous introduction post,…
May 22, 2020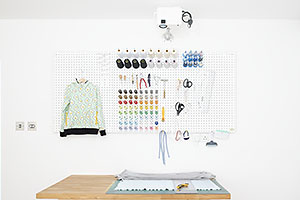
Have you heard about the newest development in sewing patterns? What would you say if I told you that…
May 4, 2020
In my last post I shared the final instalment in the Rowan Tee Hacks series. I’m back to roundup…
April 18, 2019
I am delighted to share the final tutorial in the Rowan Tee Hacks series, the henley placket. This is…
April 4, 2019
I’m back with the fourth hack for the Rowan Tee. This one has been pushed back a bit due…
September 26, 2018
Due to the incredible heat wave we are having in the UK at the moment, I have switched the…
July 20, 2018
