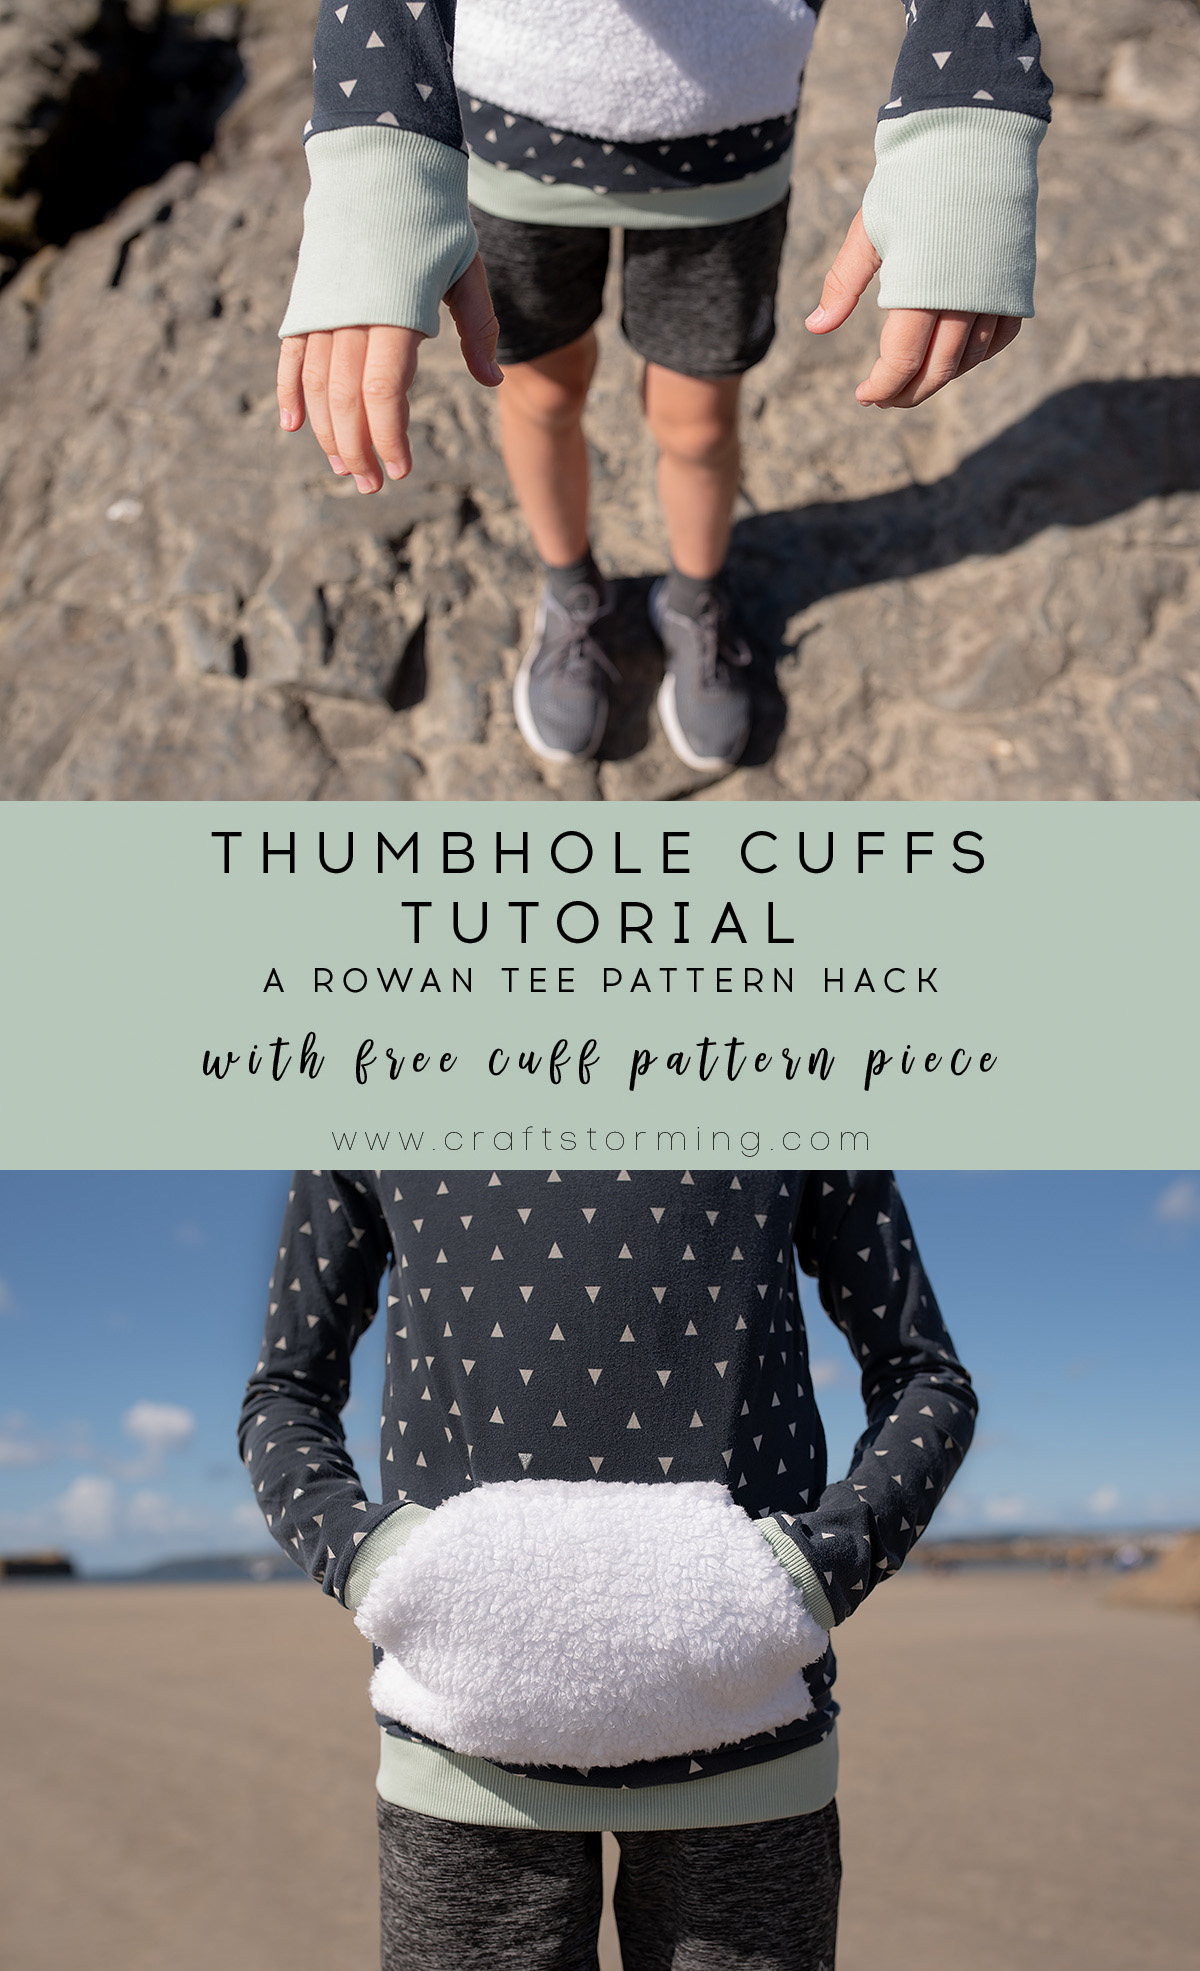
I’m back with the fourth hack for the Rowan Tee. This one has been pushed back a bit due to the long heat wave we had in England, but now we’re heading into autumn so cosy tops with thumbhole cuffs are coming in useful again. This hack is also compatible with all of the other hacks in this series, as long as you choose long sleeves for your t-shirt.
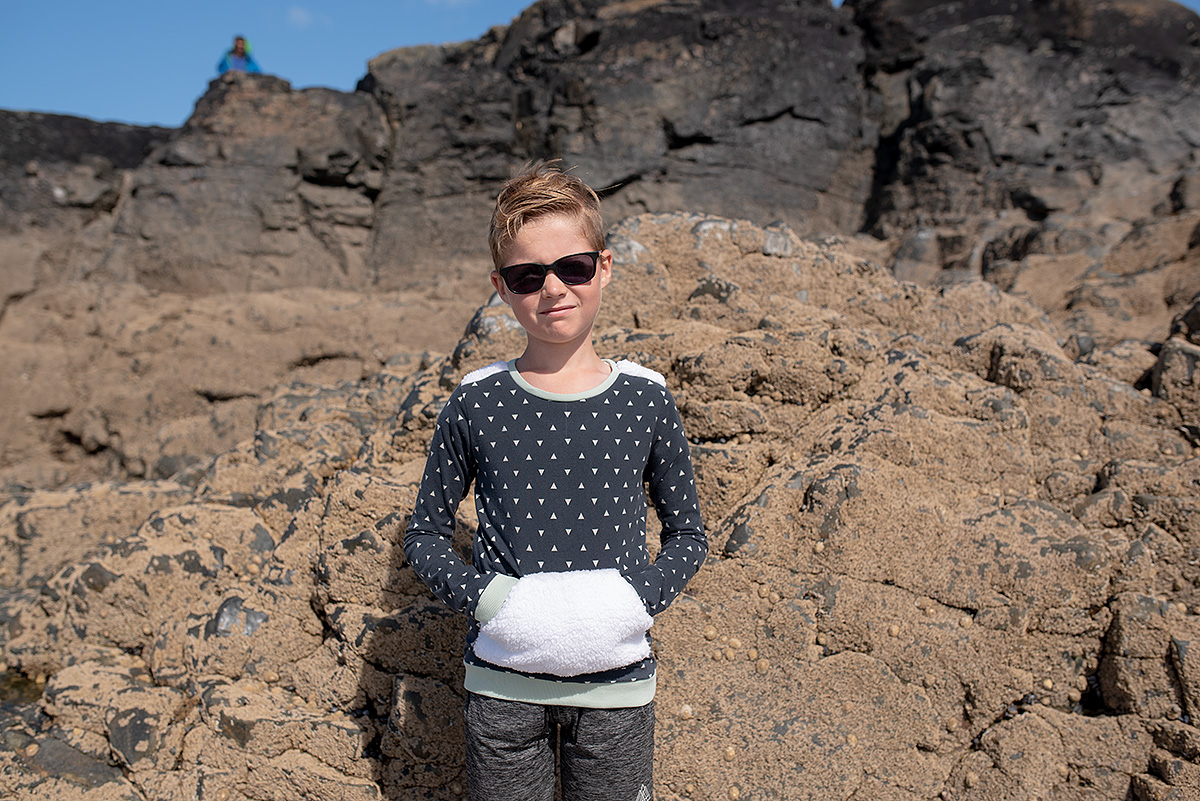
The main fabric for this T-shirt is ‘Triangle Tokens Ink Metallic’ in knit, from the Observer collection by April Rhodes. This fabric was provided by Art Gallery. My son prefers subtler prints these days, and occasional metallic triangle add a lovely detail. I used a mint ribbing for the cuffs and neckband, and experimented with using sherpa for the contrast shoulder and kangaroo pocket.
You will need:
- Rowan Tee pattern
- Regular Rowan Tee supplies
- Free thumbhole cuff pattern piece
[MailingListSubscribe file=’27871427e009eef6dfd9739733aee25a’]
CUTTING FABRIC
Cut your pattern pieces as usual. This hack is compatible with any of the options in the original Rowan Tee pattern. You will need to make sure you choose long sleeves with thumbhole cuffs. Do not use the regular cuff piece.
Use the free thumbhole cuff pattern piece to cut two cuffs. I recommend a good quality ribbing with that has good stretch recovery. You can also use a medium to heavy weight cotton lycra jersey, that has similar properties.
Note that the fold on the thumbhole cuff goes horizontally across the pattern piece, to make it easier to transfer the markings. This is different to the regular cuff piece, where it is cut on the vertical fold.
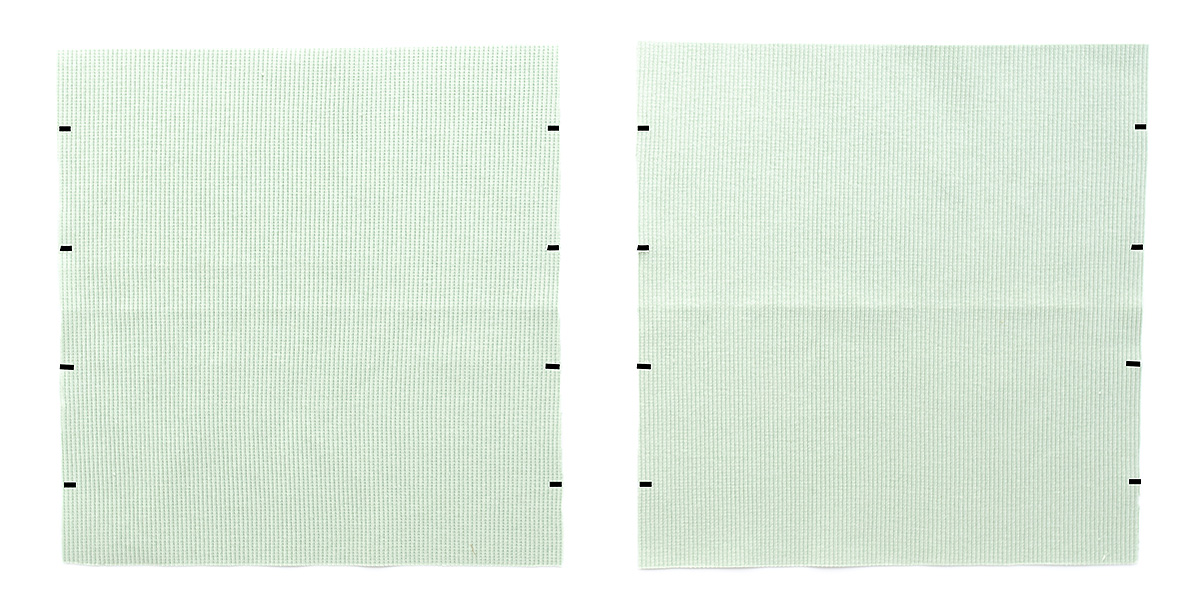
Transfer the pattern markings, either clipping in within the seam allowance or using a fabric marker. Check that the fold of the pattern piece is on the cuff fold (not the two edges) when you do this.
SEWING INSTRUCTIONS
Before I begin, I find it helpful to visualise what I am doing.
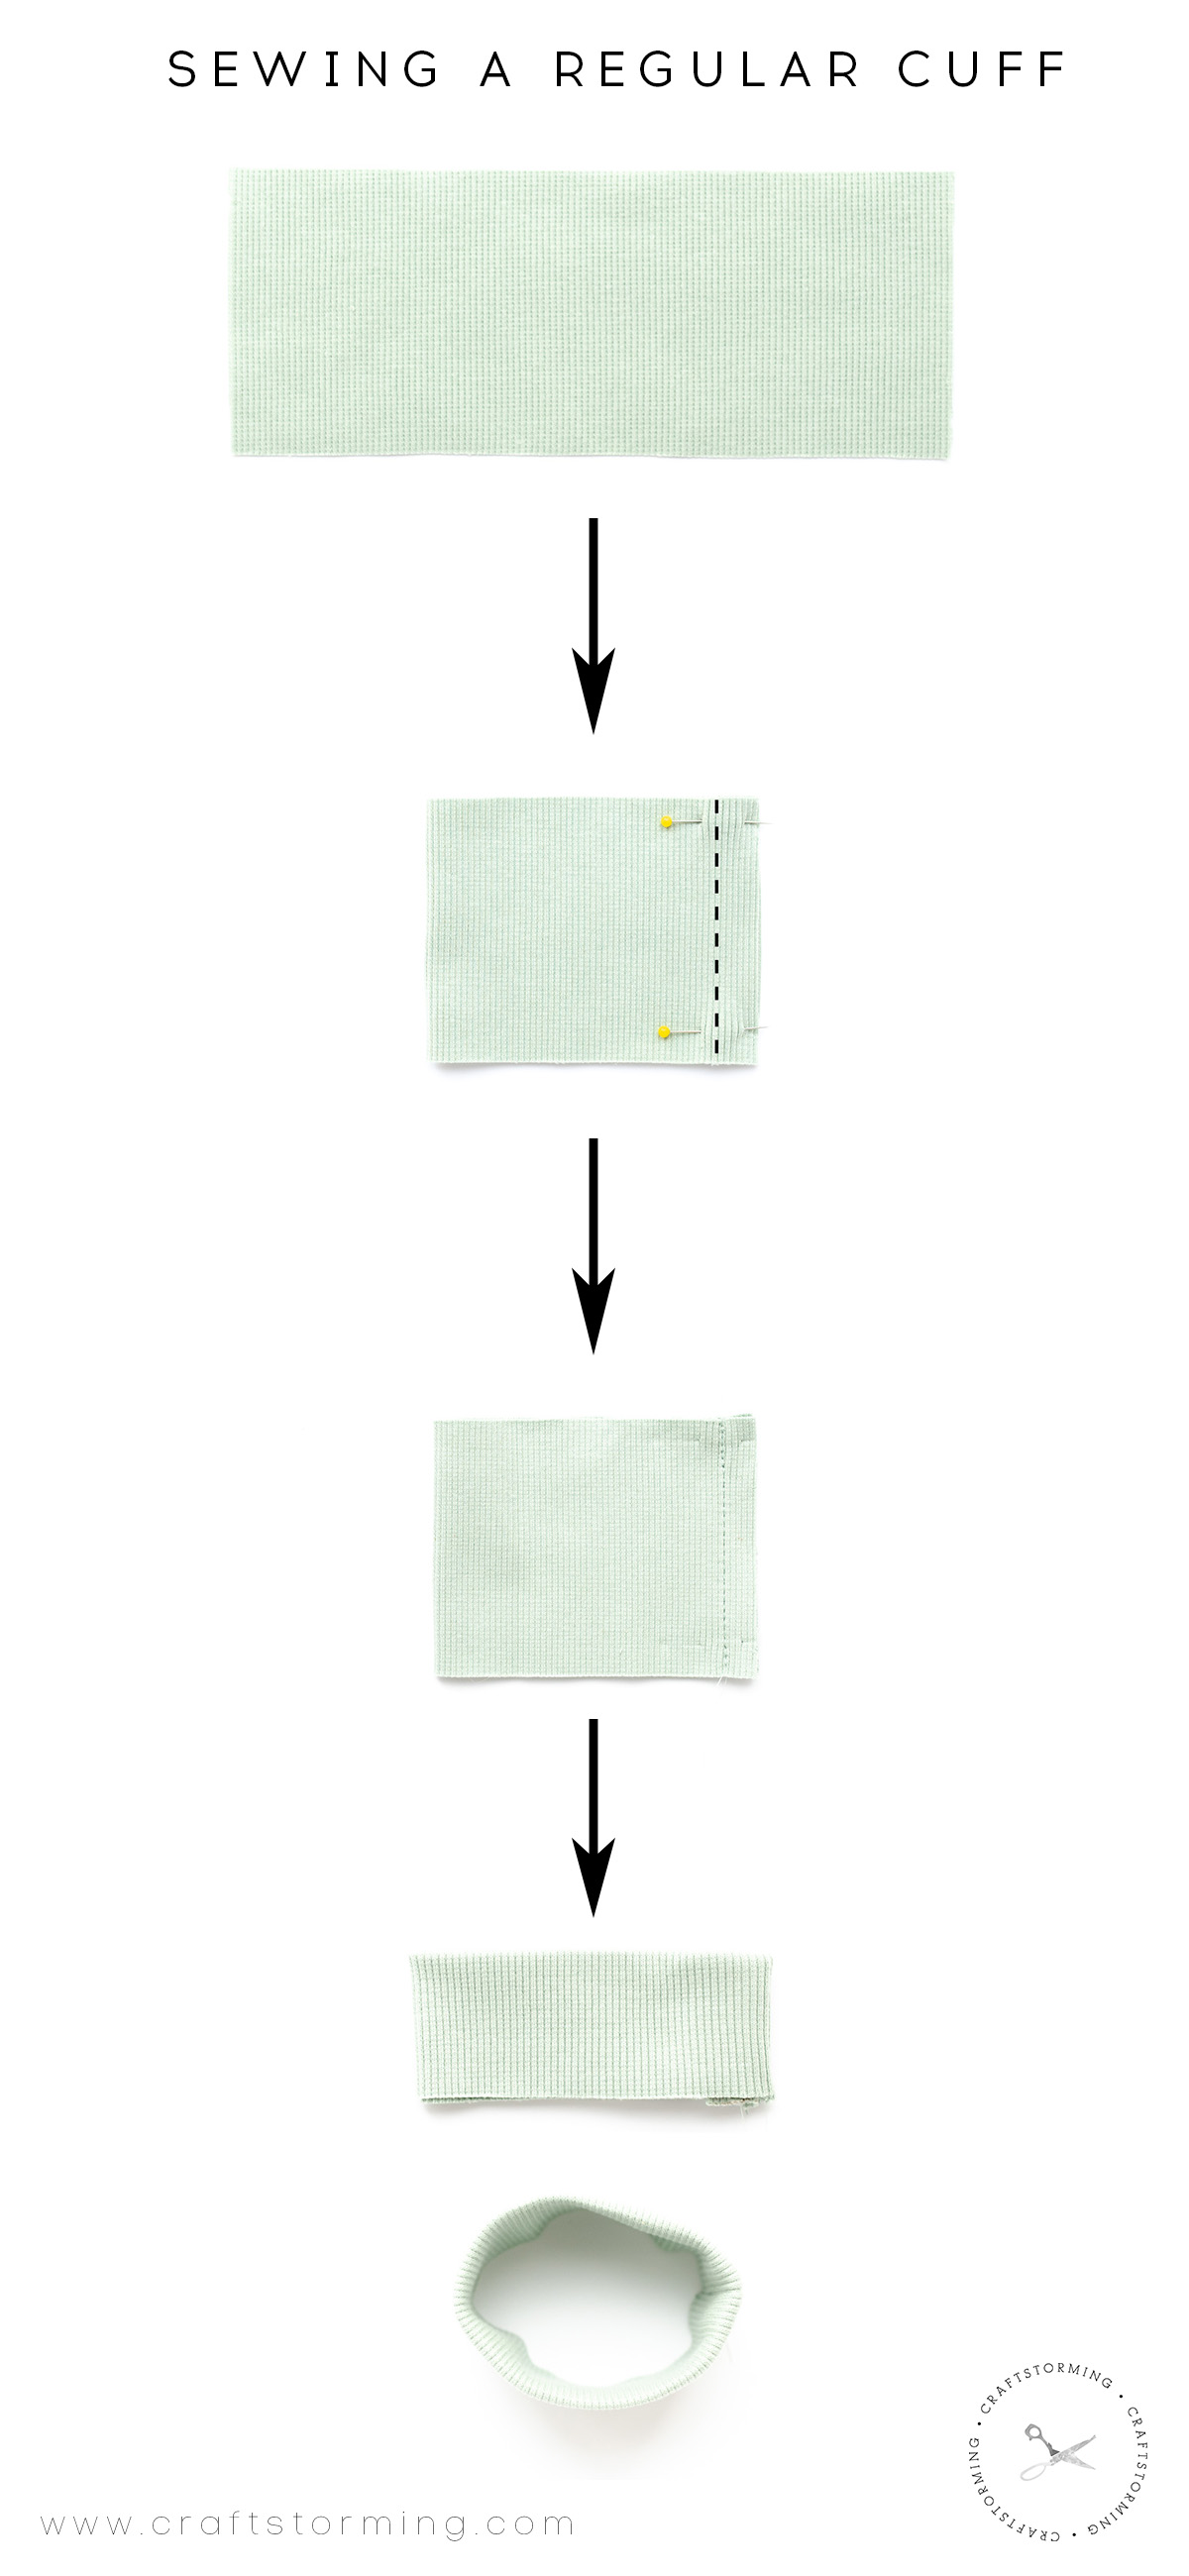
First let’s look at a regular cuff. It’s pretty straightforward – you fold in half lengthwise, with right sides together, and sew the side seam together, using a sewing machine or serger. Fold the cuff in half so the raw edges are hidden and it’s now ready to sew onto the sleeve.
SEWING A REGULAR CUFF
SEWING A THUMBHOLE CUFF
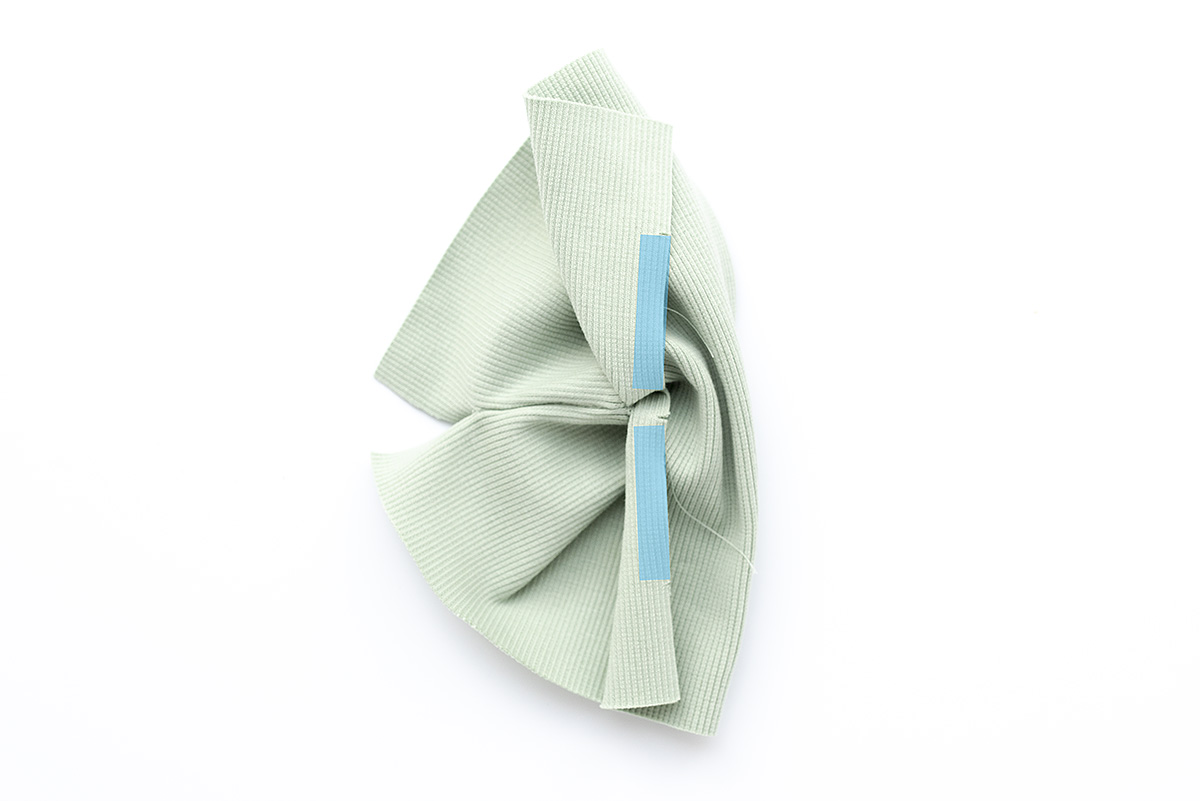
For the thumbhole cuff there is a few more steps, so we can create the thumbholes. I have colour coded the cuff below to help you visualise which sections get sewn together.
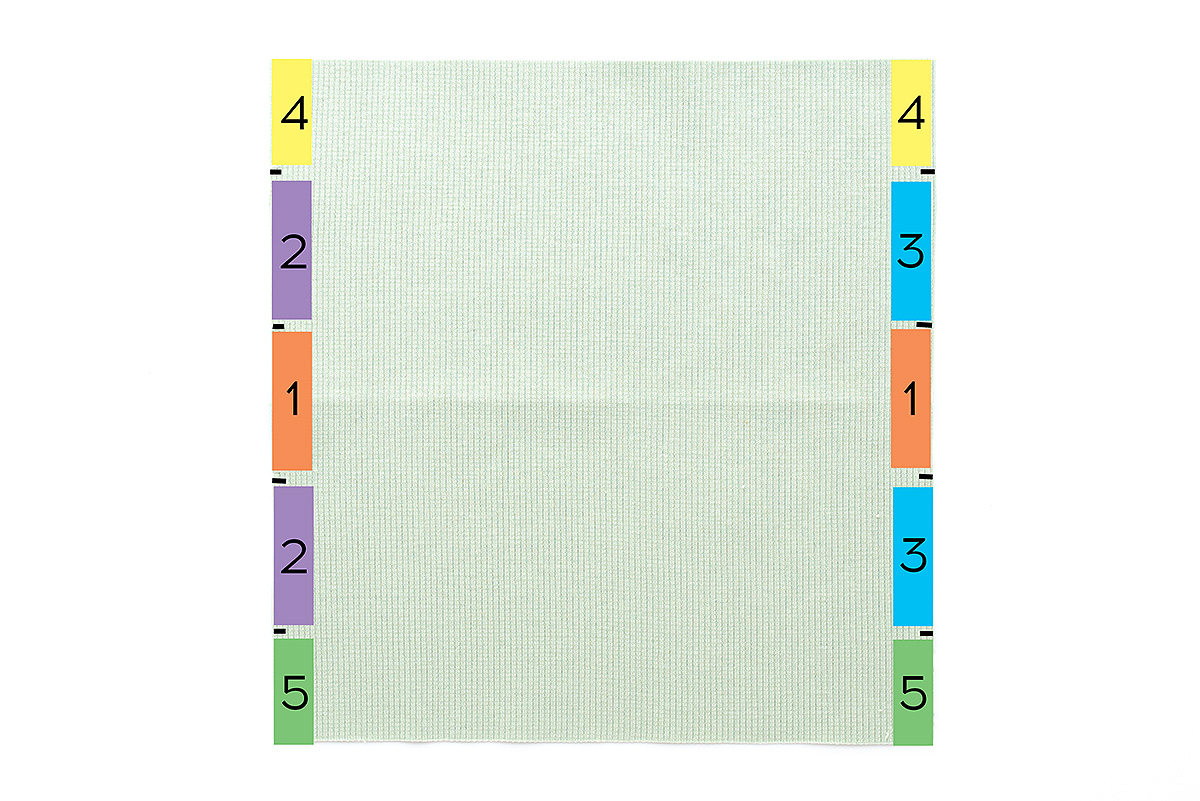
For thumbhole cuffs there are five different seams sewn, instead of just one with regular cuffs. The seams are numbered in the order they are sewn, and the two sections of the same number and colour are sewn to each other with right sides together. Seams 1, 4 and 5 parts create the side seam of the cuff, while seams 2 and 3 form the thumbhole. You can also sew a thumbhole cuff in a different order – seams 4, 1, and 5, followed by seam 2 and seam 3. However, we will not be looking at that in this post.
It can get a bit fiddly sewing the later seams but the closer you can get to the markings on each seam, the neater your thumbhole will be. Once you have sewn one thumbhole cuff this will probably make a lot more sense.
The thumbhole cuffs should be sewn on a sewing machine for accuracy, using a stretch stitch or a narrow zigzag stitch. Use a 1cm (3/8″) seam allowance throughout for the cuffs. It is important to mark the cuffs carefully, so the different seams will match well.
OK, let’s get started!
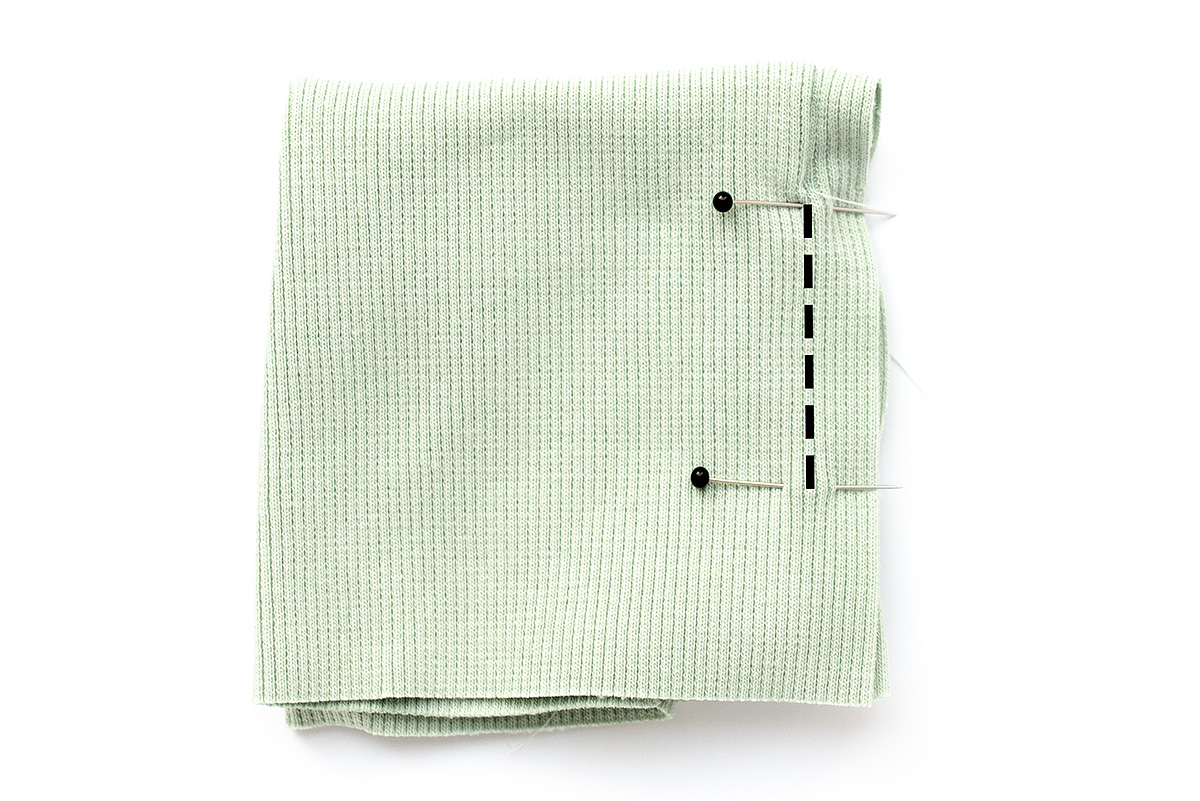
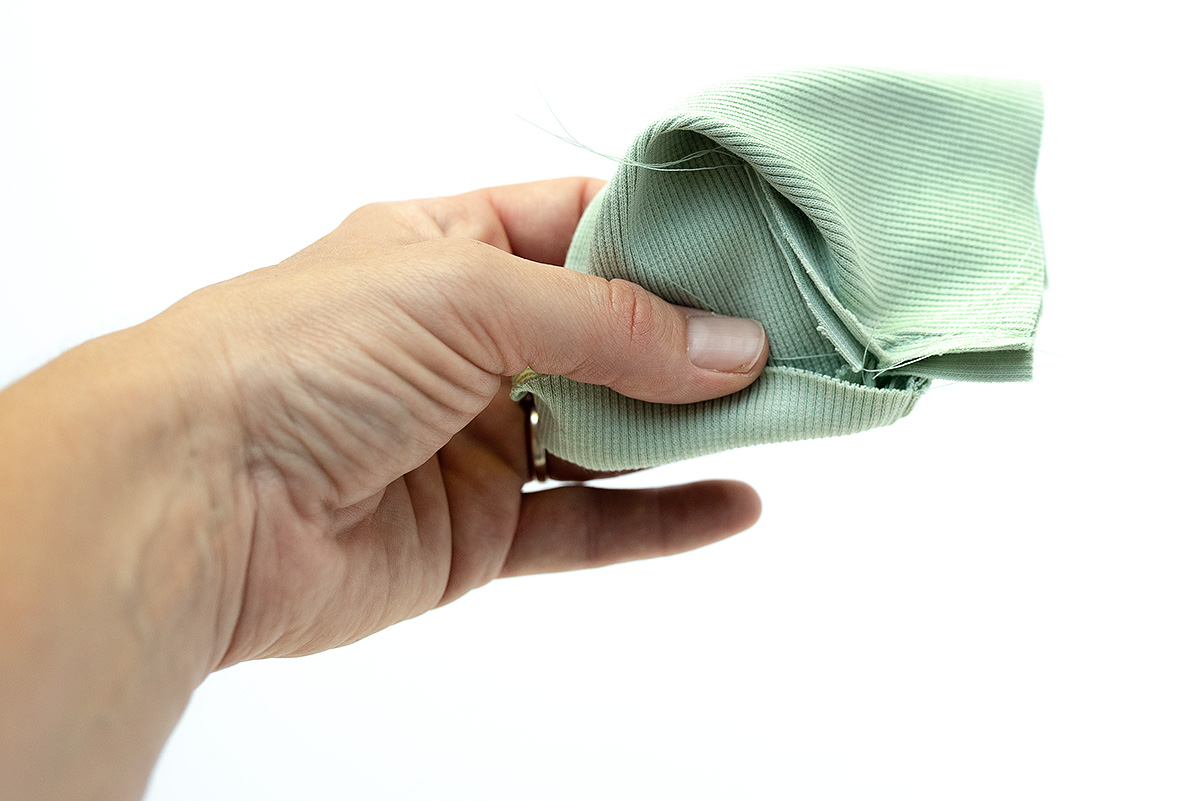
1. Take a thumbhole cuff piece – we are going to be sewing seam 1, that is marked orange in the photo below.
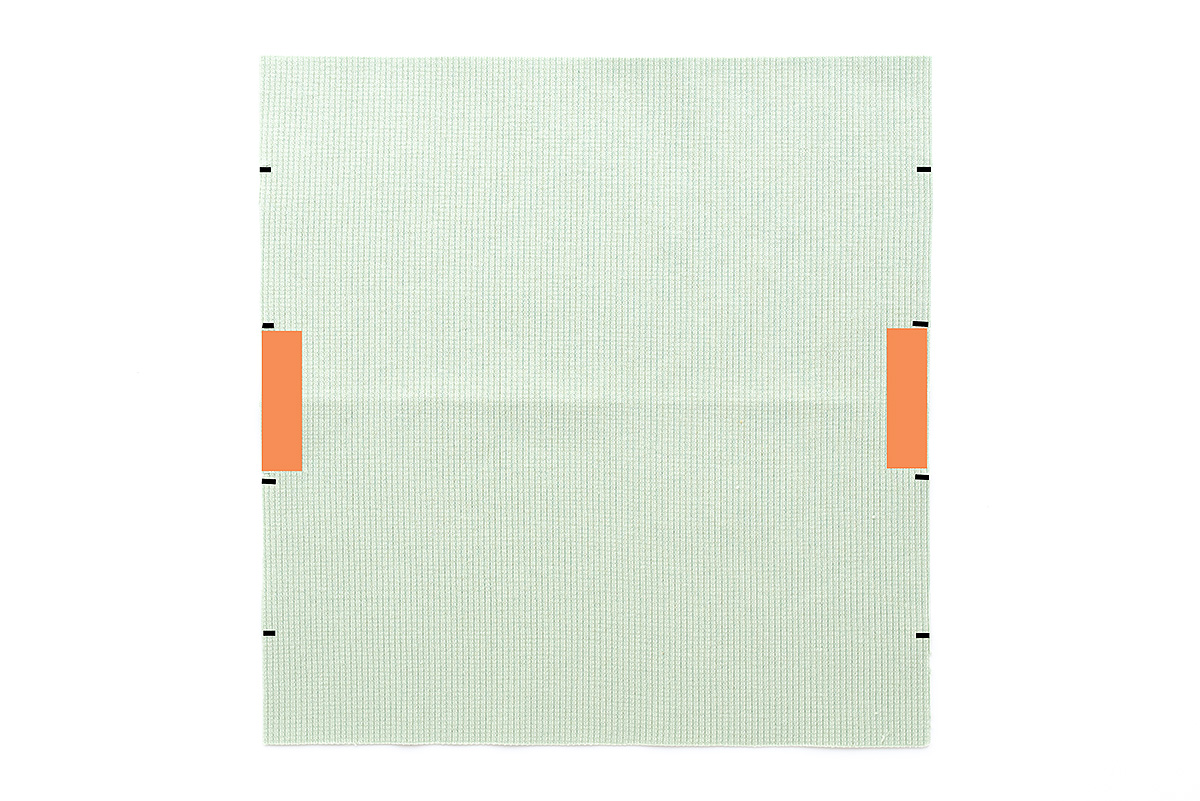
Fold the cuff in half lengthwise, with right sides together. Pin close to the markings you need to sew between. Sew seam 1 of the cuff together, between top and bottom markings of section 1. Make sure to backstitch a couple of times at the beginning and end of the seam.
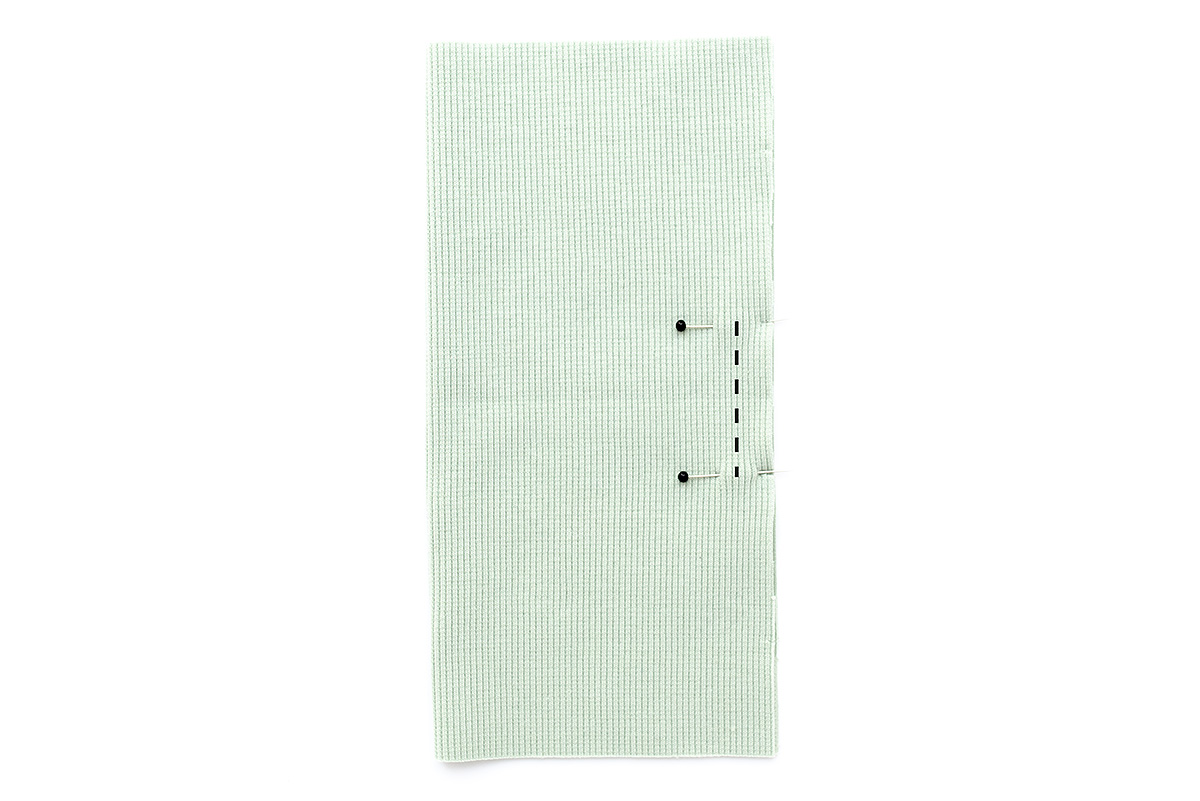
2. We are now going to sew seam 2, the first of two seams that create the thumbhole. Arrange the cuff so the seam you sewed in step 1 is in towards the left, as shown below. The sections you need to sew together are marked in purple.
Fold the top of the cuff downwards, so the purple sections meet with right sides together. Make sure to push the rest of the cuff to the inside, away out of the way.
Pin carefully, making sure no extra fabric is caught in the seam. You want your new stitches to exactly meet the stitches sewn in step 1. Sew between the markings either side of the purple section, backstitching a couple of times at the start and end.
You can see below that the stitches from seam 2 start where the stitches from seam 1 end. Aim to get every seam as close as possible to any connecting stitches, to reduce the chance of having a small hole within the thumbhole section of the cuff.

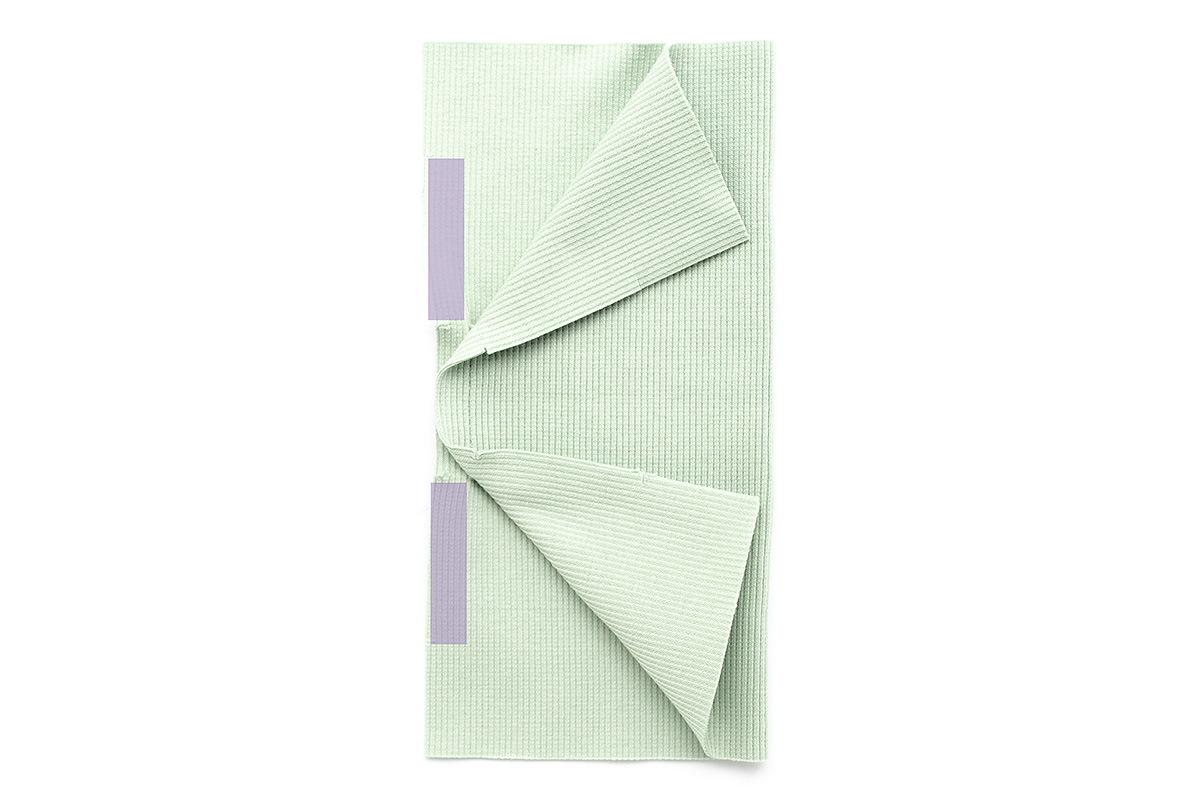
3. We will now sew seam 3, the second of the the thumbhole seams. Open out the cuff so the seam sewn in the previous step is on the left. The sections you need to sew together are marked in blue.
Fold the top of the cuff downwards, so the blue sections meet with right sides together. Again, push the rest of the cuff to the inside, out of the way.
Again, pin carefully then sew between the two markings for seam 3, backstitching a couple of times at the start and end.
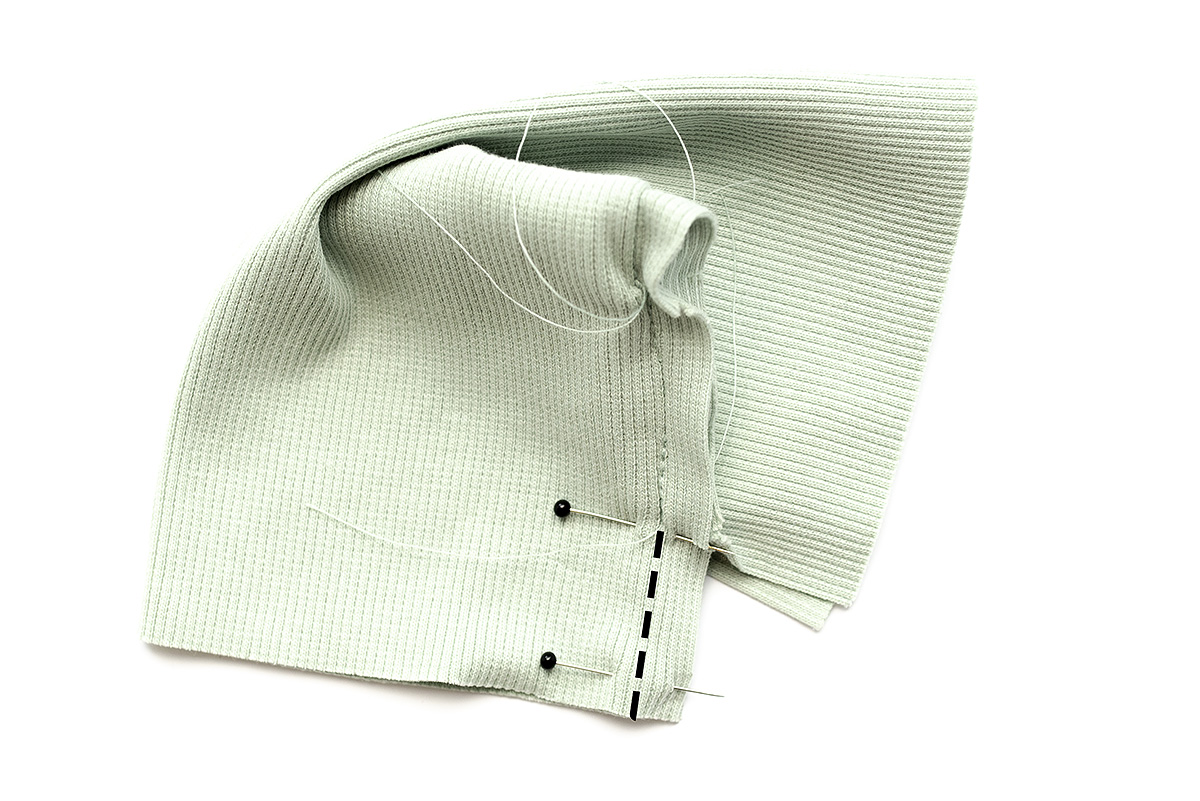
4. The last thing to do is sew the two end seams together. On this step we will seam seam 4. Pull the bottom edges of the cuff up, and away from each other.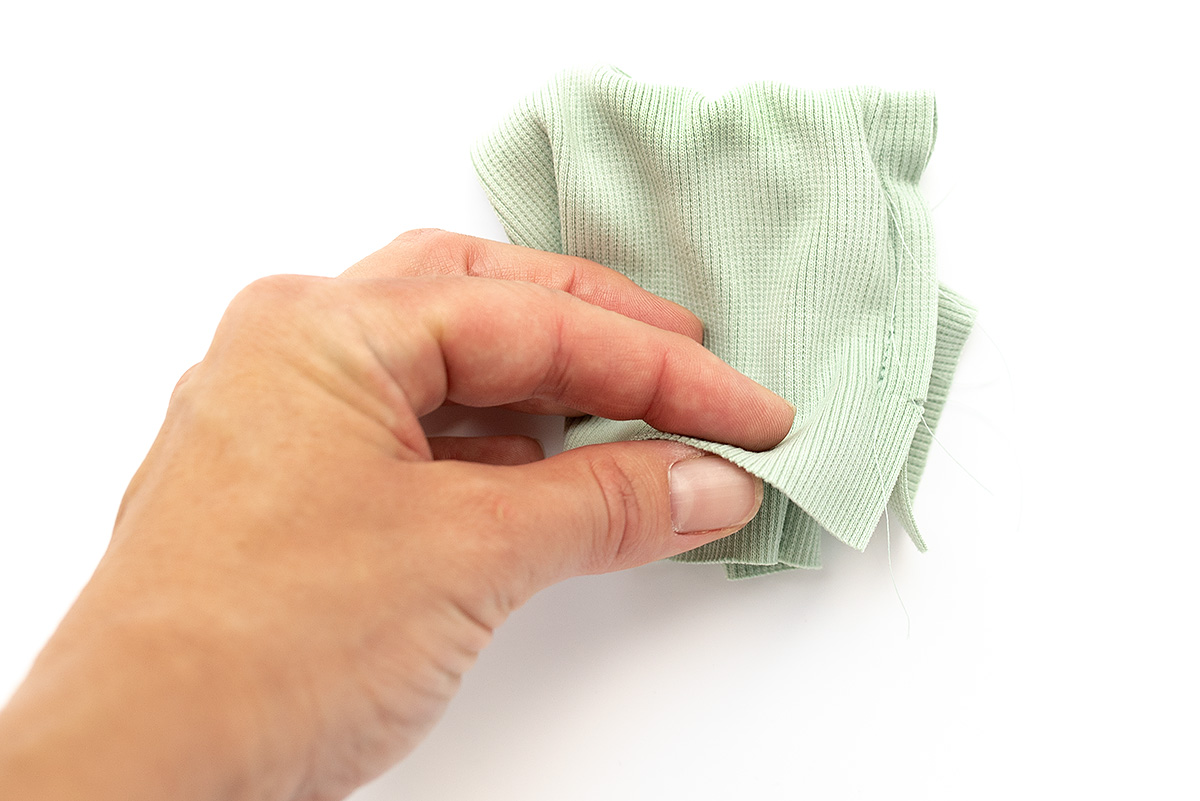
Arrange the cuff as shown below. The sections you need to sew together are marked in yellow.
Pull the top of the cuff down towards the bottom, so the yellow sections meet, with right sides together.
Pin the seam together carefully, between the marking and the bottom edge of the cuff. Make sure to push all other parts of the cuff out of the way.
Sew on the sewing machine, trying to get as close to the connecting stitches as possible.
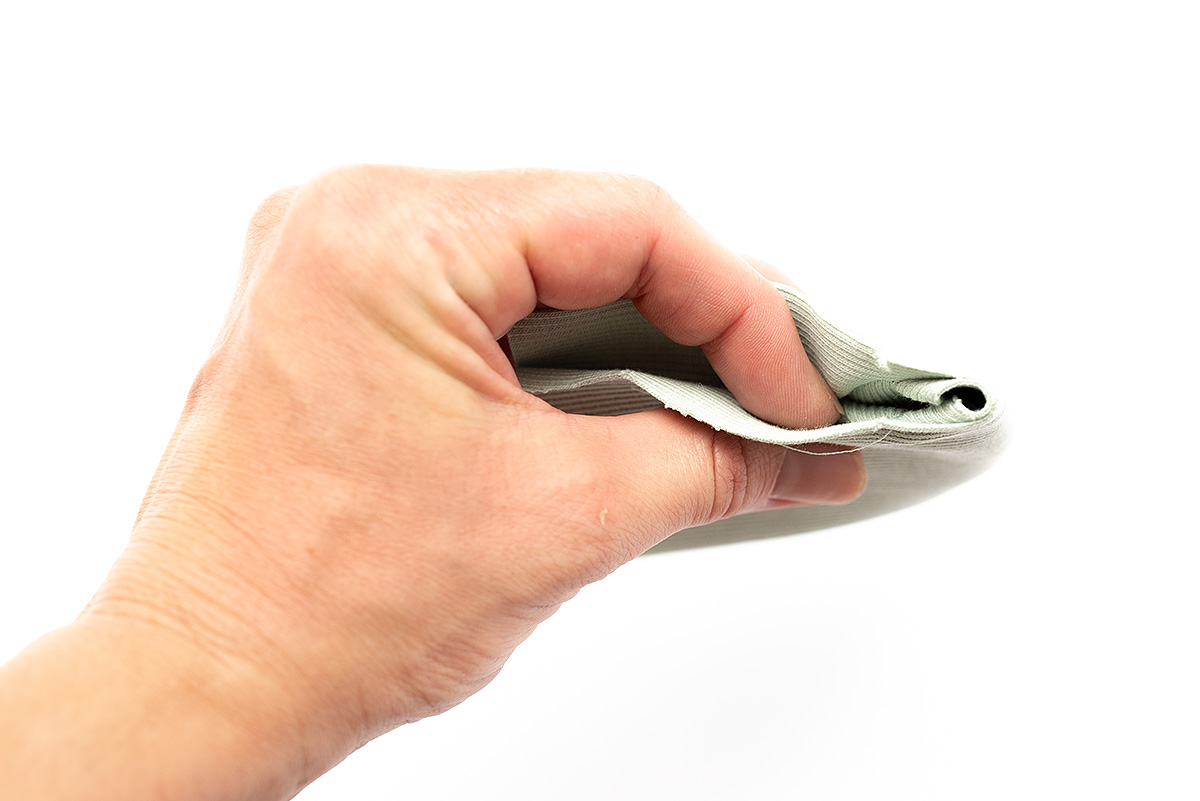
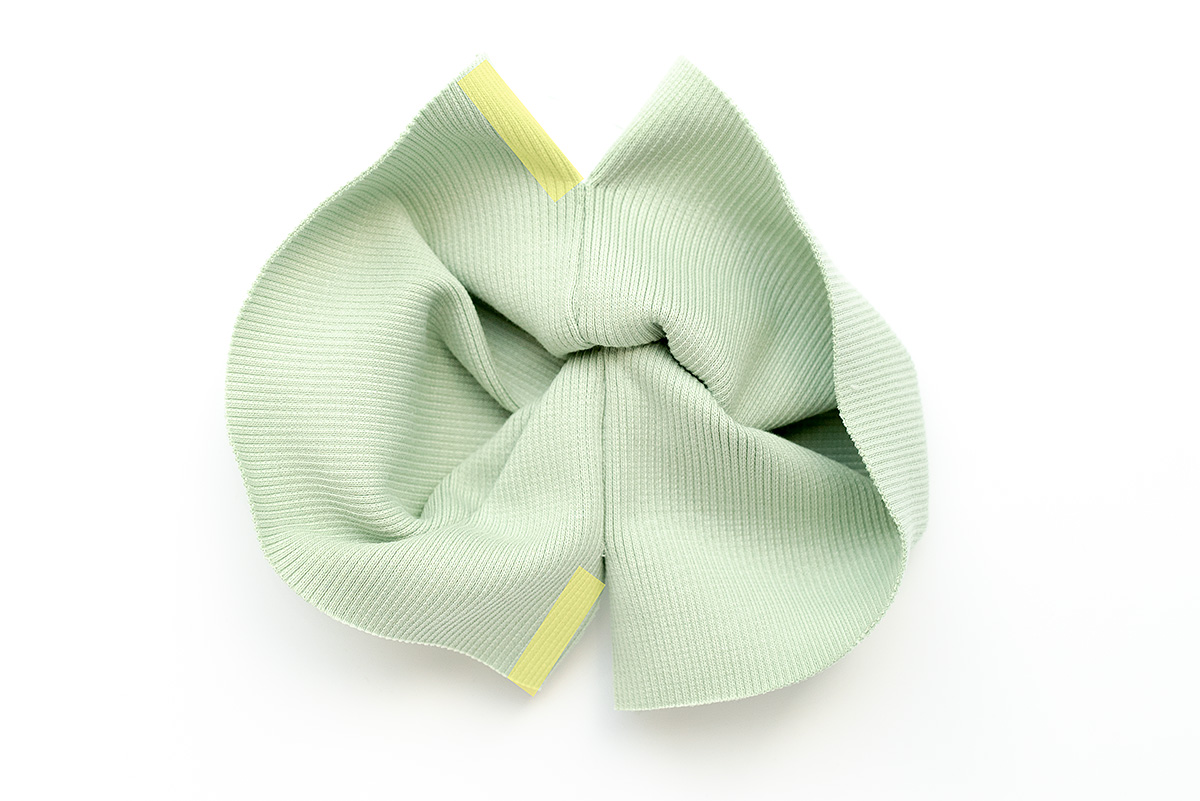
5. This is seam 5, the final seam of the cuff! The sections you need to sew together are marked in green, with an arrow pointing to them.
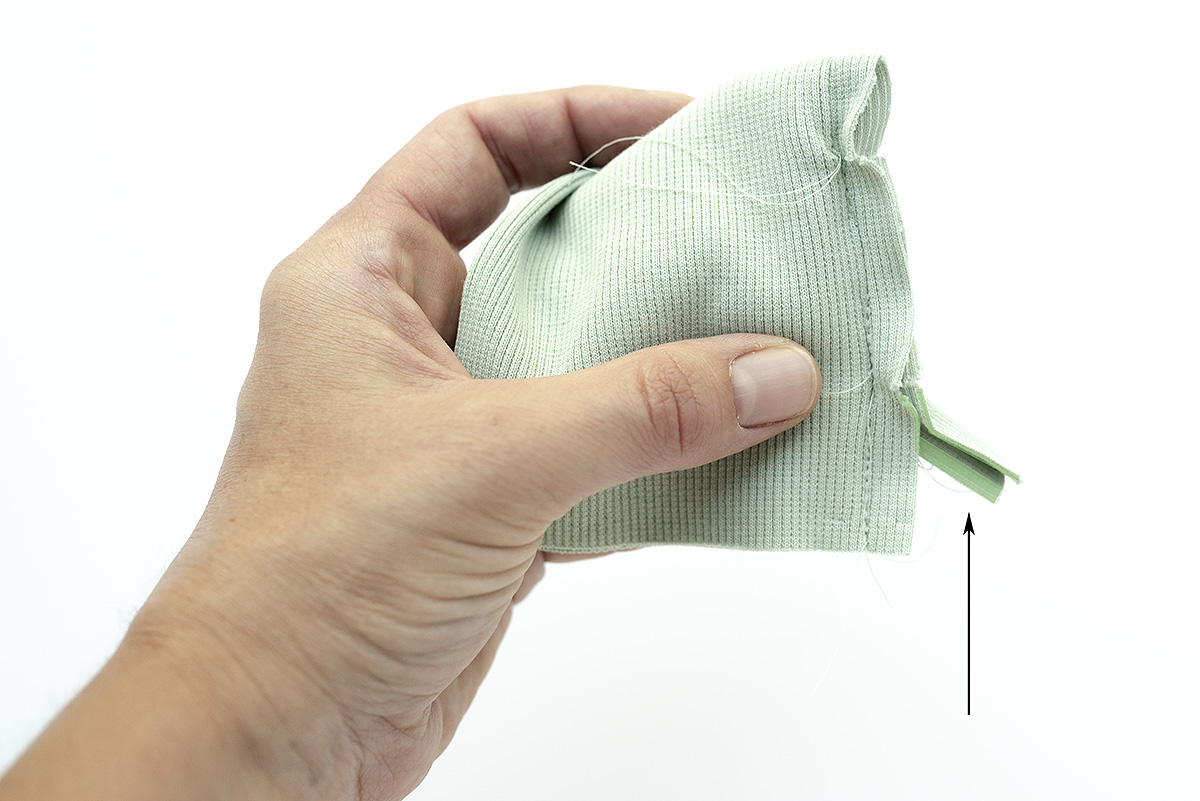
Push the fold in the cuff (where my index finger is touching above) through so the fold goes the other way. This flips the cuff over so the section you need to sew is in front. Pin carefully between the marking and the bottom edge of the cuff. Sew the seam, backstitching a couple of times at the start and end
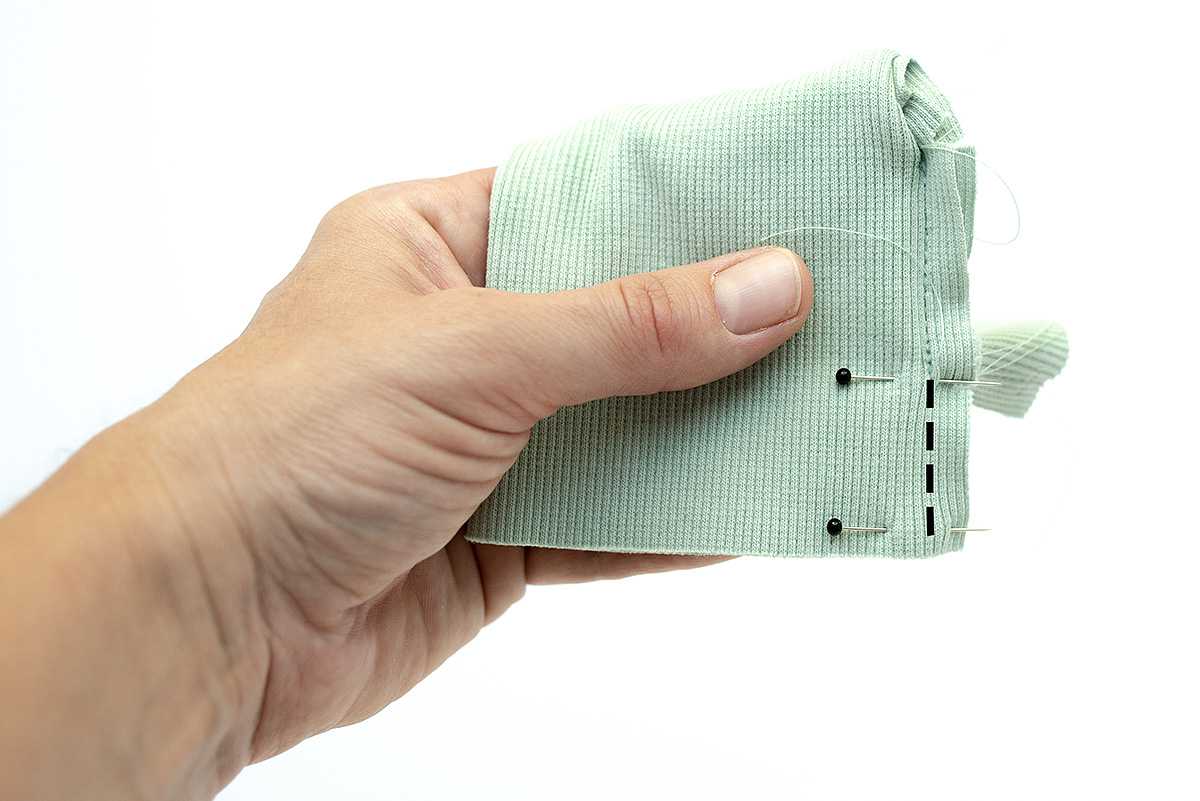
All the seams are now sewn.

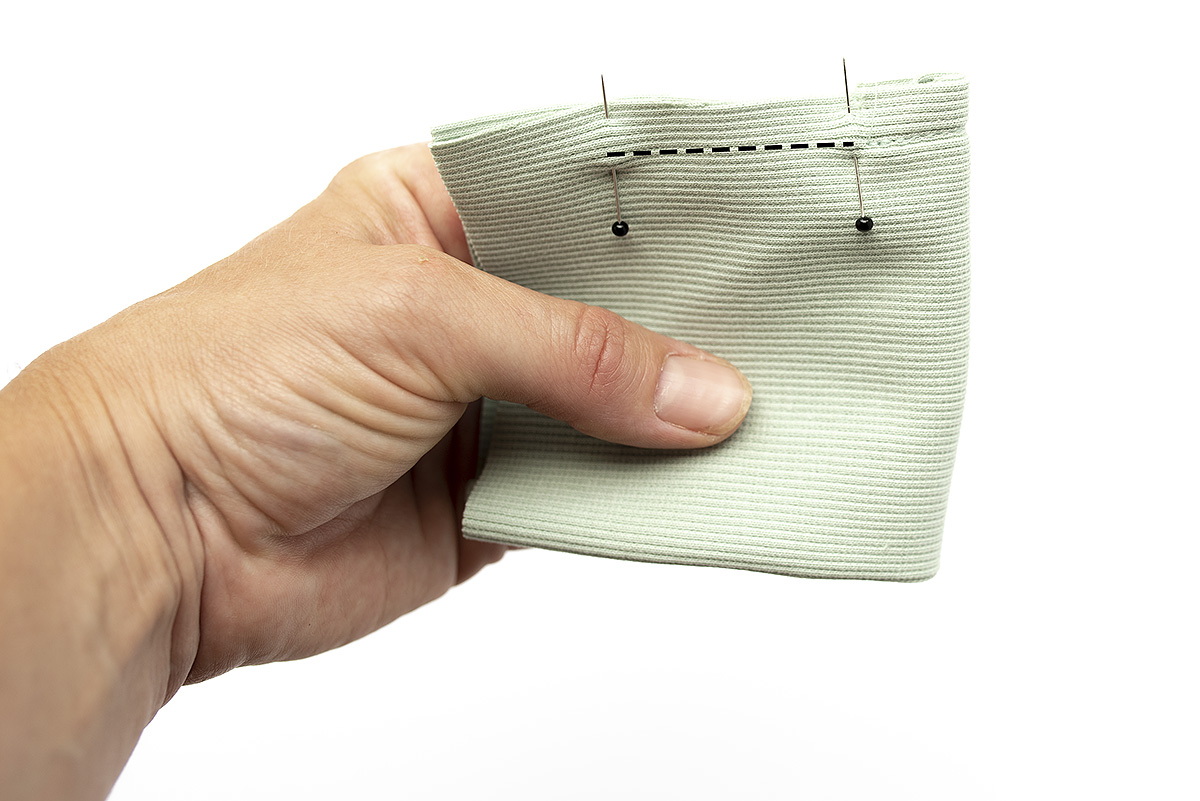
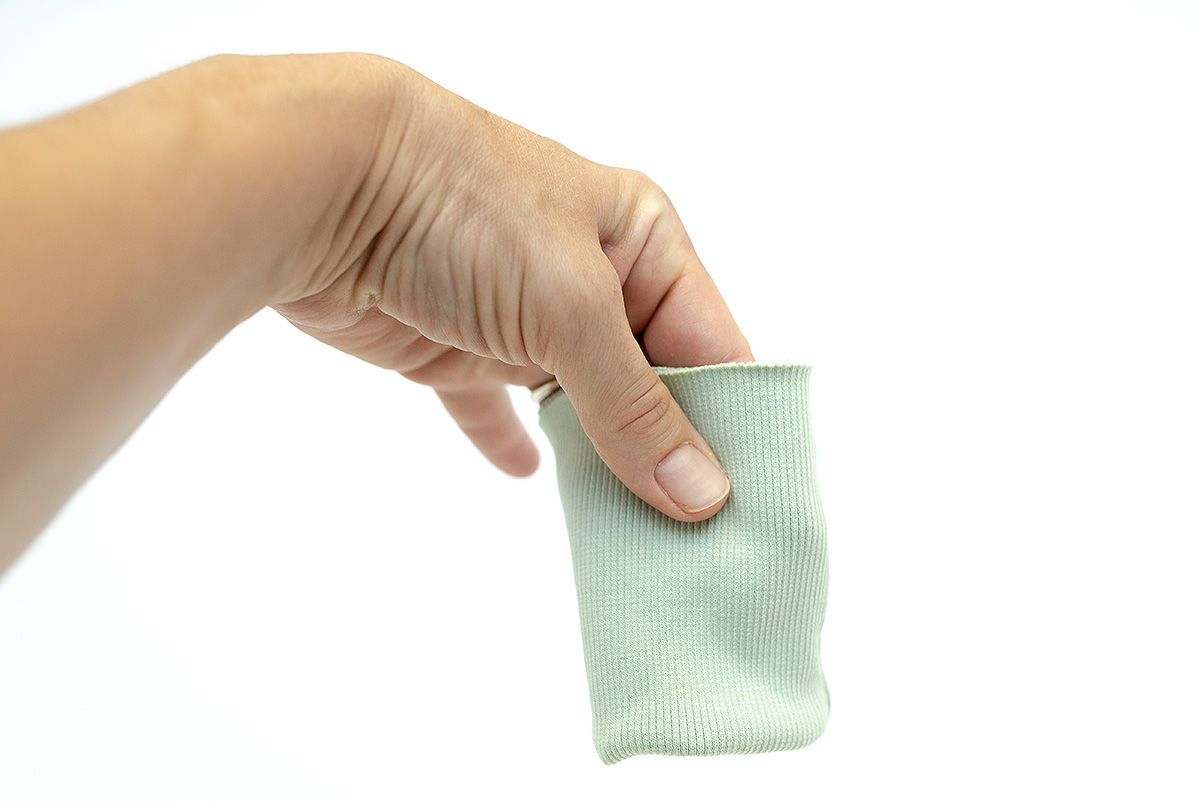
6. Finally, turn your cuff out so it is folded in half, right sides out, with the raw edges meeting. Start pulling up one of the raw edges towards the other raw edge.
Continue this until the raw edges meet, and all the seam allowances are hidden.
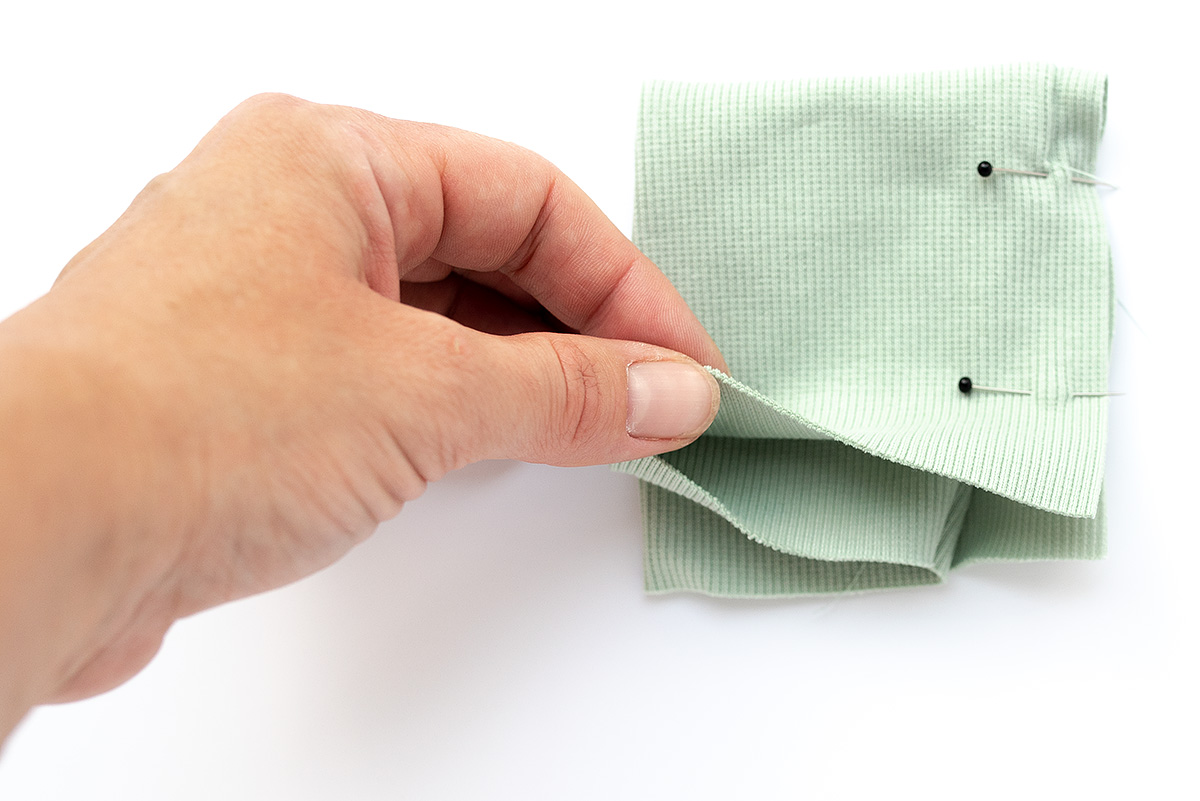
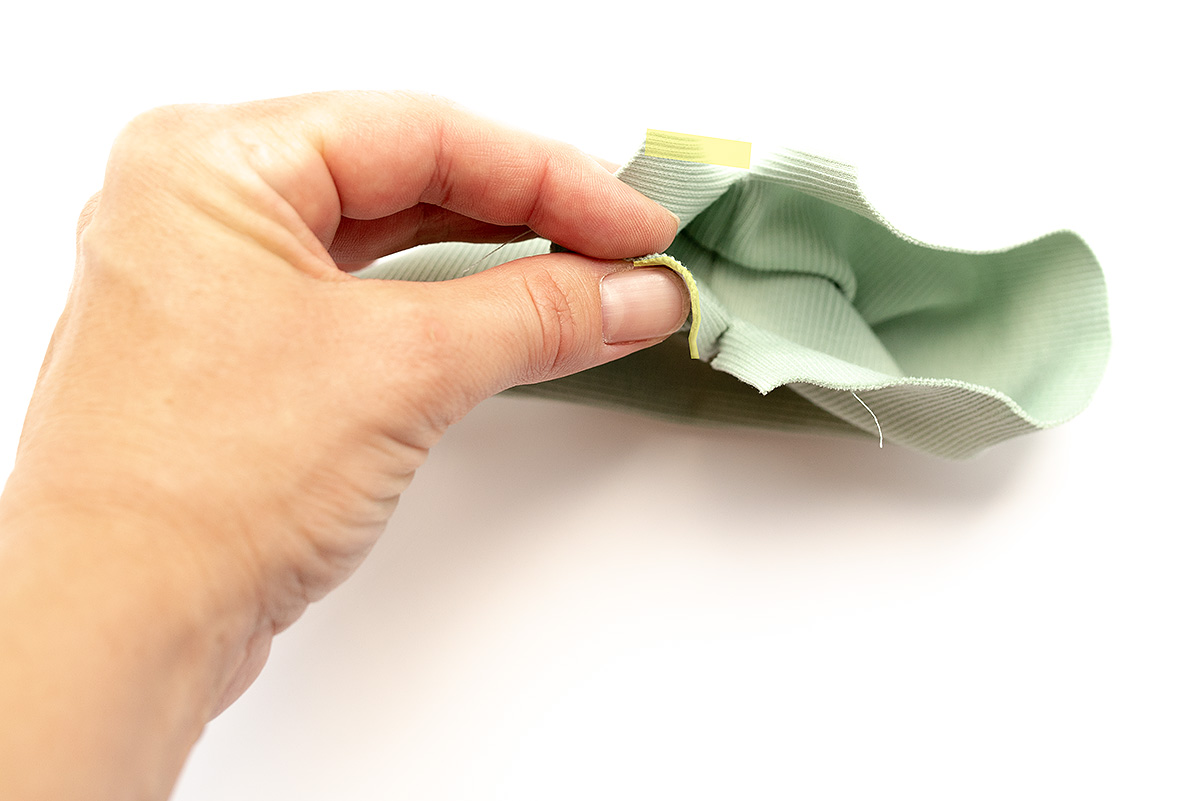
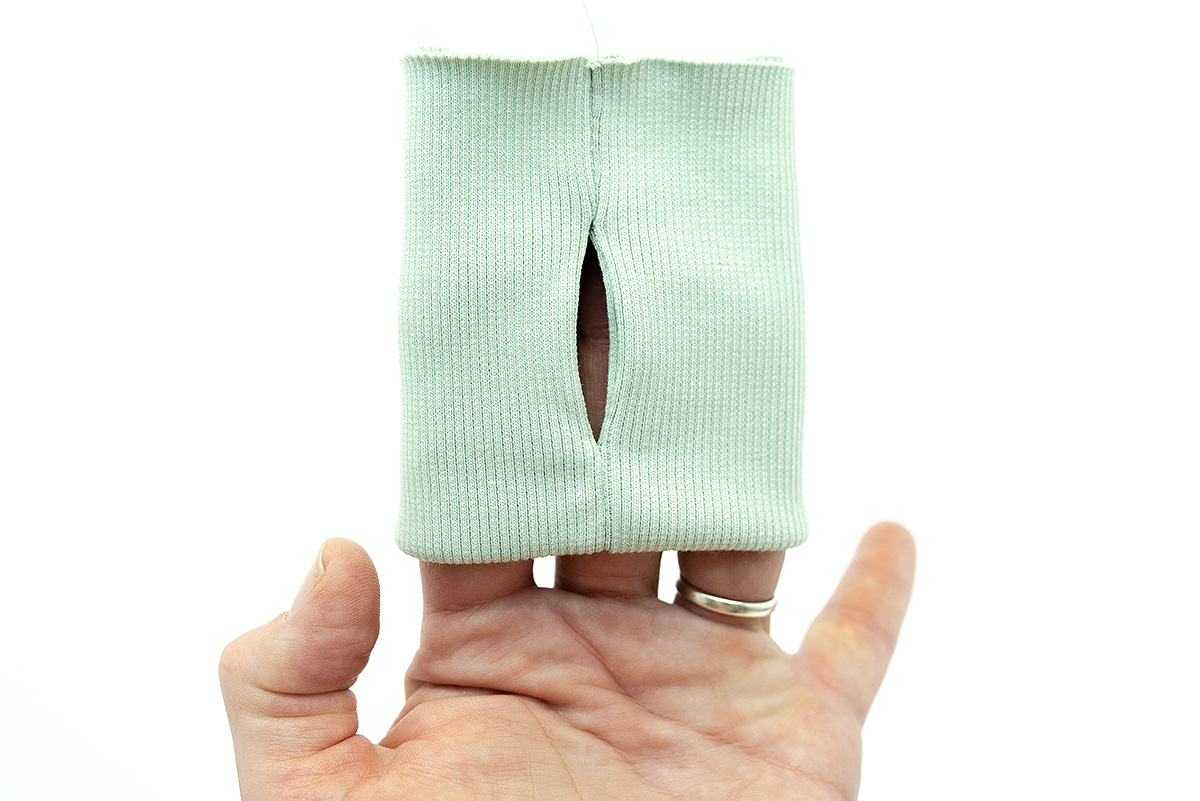
Your thumbhole is now ready. Give the cuff a good press and try your new thumbhole out! Repeat all the steps above for the other cuff.
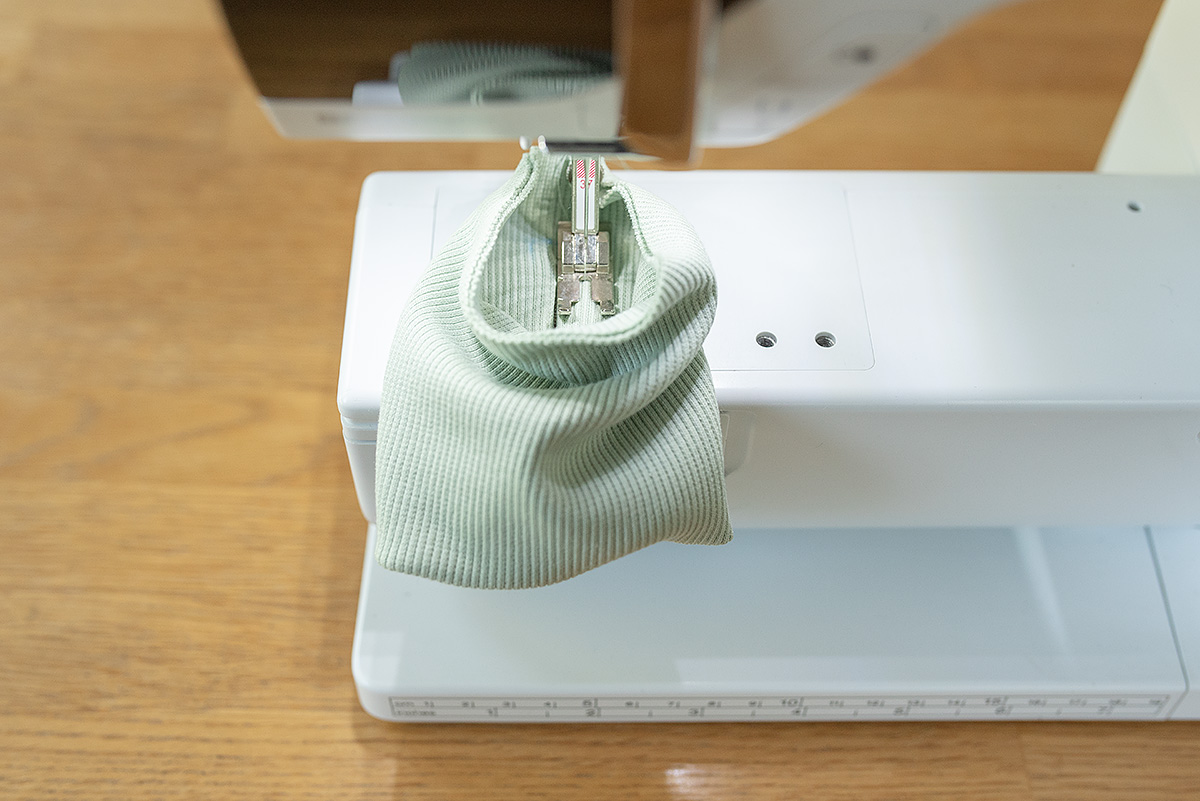
You cuff is now ready to sew onto the t-shirt. However, there is an extra optional step I like to take, to strengthen the thumbhole a little.
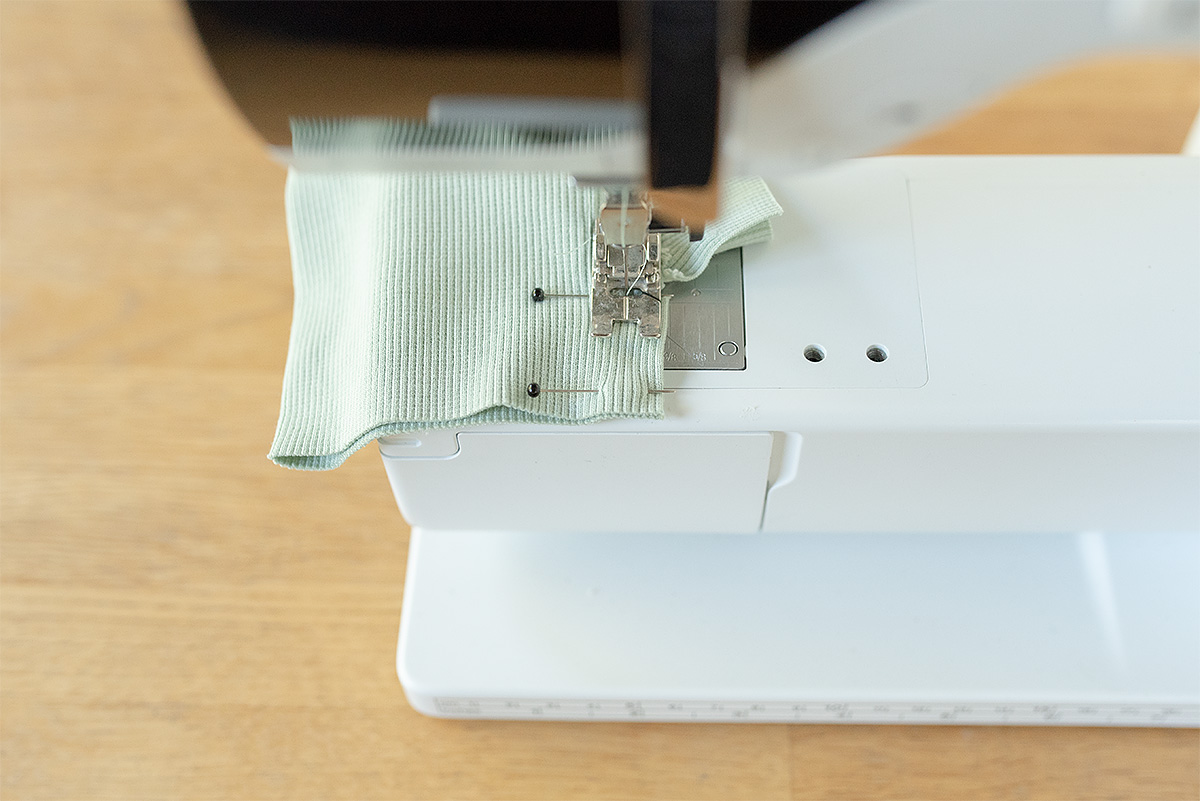
I like to sew a rectangle around the edge of the thumbhole, 6.5mm (1/4″) from the thumbhole seam. I mark the top and bottom of the rectangle with chalk and then sew around in one go, using my 1/4″ foot as a guide.
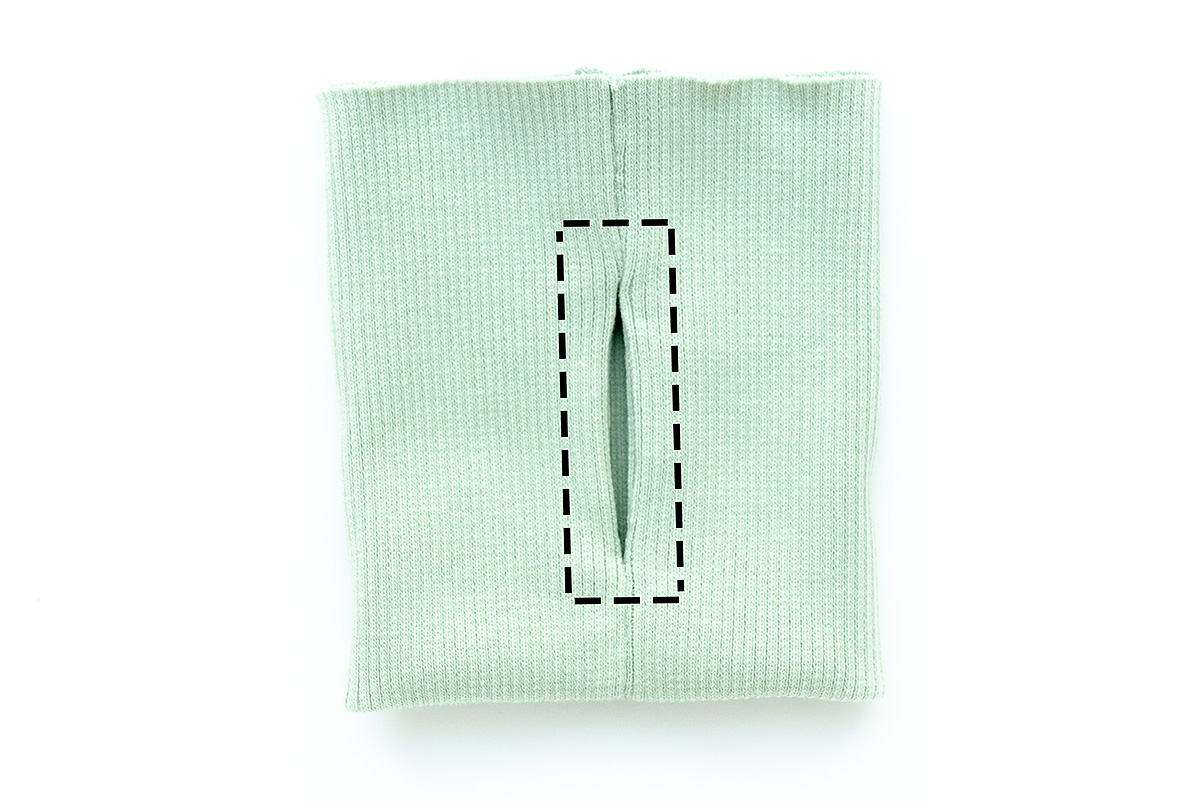
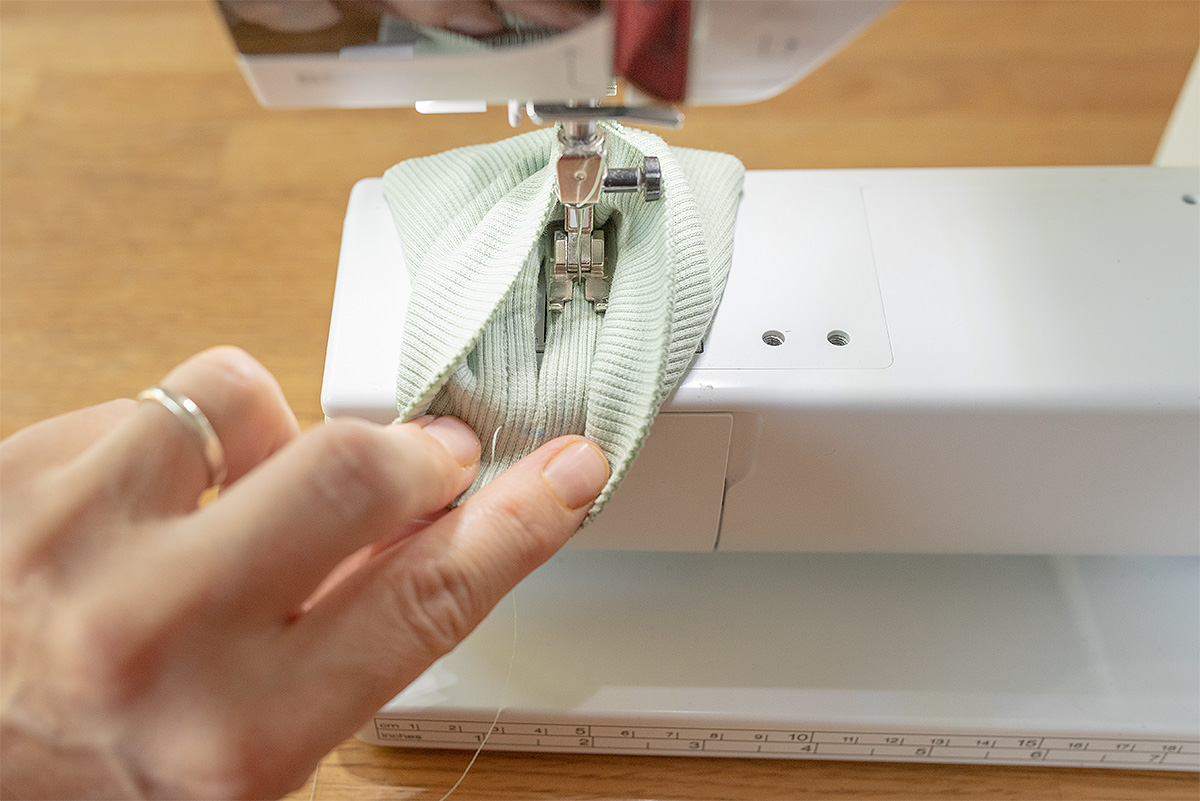
As you don’t want to sew through both sides of the cuff, I flip the markings to the inside, and arrange the cuff on my machine as shown below. Start level with the top marking and sew down one side of the thumbhole first.
Pivot as you reach each corner of the rectangle, and continue until you’ve sewn all the way around the rectangle.
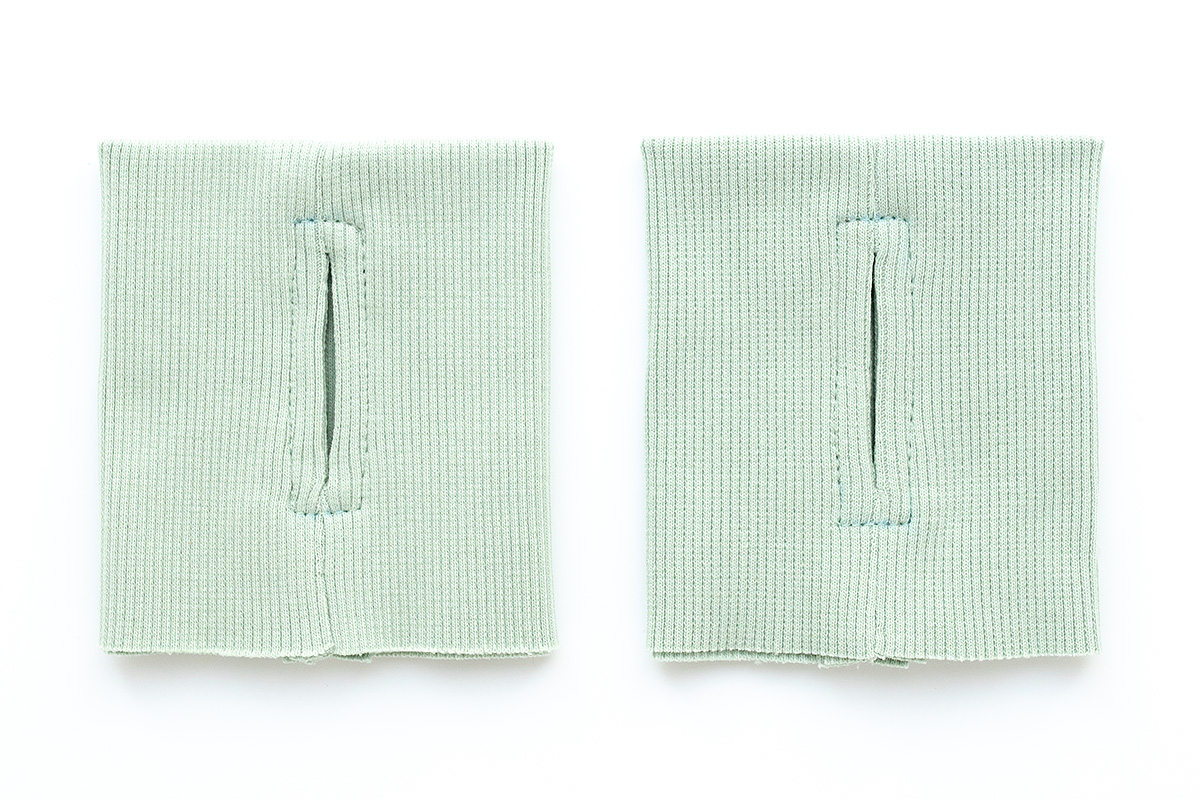
Your cuffs are now finished!
SEWING THE T-SHIRT
Sew up your T-shirt as usual, following the pattern instructions. When you get to page 29, sew on the thumbhole cuffs instead of regular cuffs. The cuffs are longer than the regular cuffs
Your T-shirt is now complete!
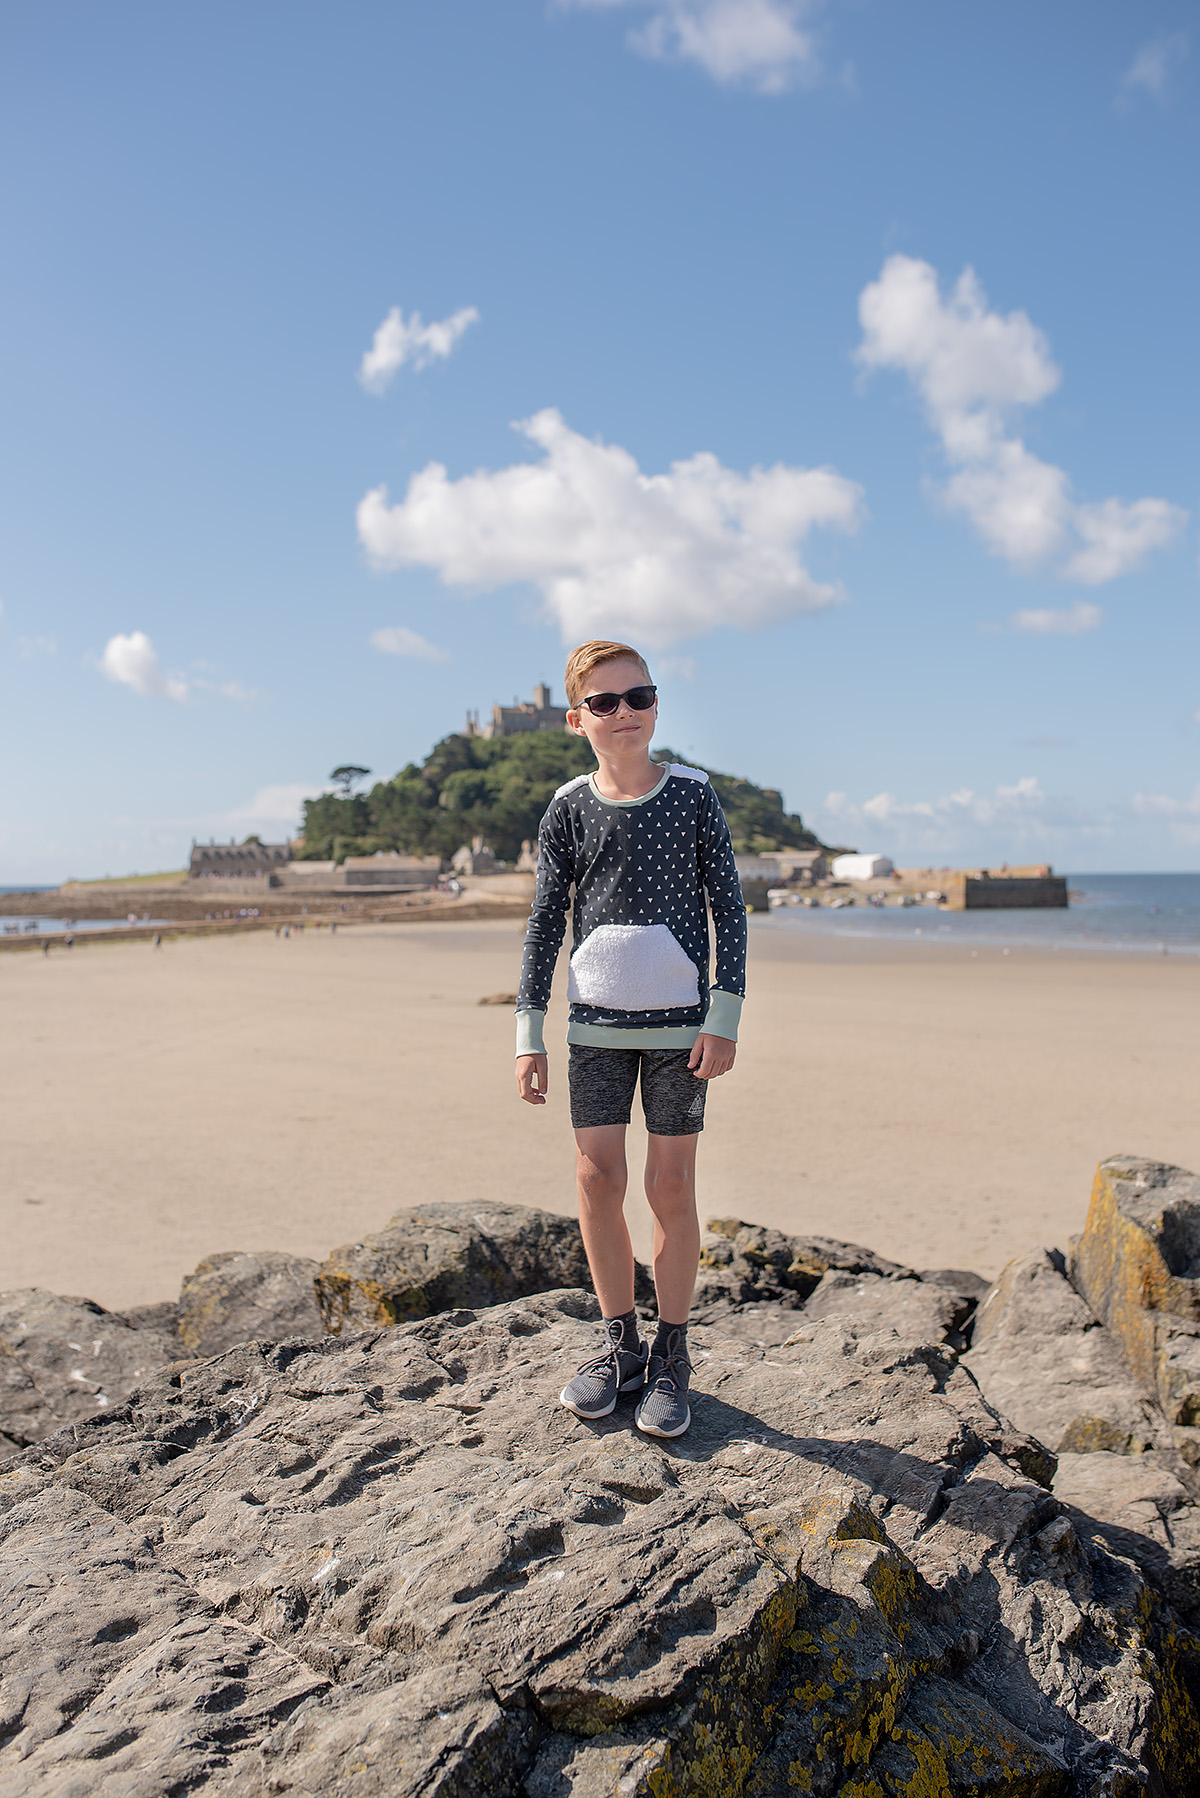
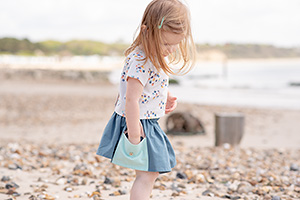
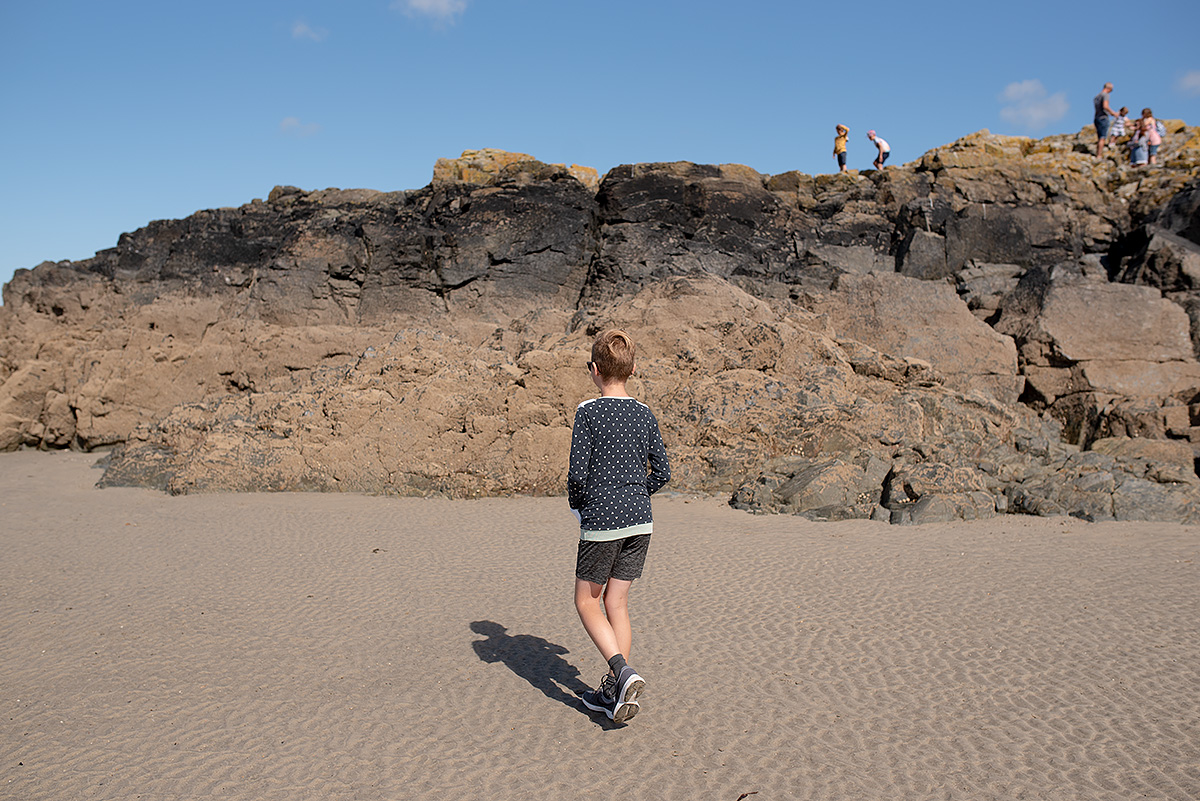
These photos were taken at St Michael’s Mount in Cornwall, while we were on our summer holiday. When the tide is out you can walk across the cobbled causeway to reach the island. Later in the day the tide had come in and we returned by boat.