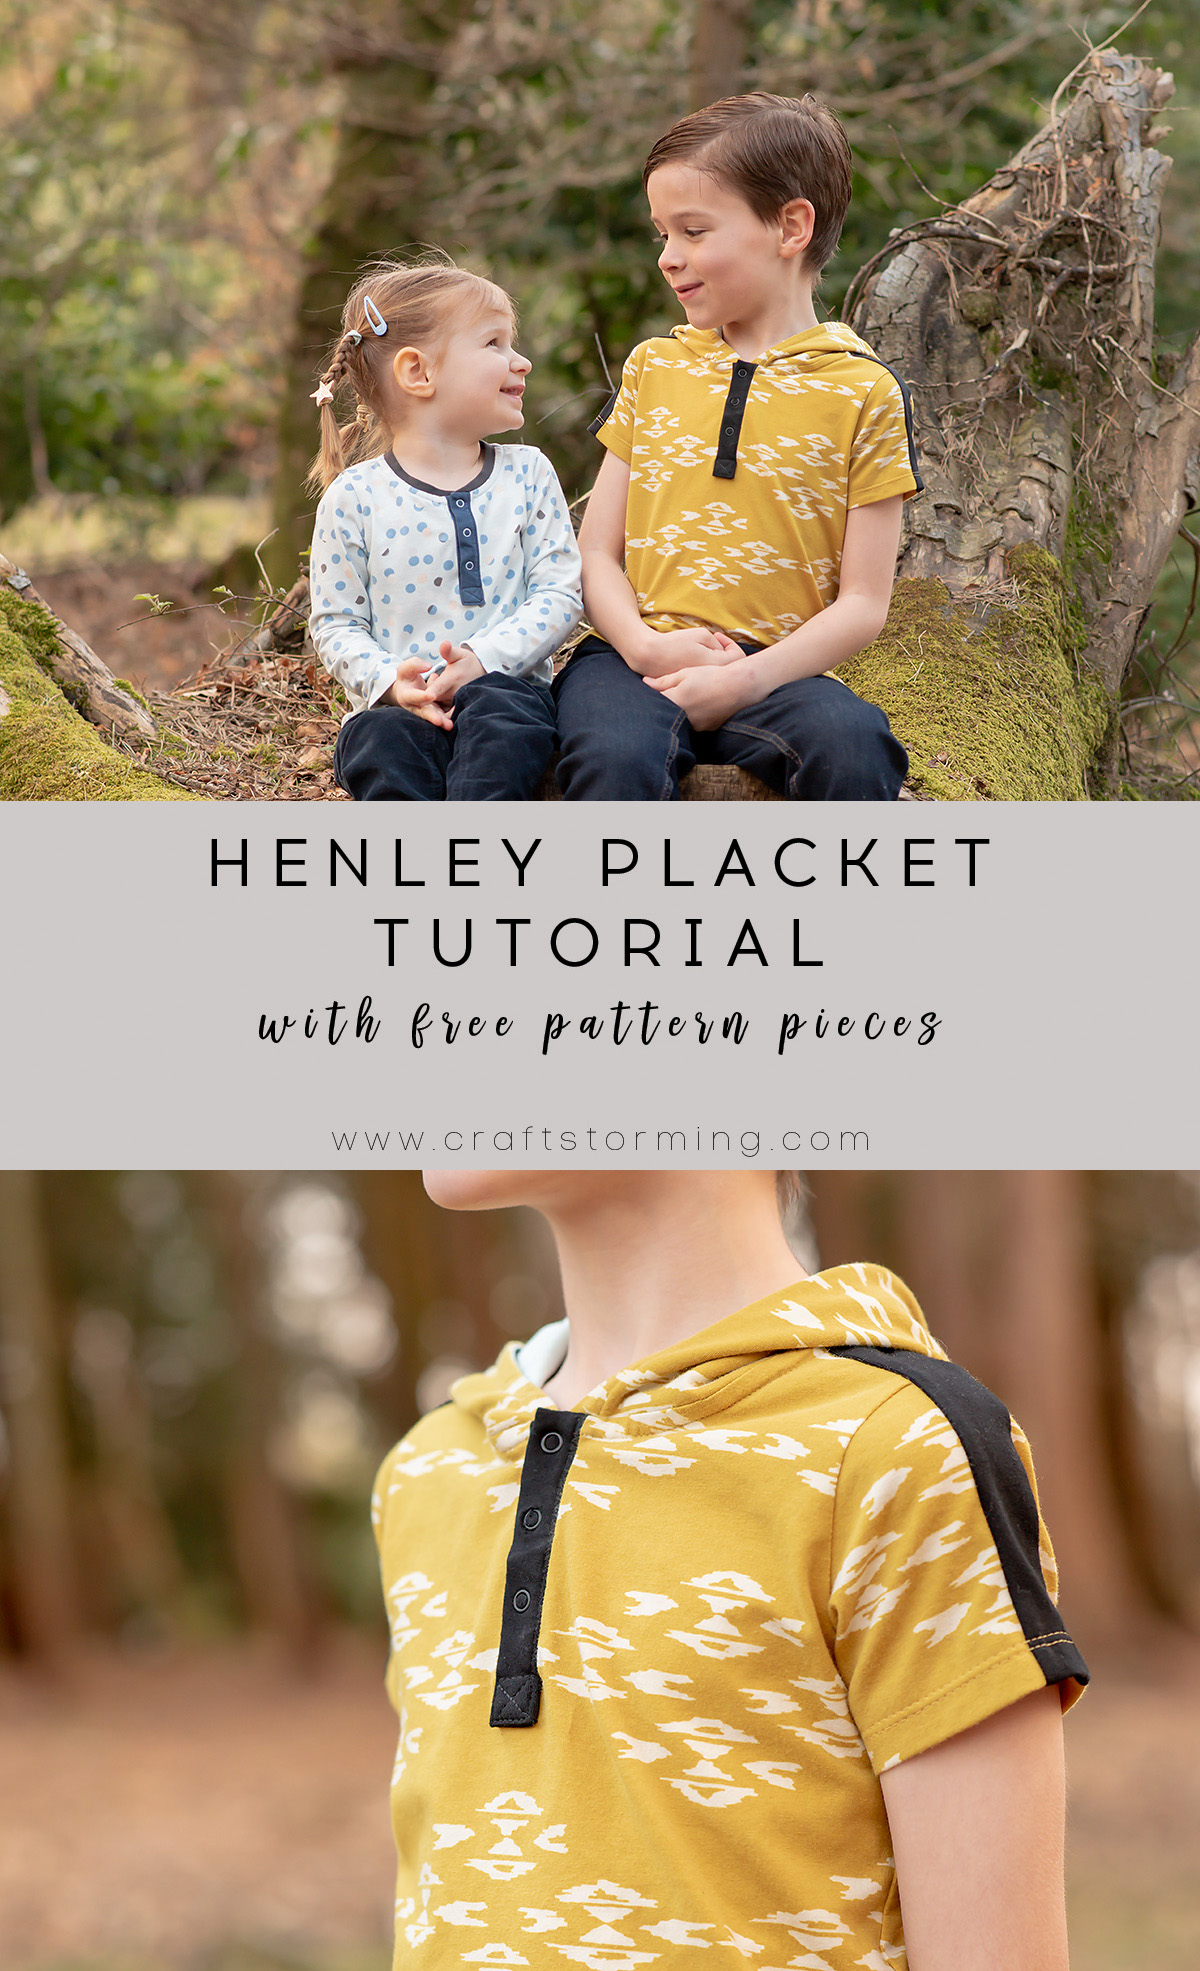
I am delighted to share the final tutorial in the Rowan Tee Hacks series, the henley placket. This is a great way to add a contrasting colour to a T-shirt, and works with a regular neckband and a hood. It also makes it easier to get the T-shirt on for any children with larger than average heads. I’ve included free pattern pieces for the placket itself, and for the neckband.

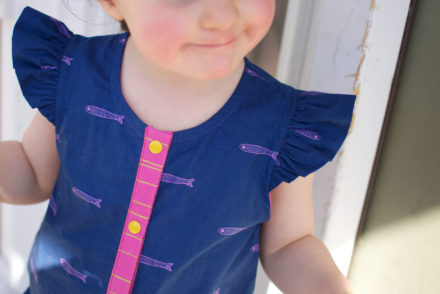
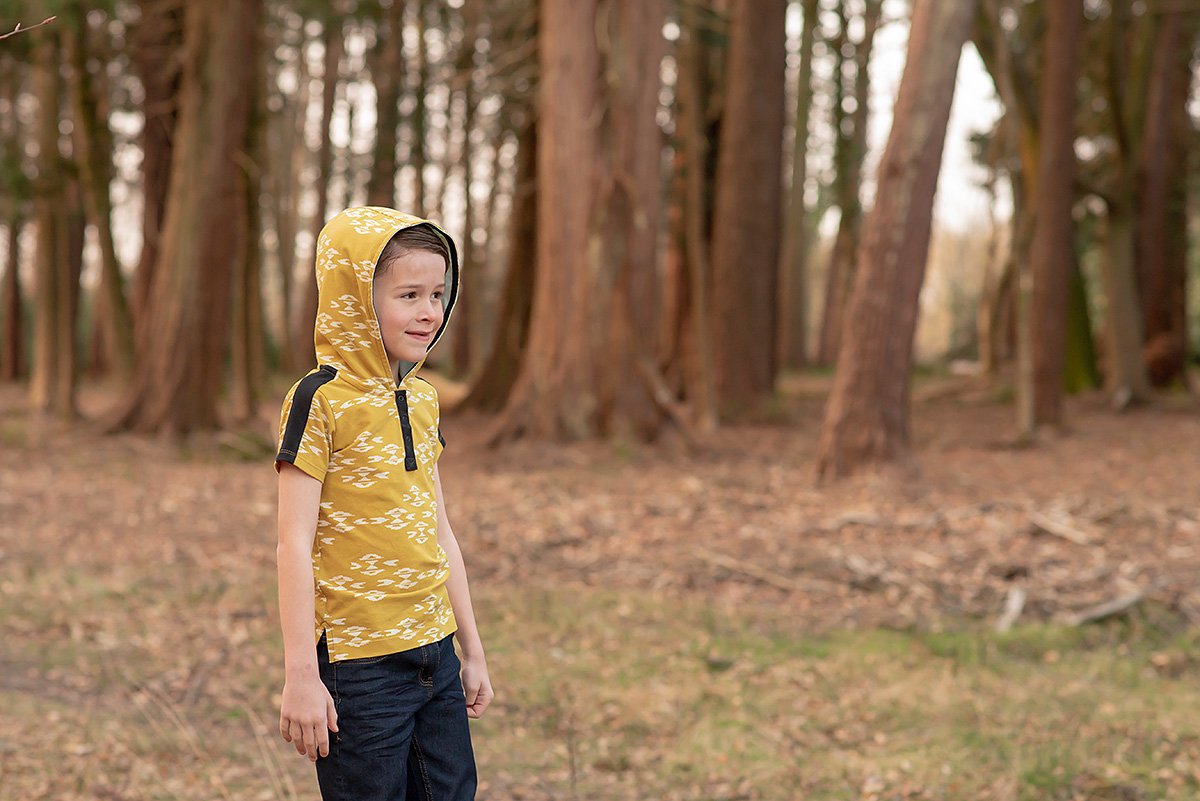
The fabrics for this post were kindly provided by Art Gallery. I genuinely love sewing with their jersey knit, it is a lovely weight and they have a huge variety of prints and solids available. The print on my daughter’s t-shirt is Chad’s Retreat from the Lagom collection. For my son’s t-shirt I used the Overshot Gold print, from the Observer collection by April Rhodes. Both of these prints are still available from Minerva Crafts in the UK.
You will find the other tutorials in the Rowan Tee Hacks series (and the free pattern pieces) using the links below :
Many of these hacks can be used together, and when used with the wide variety of options already offered on the Rowan Tee, give you a lot of ways to customise your T-shirts with different combinations. My son’s t-shirt in this post also has a hi-lo hem with side vents. You can also use all of the hacks, except the flutter sleeves, with the Safari Raglan Tee.


A placket like this can be finished in a few different ways, both at the top and the bottom of the placket. I chose this method for two reasons – the first was that I wanted it to work equally as well at the top for both a regular neckband and a hood. The second reason is that I wanted a nice clean finish at the bottom, without adding bulk to the inside.
You will need:
- Rowan Tee pattern
- Regular Rowan Tee supplies
- Free henley placket pattern pieces (sign up to receive them just below this list)
- Small amount of fabric for the placket*
- Featherweight interfacing for the placket
- A length of 1cm (3/8″) wide twill tape to cover the neckband (optional but gives a lovely finish)
- Wondertape or fabric glue (not essential but highly recommended)
- Edgestitching foot (not essential but highly recommended)
- 3 x 10mm (3/8″) snaps or buttons
[MailingListSubscribe file=’c2f523c3d5646f86b131b2a4634354cd’]
* Recommended fabrics for the placket include lightweight, stable knits or a light to medium weight woven fabric. These help you to get a neat finish on the bottom of the placket. It can become quite bulky if you use a medium weight jersey.
CUTTING FABRIC
OPTIONS: this hack is compatible with all of the options in the original Rowan Tee pattern, and all of the hacks in this series. The tutorial is written with a regular neckband but can also be used for a hood. If you are adding a hood you should sew this in advance, following the instructions starting on page 26 of the pattern.
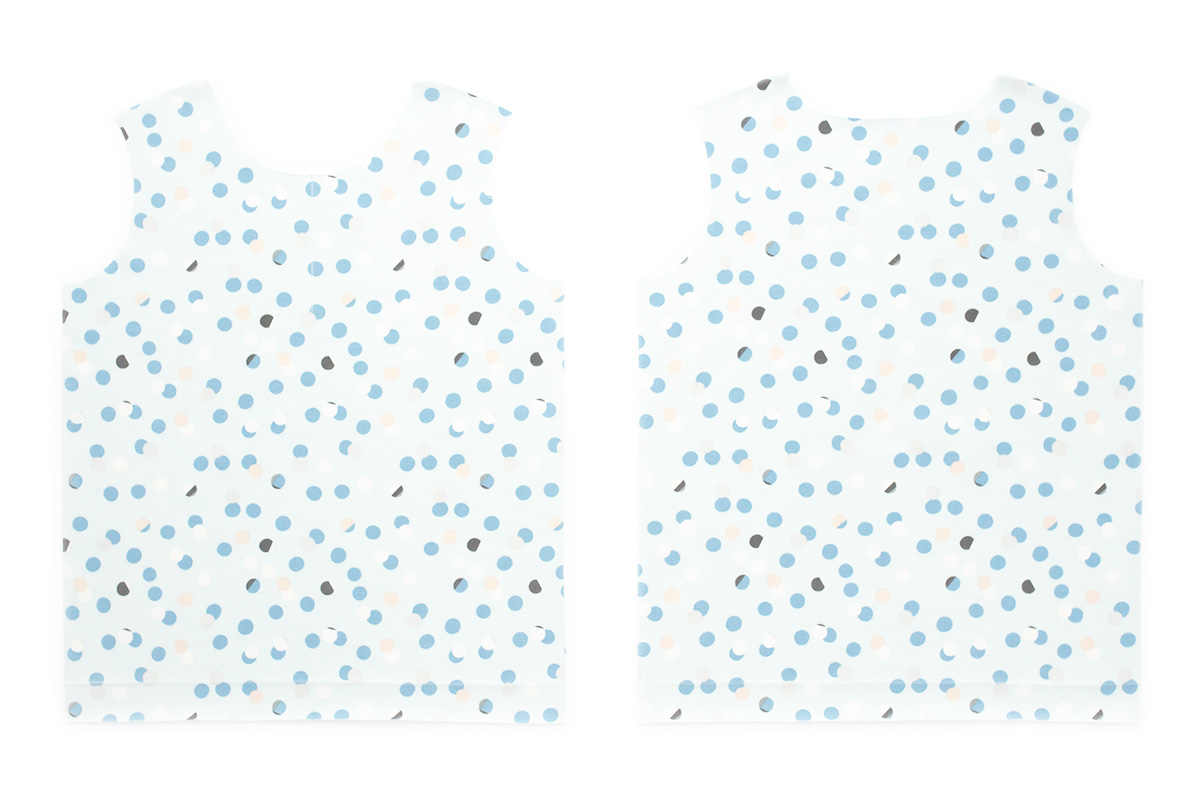
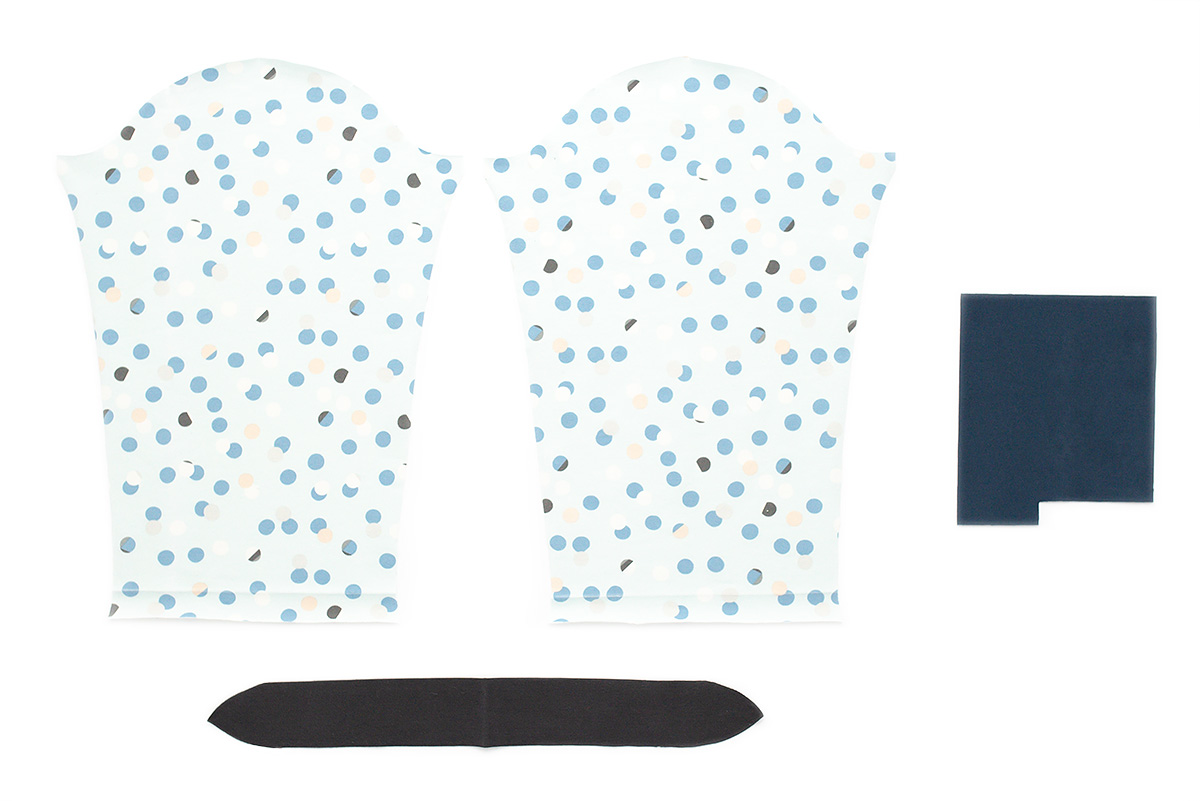
Choose your options and cut your pattern pieces as usual. I have chosen to sew a long sleeve T-shirt with a neckband and regular hems. You will need to use the henley neckband piece and cut a placket piece.
PLACKET CUTTING
There are three different placket sizes, and I have recommended which to use for each t-shirt size. However, they can be easily interchanged and shortened or lengthened, depending on your preference.
Size A: finished size is 8.5cm (3 5/16″). Recommended ages 6-9 months to 2 years
Size B: finished size is 10cm (4″). Recommended ages 3 to 8 years.
Size C: finished size is 11.5cm (4 9/16″). Recommended ages 9 to 12 years.
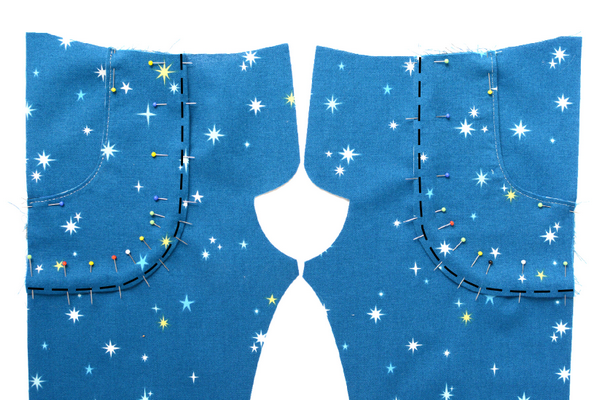
When cutting the placket piece, make sure that the paper pattern piece and the fabric are both right sides up. The photo above shows how it should look when cut. Before cutting, refer to the note in the ‘PREP’ section, about block fusing the interfacing before cutting.
The instructions for the placket are written for a boys / unisex opening, where the wearer’s left placket is the visible one. If you want to have a girls specific opening you will need to reverse the instructions.
PREP
INTERFACING
Interface the wrong side of the placket piece, as shown below.
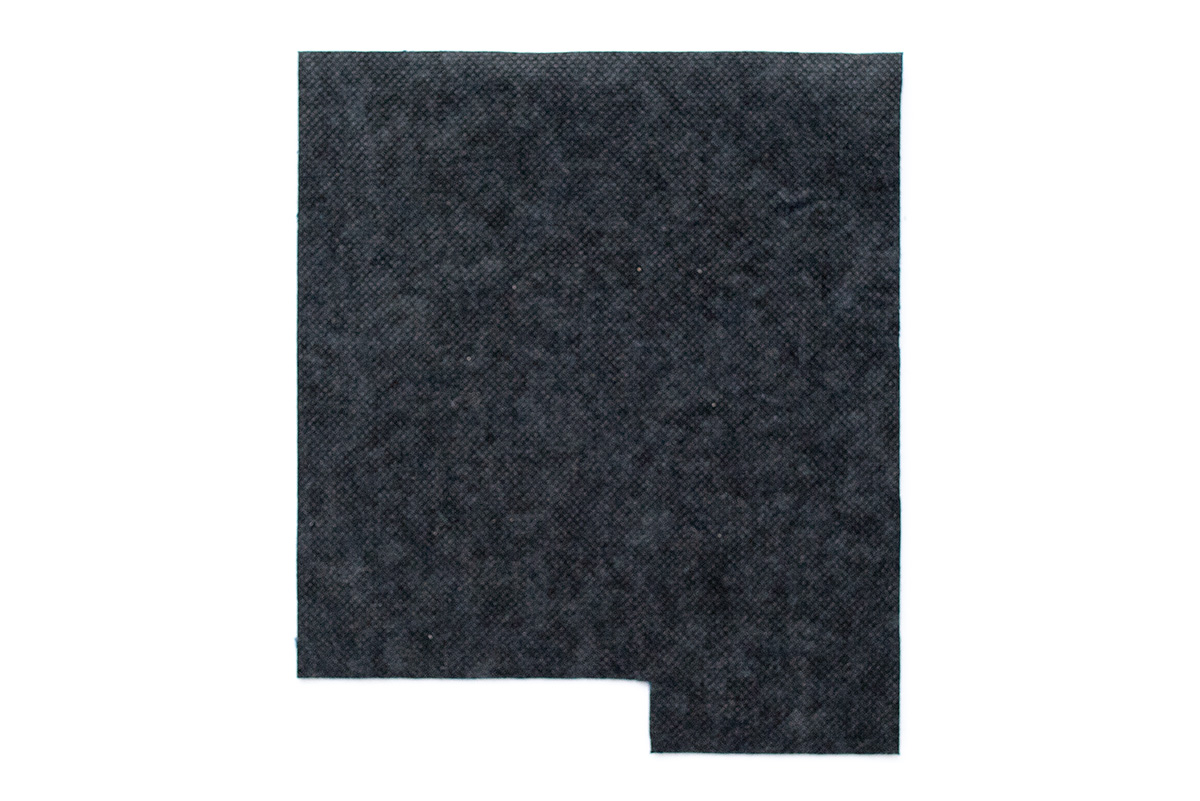
It is often easier for knits to interface the back of the fabric before cutting the piece out (i.e. block fuse it), than adding the interfacing to the cut placket. However, if you have used a medium weight fabric I recommend adding the interfacing afterwards. In this case, trim 1cm (3/8″) from each side, 1cm (3/8″) from the top edge, and the extra section at the bottom on the right, to remove bulk.
PATTERN MARKINGS
PLACKET
On the wrong (interfaced) side of the fabric, add the markings shown below. The horizontal line is 1cm (3/8″) from the top. The central vertical line is the centre of the placket. The box marking (with vertical lines either side of the centre) shows the stitch lines for the placket, and is marked on the placket pattern piece.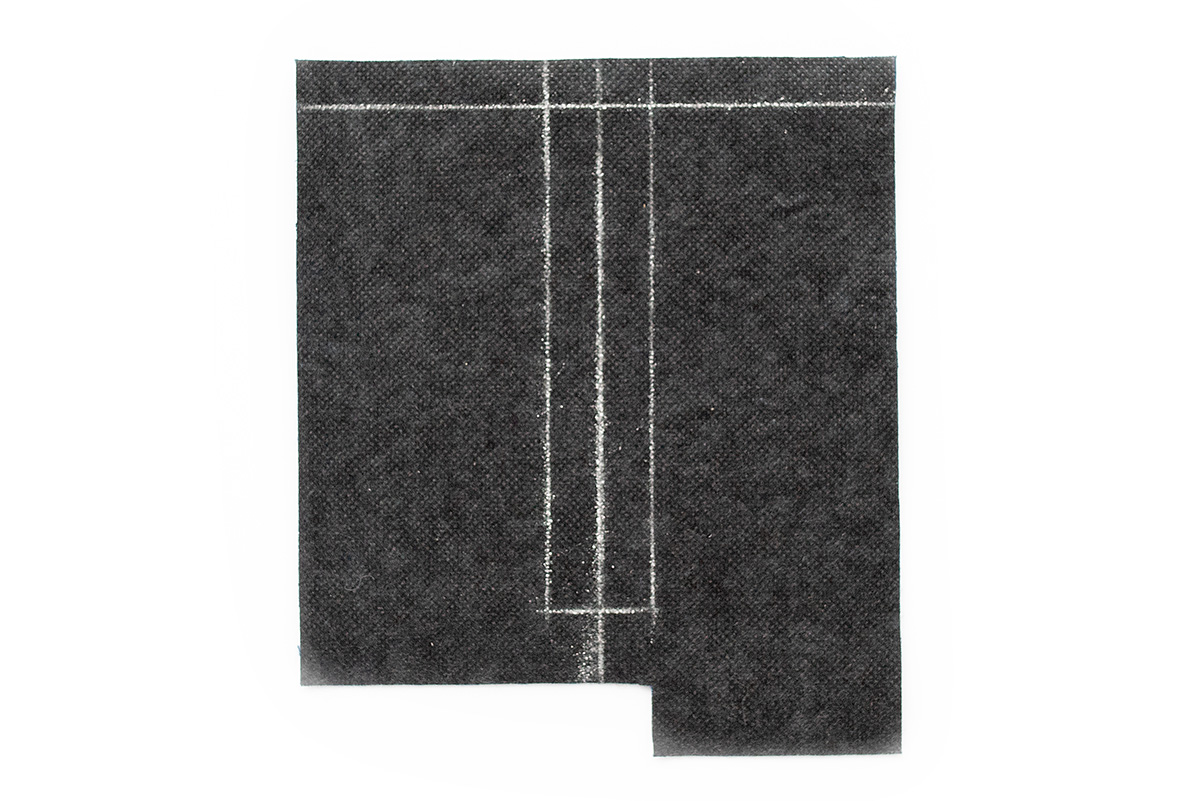
On the right side of the placket, transfer the following + markings. Their position is marked on the placket pattern piece. The centre of each + is 1cm (3/8″) from the top edge, and 3cm (1 3/16″) from the side. They will be in line with the folded placket edges once you’ve have pressed the placket.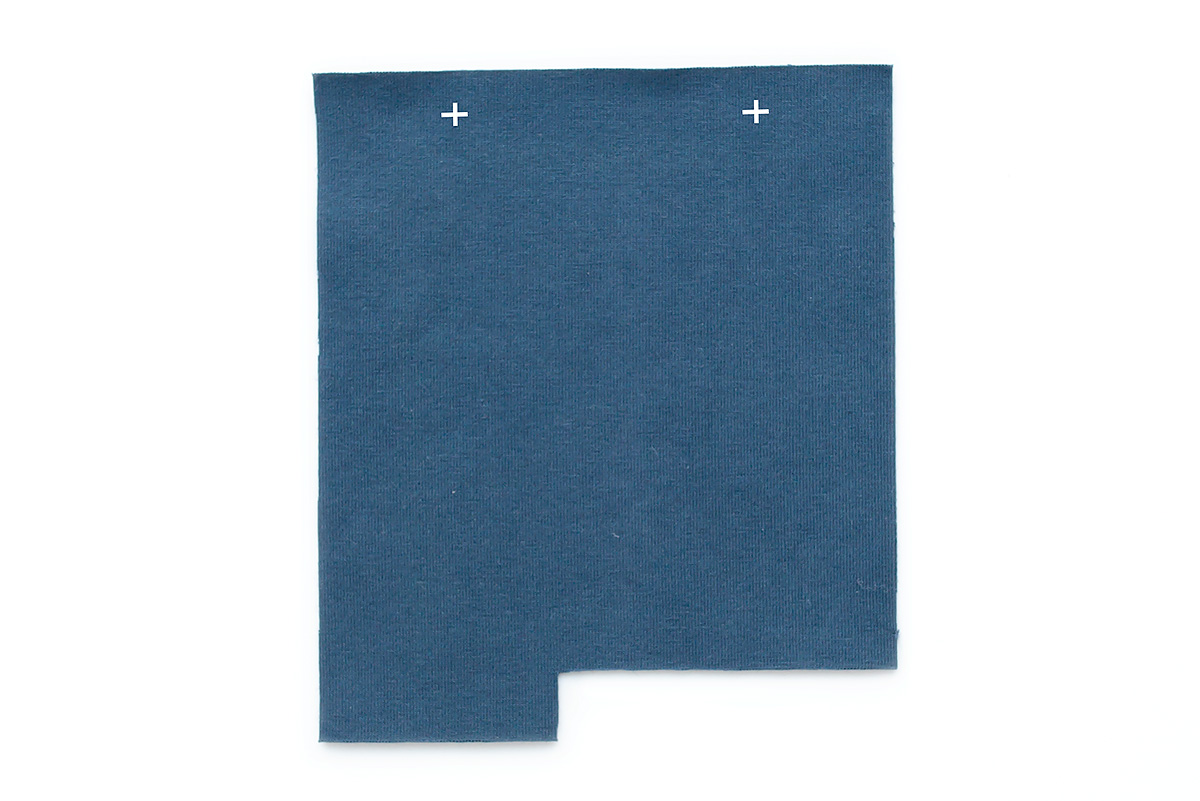
FRONT BODY
Add a marking down the centre front of the front body piece, the length of the placket opening. This is 7.5cm (3″) for placket size A, 9cm (3 1/2″) for placket size B and 10.5cm (4 1/8″) for placket size C.
PRE-PRESSING
PLACKET
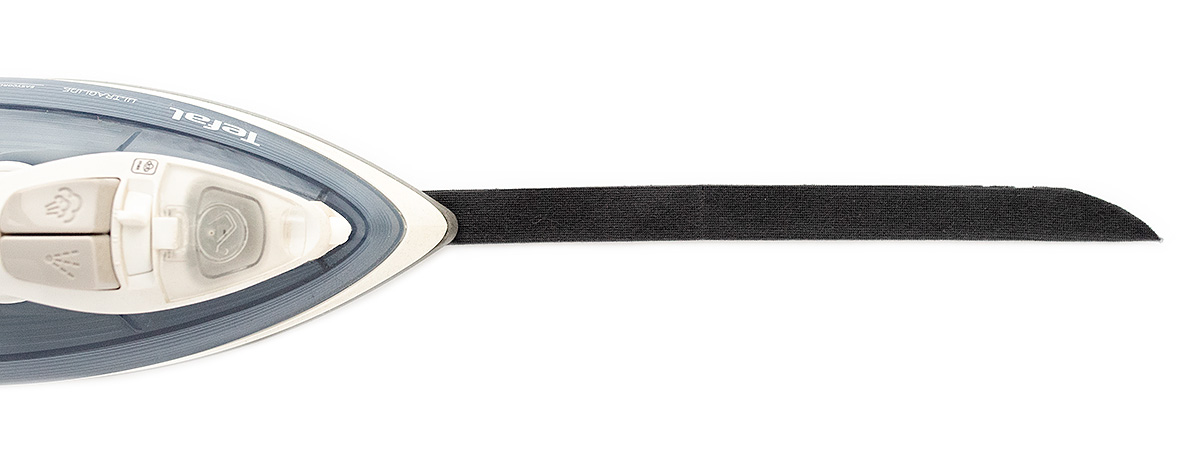
Spending a few minutes pressing your placket in advance will make it a lot easier once you have sewn it onto the front.
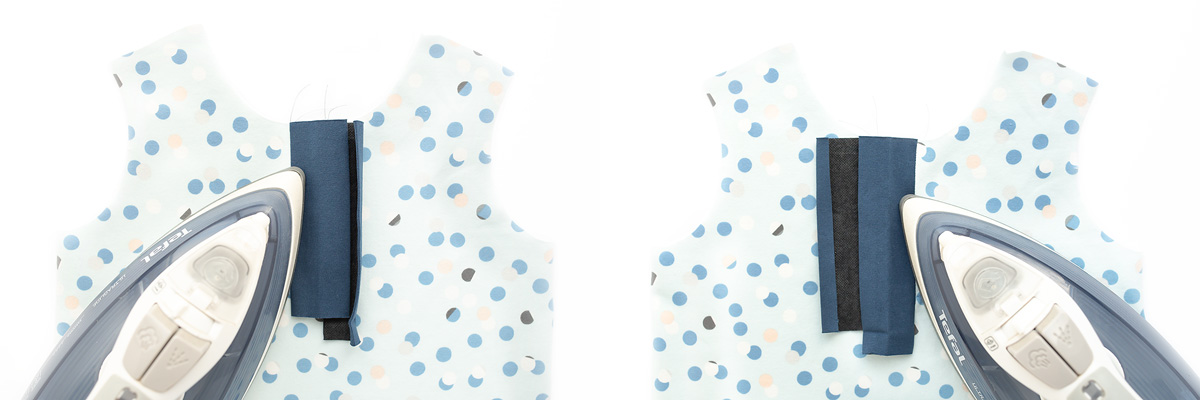
I) Fold both sides of the placket over 1cm (3/8″) to the wrong side and press.
II) Take the left folded edge and fold it over, so it meets the left of the placket stitch lines.
III) Press well.
IV) Repeat for the right side.
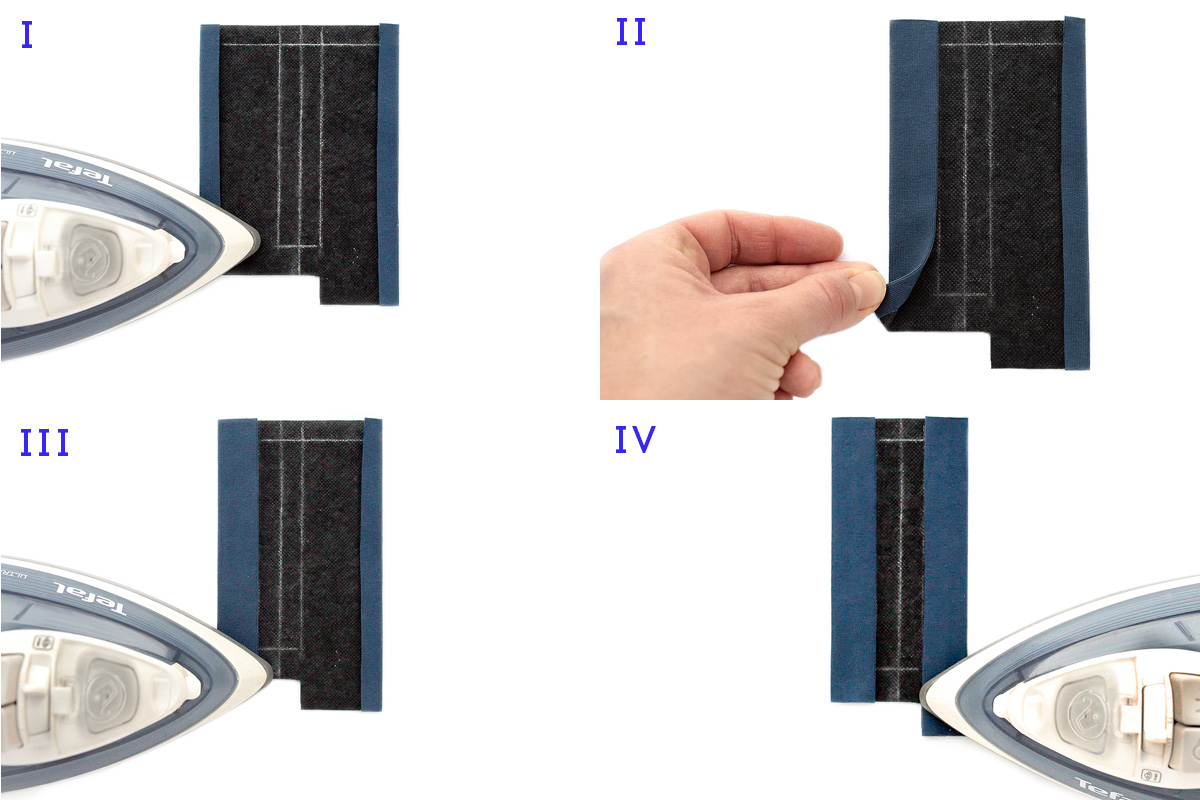
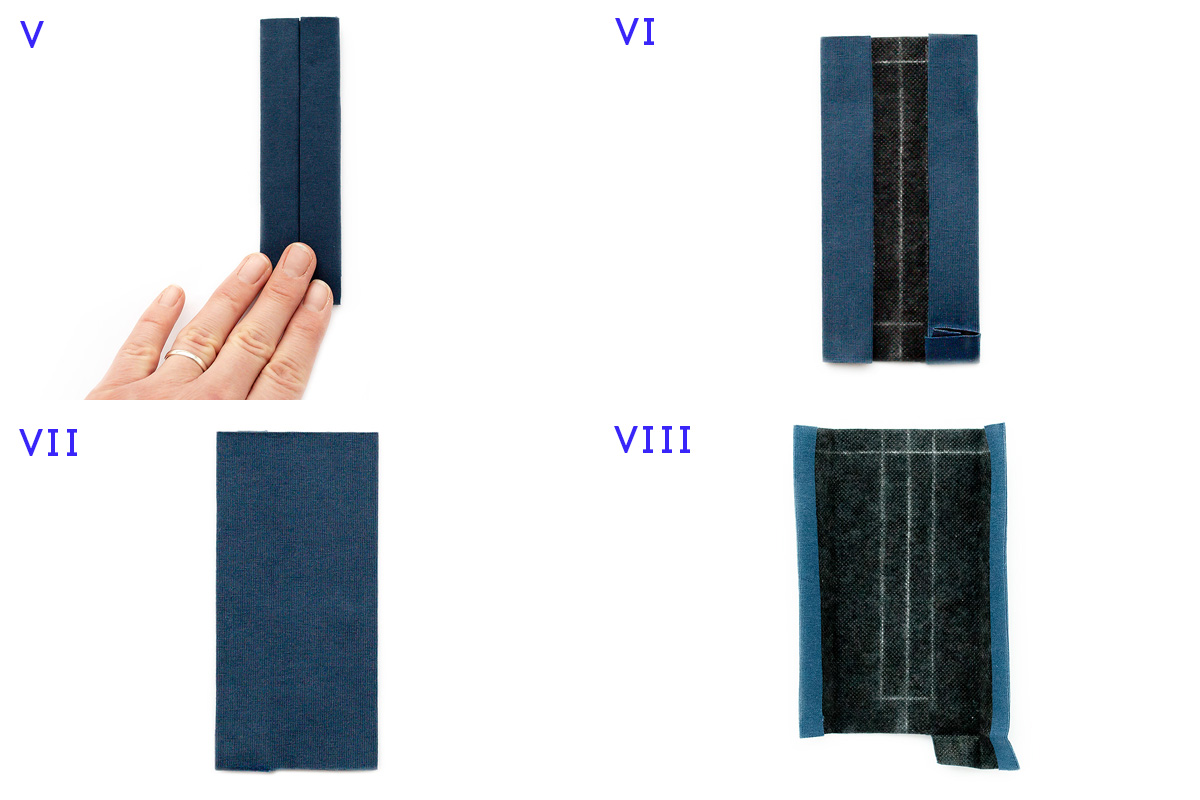
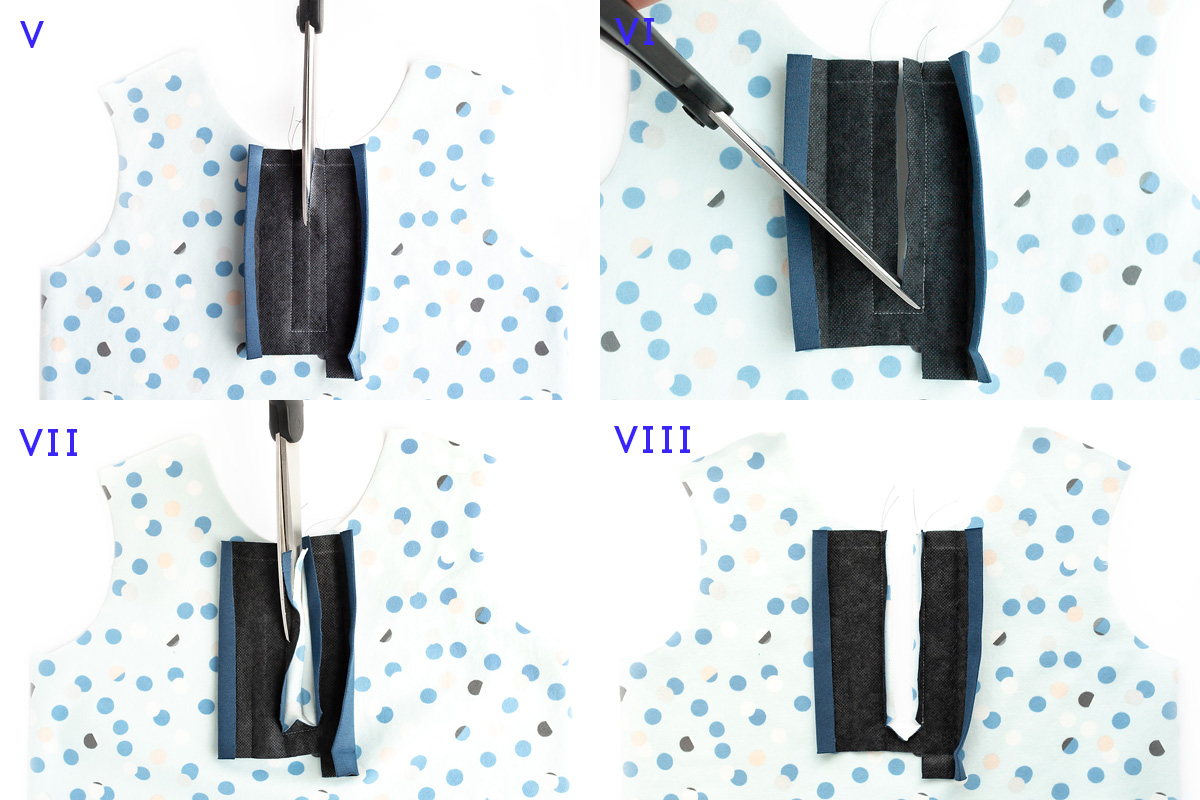
V) The section in the middle is the area that both plackets will fold into, to be positioned in the centre of the t-shirt. Quickly check to make sure they will fit, by folding each side into the centre in turn.
VI) Fold the extending bottom of the right side of the placket up, so the fold is in line with the bottom of the rest of the placket. Press well.
VII) This is what it should look like from the other side.
VIII) Open out the placket before you move on to sewing.
FRONT AND BACK BODY
Pre-press the hem on the front and back body pieces. Fold the bottom 2.5cm (1”) to the wrong side and press well. Unfold the hems before sewing.

NECKBAND
Fold the neckband in half lengthways, with wrong sides together. Press well.
SEWING INSTRUCTIONS
1. Sew placket to the front
Arrange the placket on the front body piece, with right sides together and the centre markings aligned. The top of the placket should be level with the neckline (where the stitch lines meet the neckline, not the centre front line).
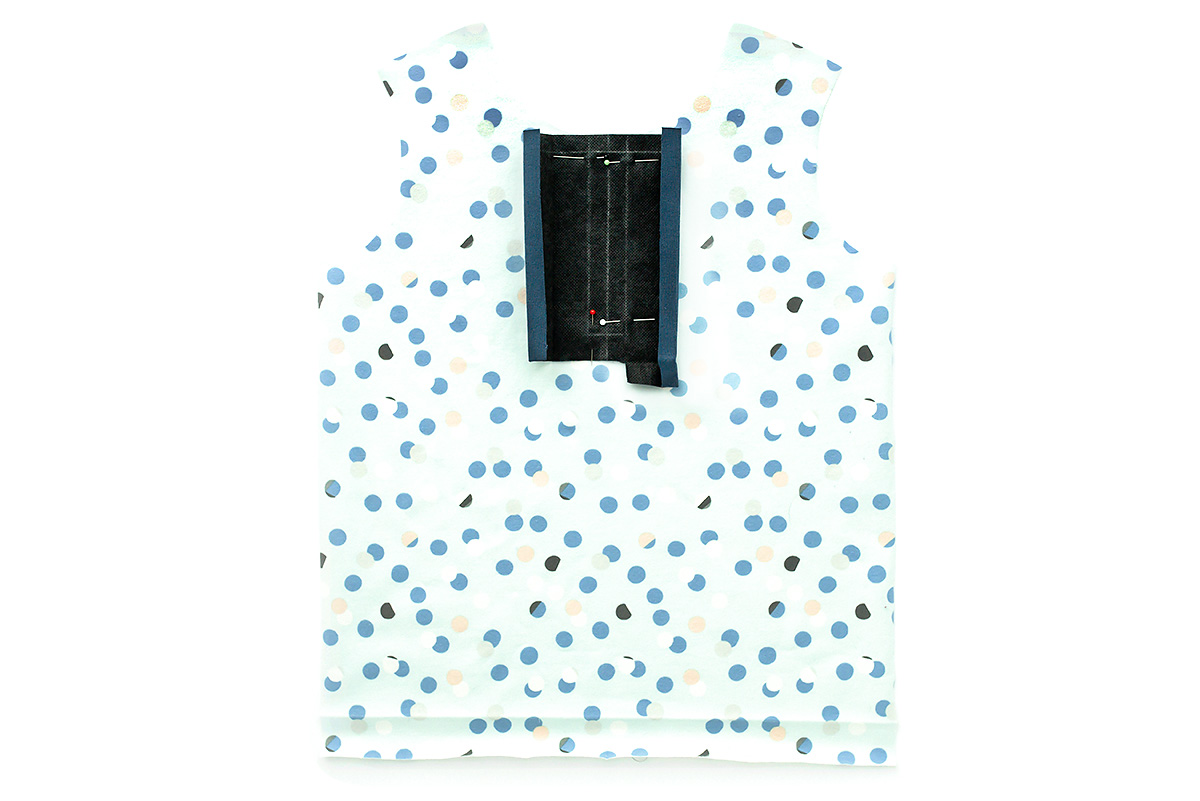
Pin in place around the placket stitch lines. Make sure both the front body and the placket are lying completely flat (before and after sewing). We will be stitching around the placket opening, as shown below. You will start sewing at point A, sew down to B, across to C and back up to D. Accurate sewing here will have a big impact on the final finish of your placket. Take care to follow the lines you have marked exactly.
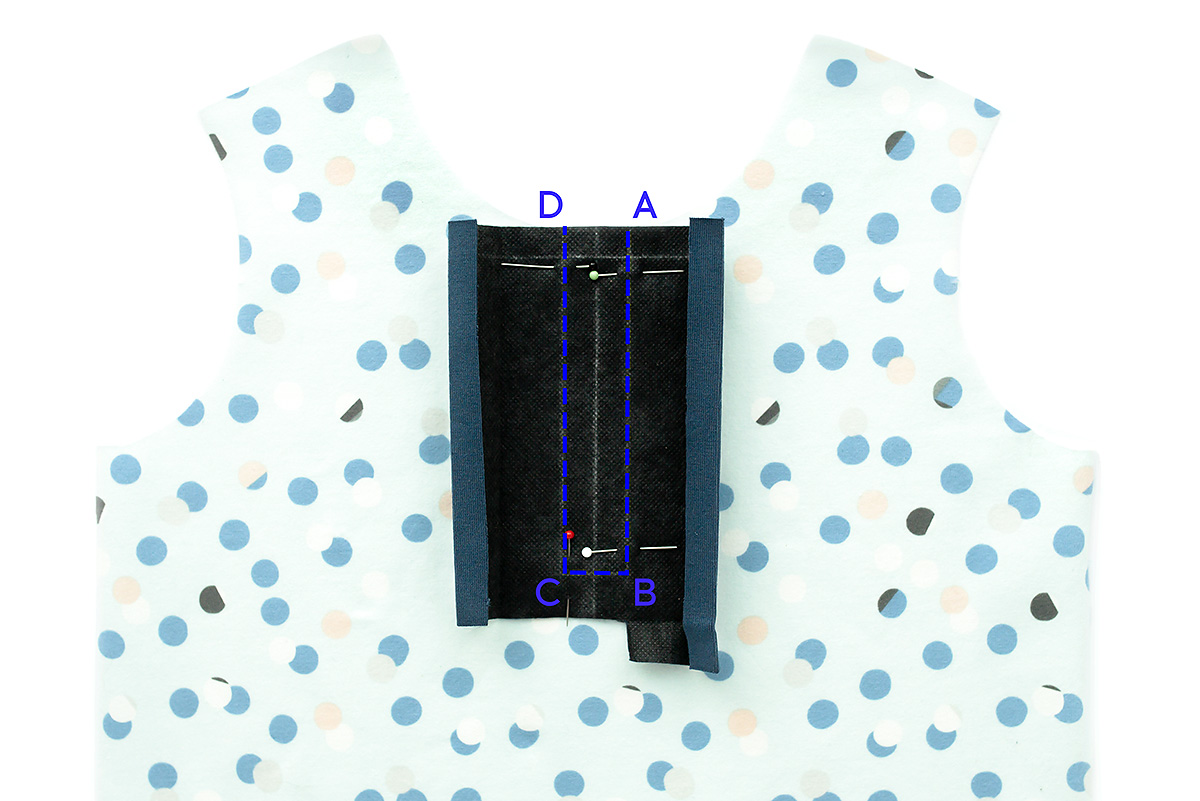
Reduce the stitch length slightly on your machine and use a regular straight stitch. Position your placket on your sewing machine. Back stitch a couple of times at the beginning.
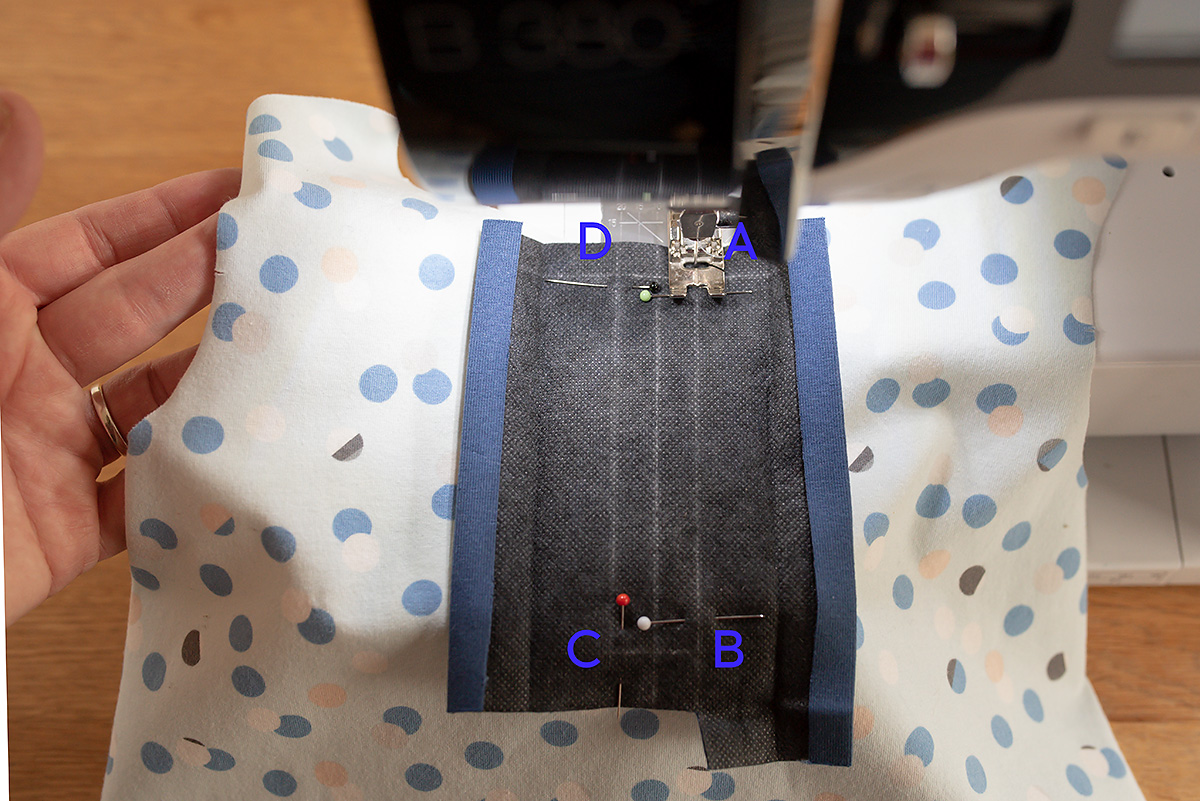
I) When you reach B, you need to stop with your needle in the down position, lift your presser foot.
II) Pivot the fabric and lower your presser foot.
III) Sew to point C. Again, stop with your needle in the down position, lift your presser foot.
IV) Pivot the fabric and lower presser foot again. Continue sewing to point D.

Once you have finished stitching, press well. Fold each side of the placket over towards the other side and press.
Next, we need to create the placket opening.
V) Cut down the centre of the placket. Stop when you are about 1.25cm (1/2″) from the bottom of the stitches
VI) Clip diagonally into the corners. Go as close to the corner as possible, without cutting through the stitches.
VII) Trim and seam allowances on each side of the placket to 6.5mm (1/4″), grading the two layers as you cut*. This will reduce bulk and make it easier to sew buttonholes or attach snaps.
VIII) Check that both of the layers of seam allowances are facing towards the centre, as this will ensure they are enclosed in the finished placket. Fold the triangle at the bottom of the opening down, and finger press in place.
* To grade the two layers, cut at a diagonal angle, so the two layers are slightly different widths.
2. Sew shoulders and press
If you are adding shoulder stripes then follow the instructions on page 21 of the pattern. If you are adding full arm stripes then you will need to sew the sleeves at this stage too – follow the instructions on page 23 for this.
For regular shoulders, arrange the front and back body pieces with right sides together. Align the shoulders and sew the seam with a stretch stitch or serger and a 1cm (3/8″) seam allowance. I recommend stabilising the shoulder seam using stay tape, clear elastic or twill tape.
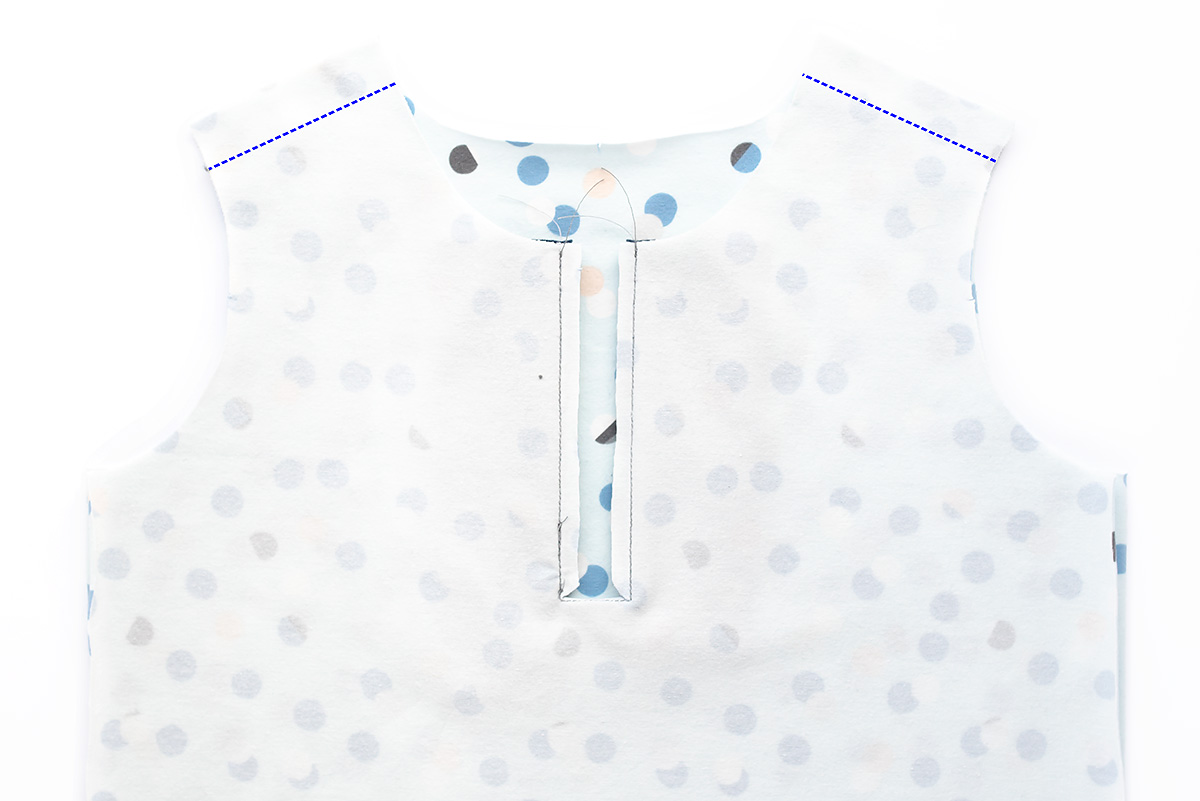
Press the seam allowances towards the back and topstitch if desired.
3. Add neckband (or hood)
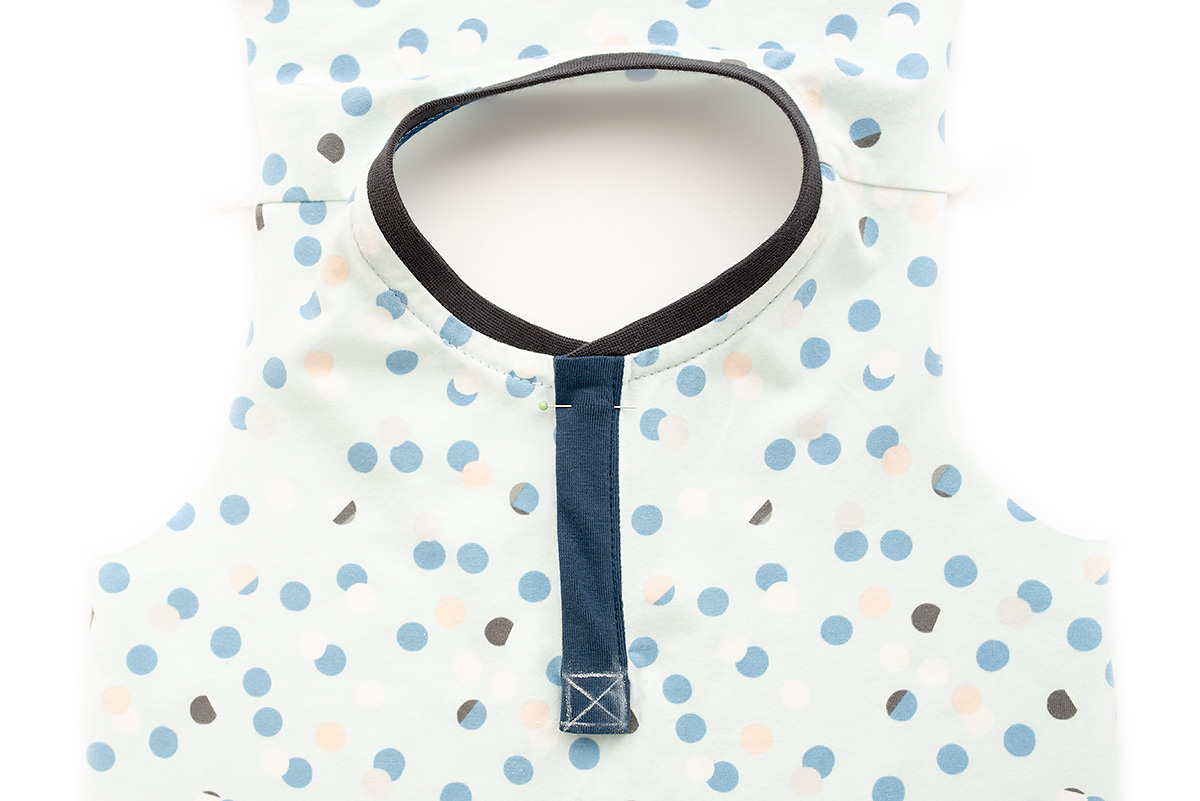
I) Align the raw edges of the neckband with the neckline. Pin the neckband in place, starting at the centre back. At the front you want neckband (or hood) to meet the + marking you made on the right side of the placket at the prep stage.
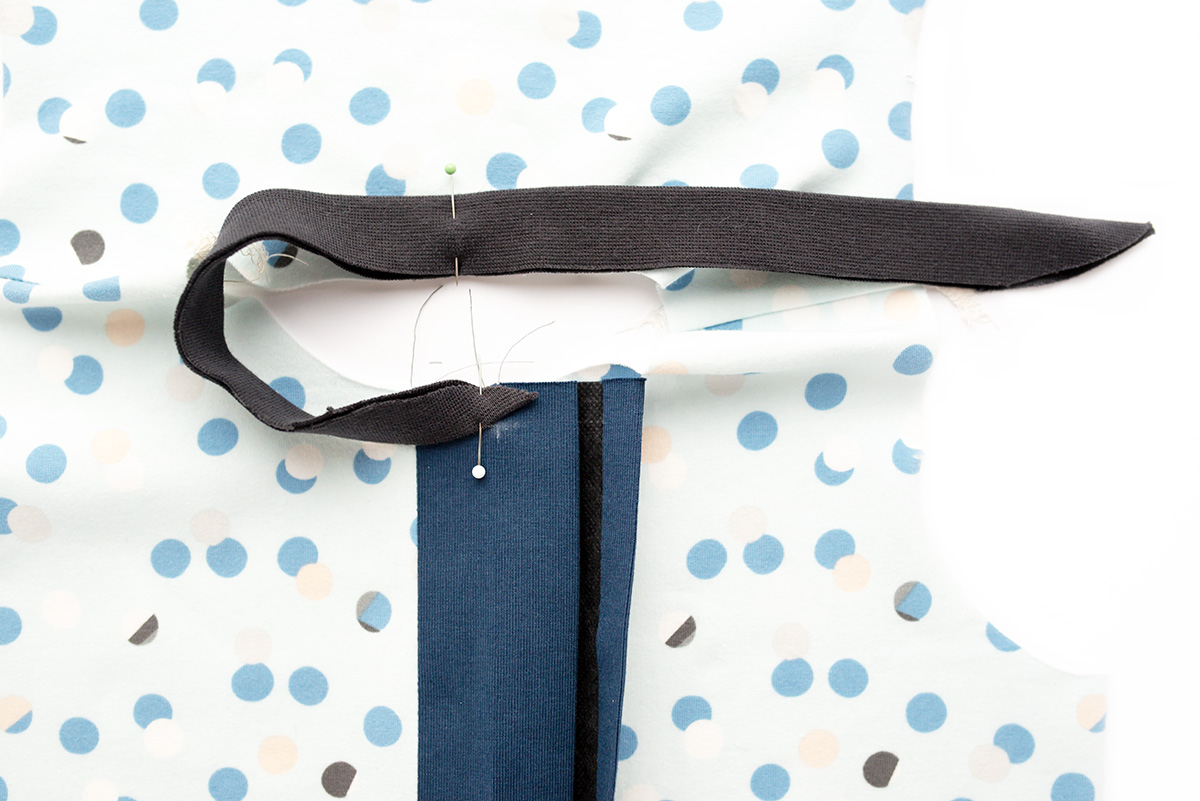
II) Baste each end of the neckband in place on the placket.
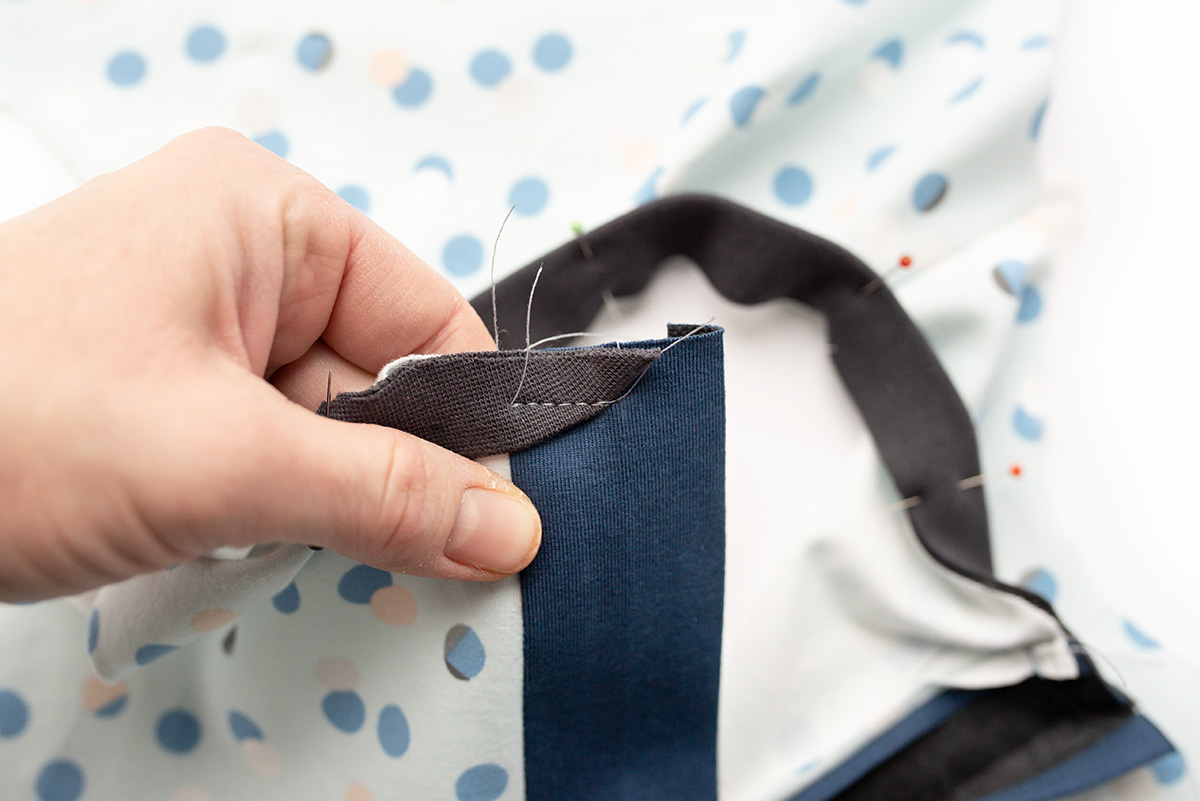
III) Fold the ends of the neckband back.
IV) Now fold the top of each placket back, so the right sides of the placket are facing. The folded edge of the placket should barely cover the seam where the placket meets the t-shirt.
V) Pin in place. Check again that the seam allowance of the placket and t-shirt are facing towards the centre. Prepare the other placket the same way.
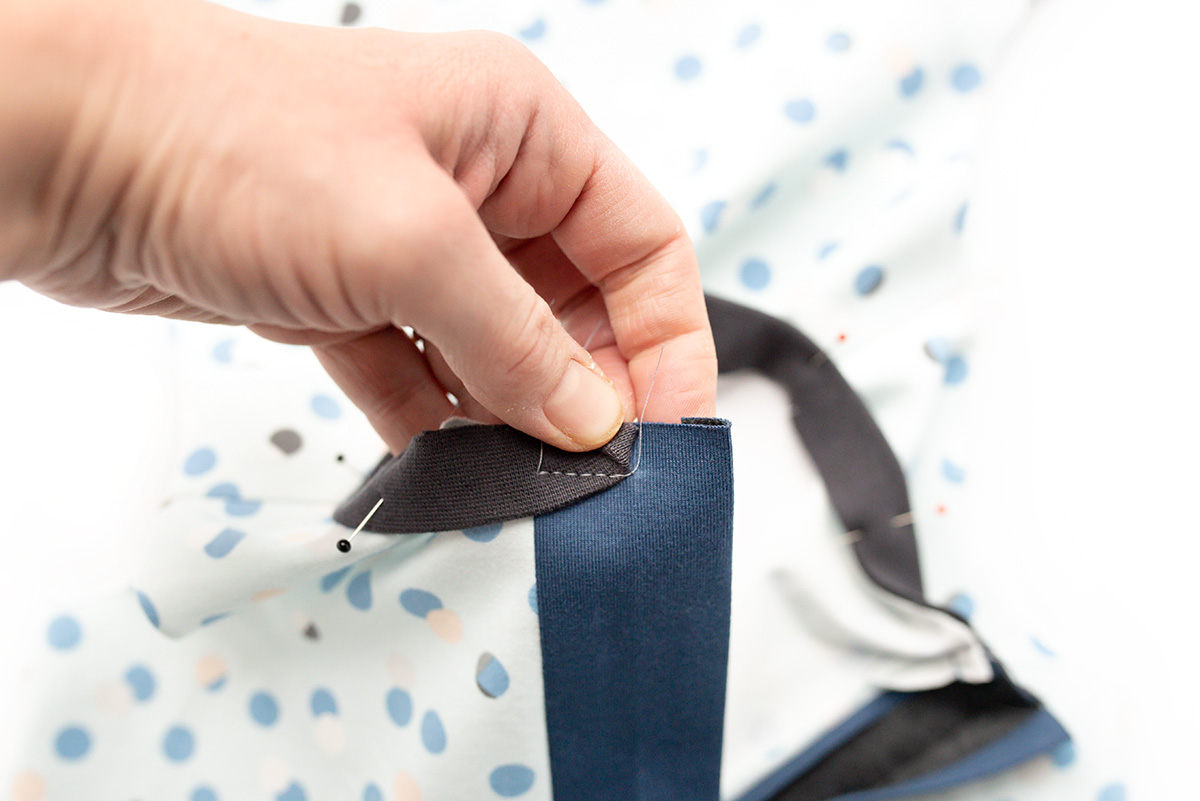
VI) Sew all around the neckband, from one placket to the other. Use a 1cm (3/8″) seam allowance, and a stretch stitch. Back stitch a couple of times at the beginning and end.
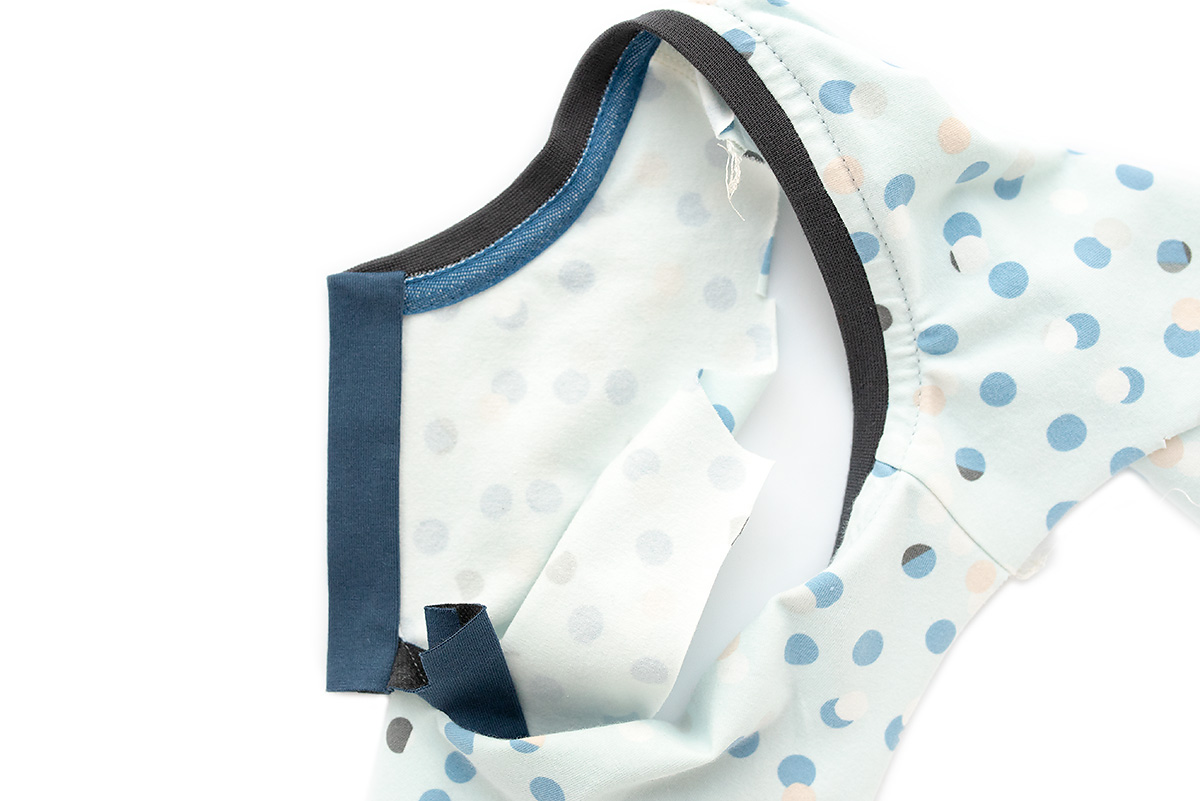
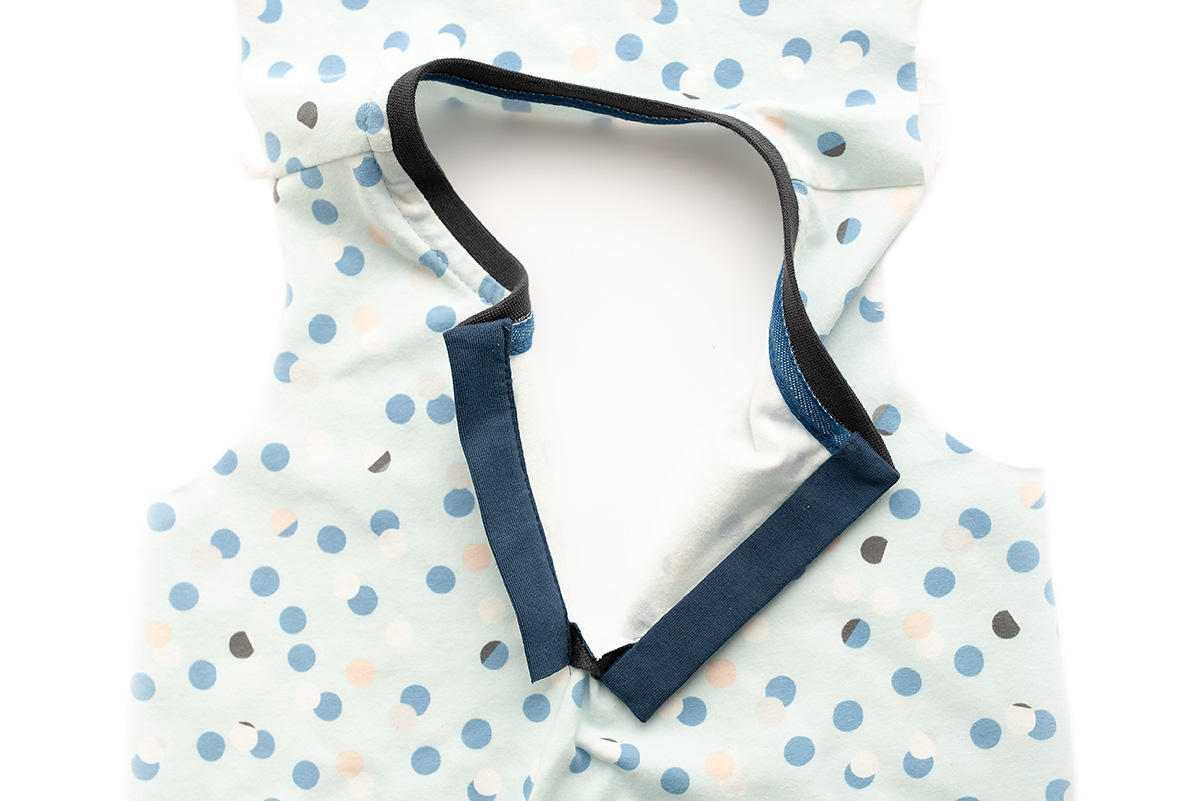
Press well and clip the corners, as highlighted in the circle below.

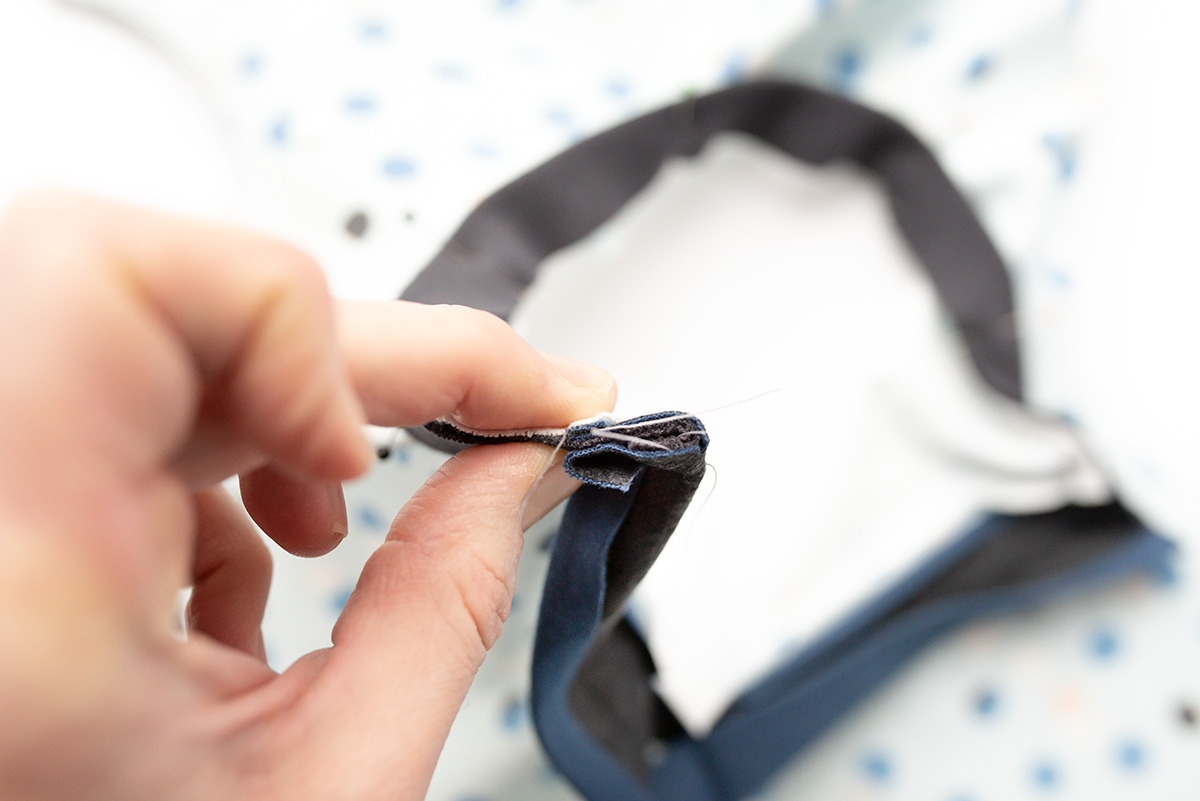
At this point you can push each placket out so the right sides are visible, to check the top edge is finished at a right angle to the sides of the placket.
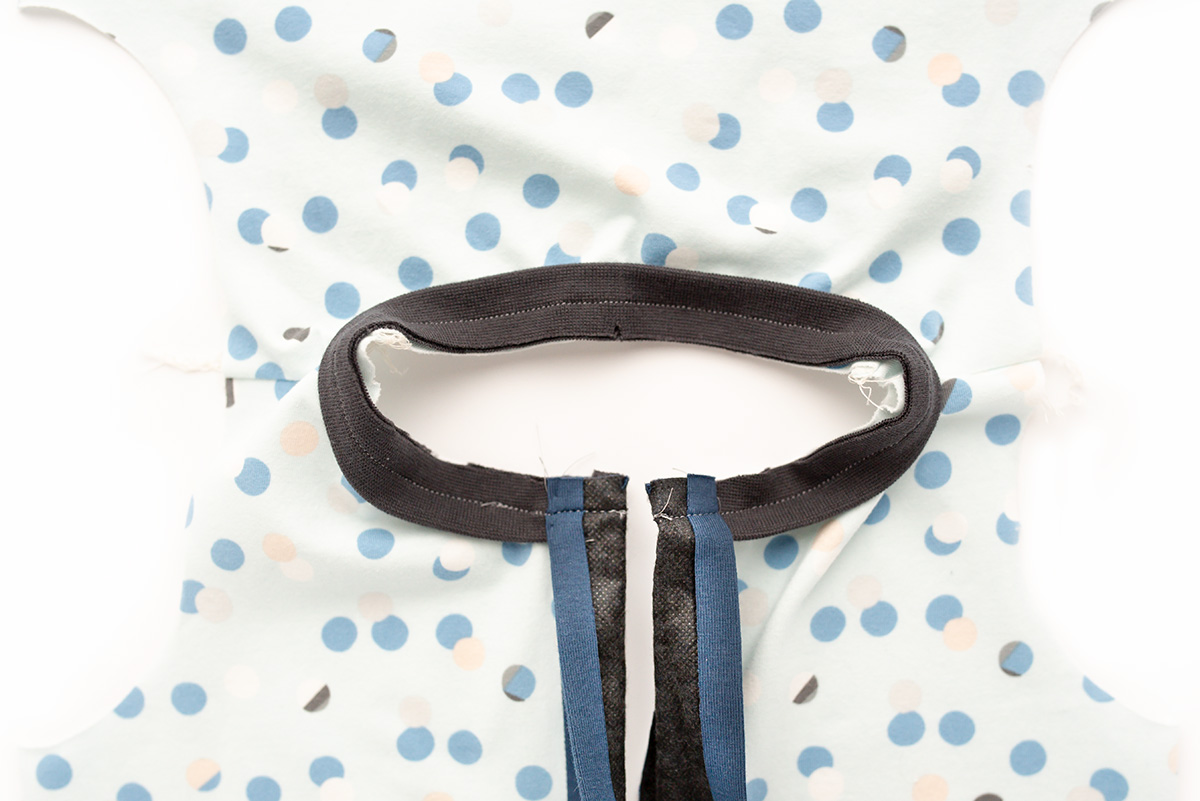
If you plan to add twill tape to finish the neckband then push the wrong sides of the plackets back out again, and trim the seam allowances all around the neckband to 5mm (3/16″).
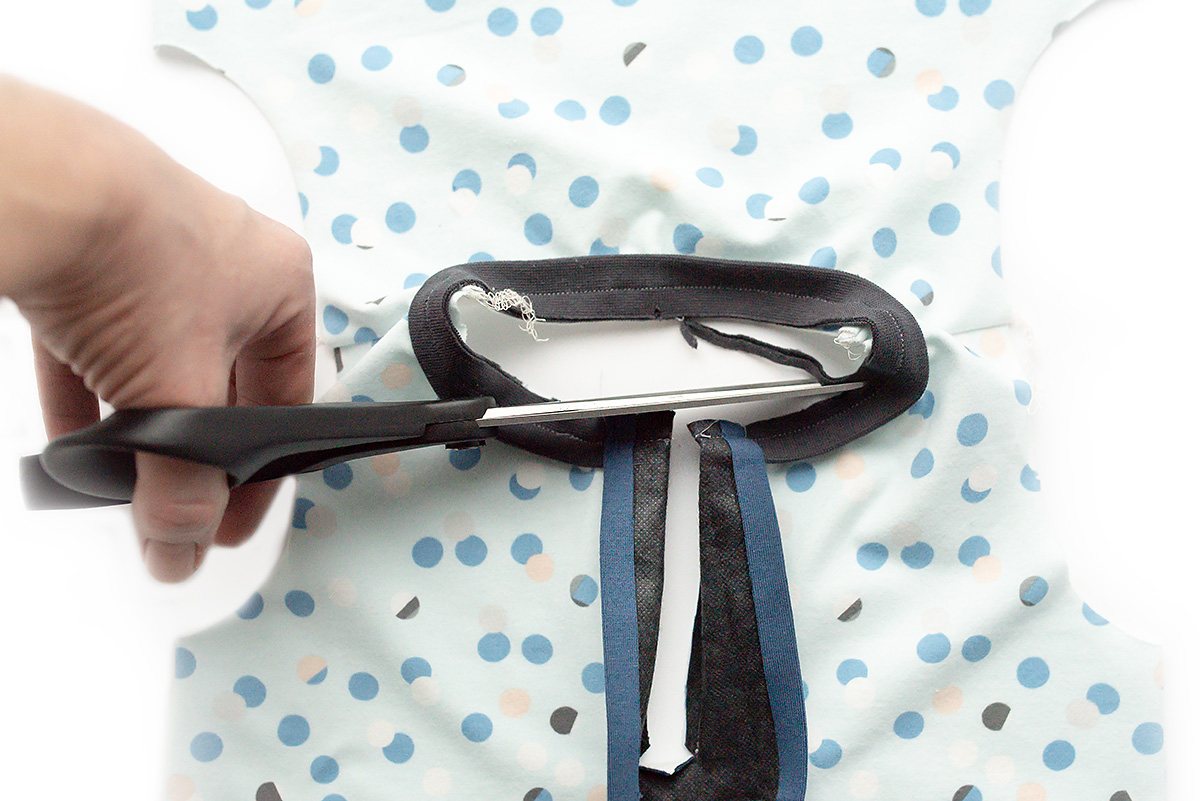
4. Cover neckband SA with twill tape.
Note that using twill tape will remove most of the stretch in the neckband, so you will need to use the placket opening in order for the child to get the T-shirt over their head.
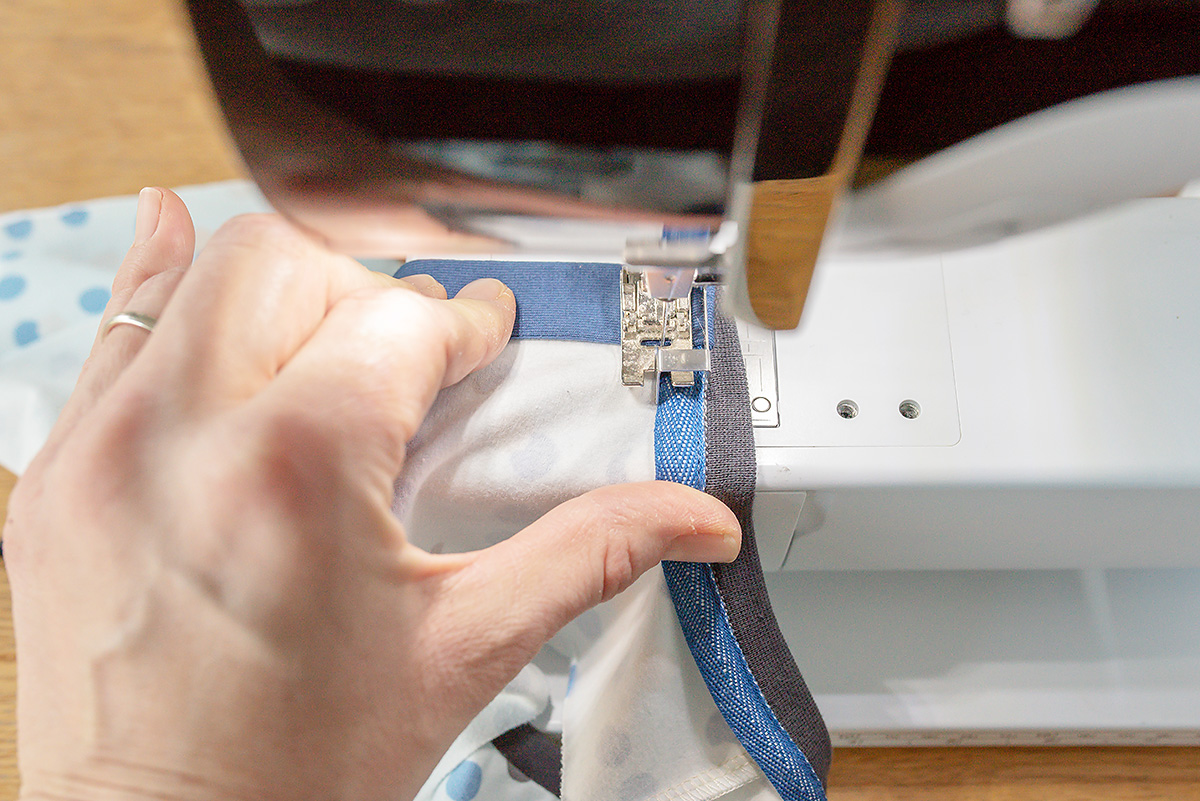
This optional step can give a lovely clean finish to the inside of the neckband. However, you do need to be accurate with aligning the twill tape and with your stitching, as this will affect the second row of stitches and that row will also show from the front of the t-shirt. I highly recommend an edgestitching foot for this step, and taking it slow.
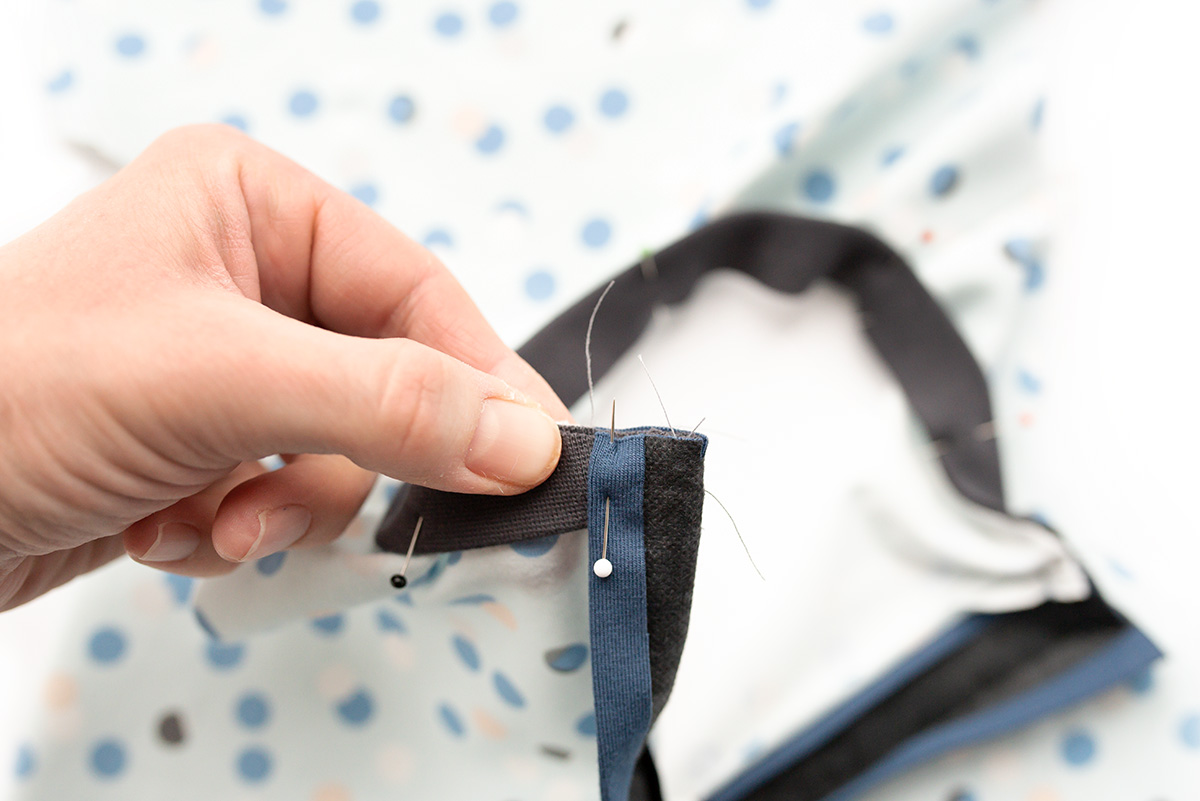
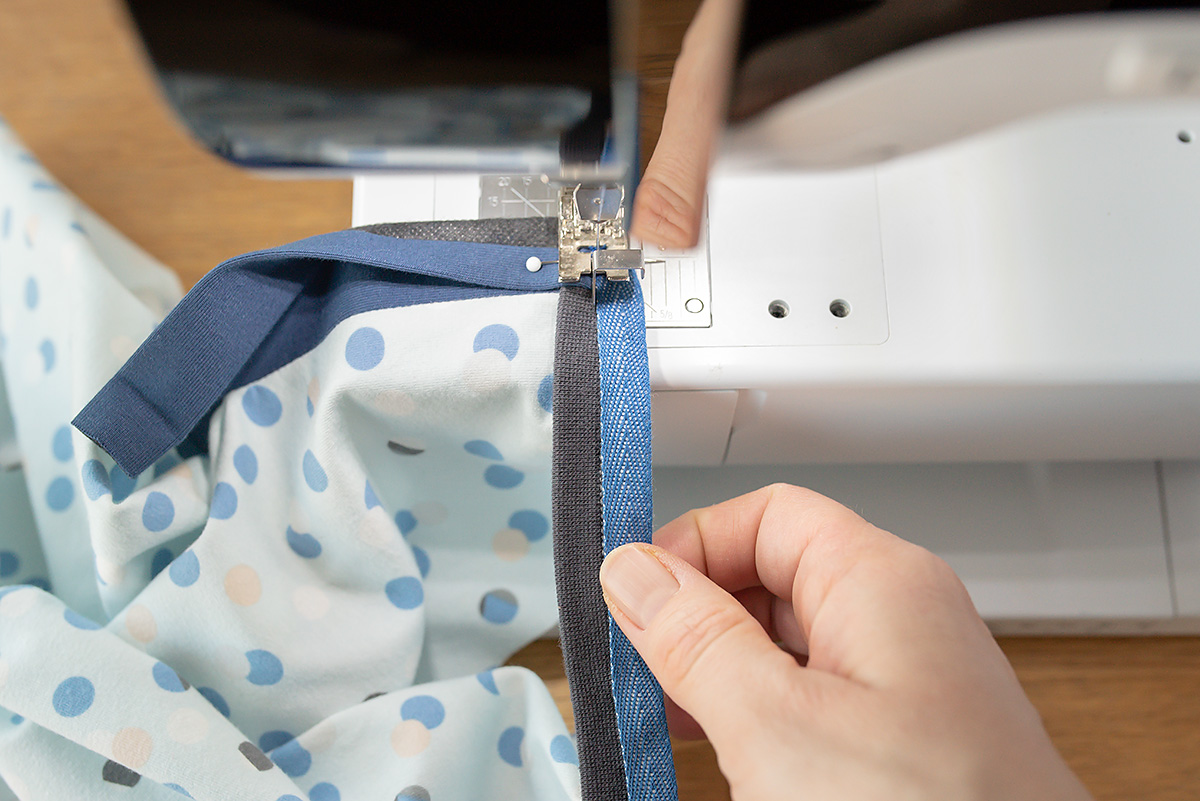
I) Take a length of twill tape that is just longer than the neckline.
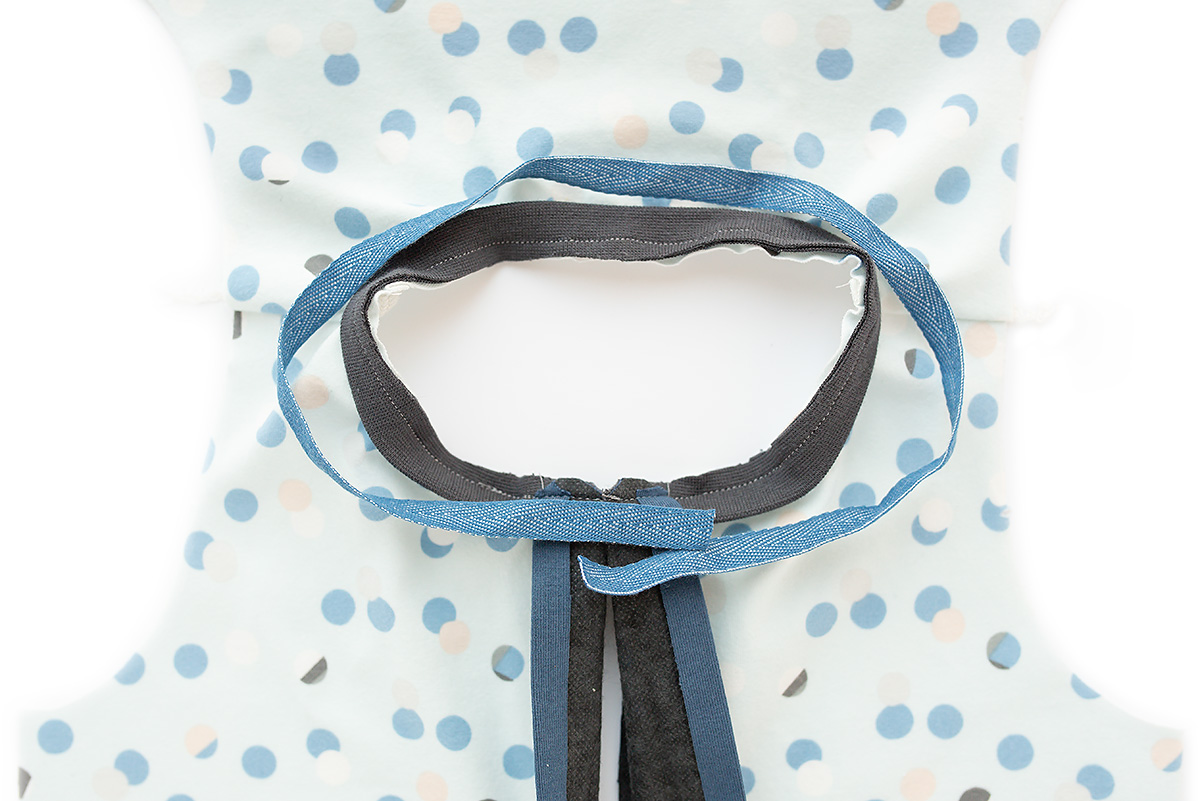
II) Arrange it so the left edge barely covers the stitchline where the neckband (or hood) was sewn to the t-shirt. I prefer to align and pin the first few centimetres, then arrange the rest as I’m sewing. Start pinning the tape in place in the middle of the placket width.
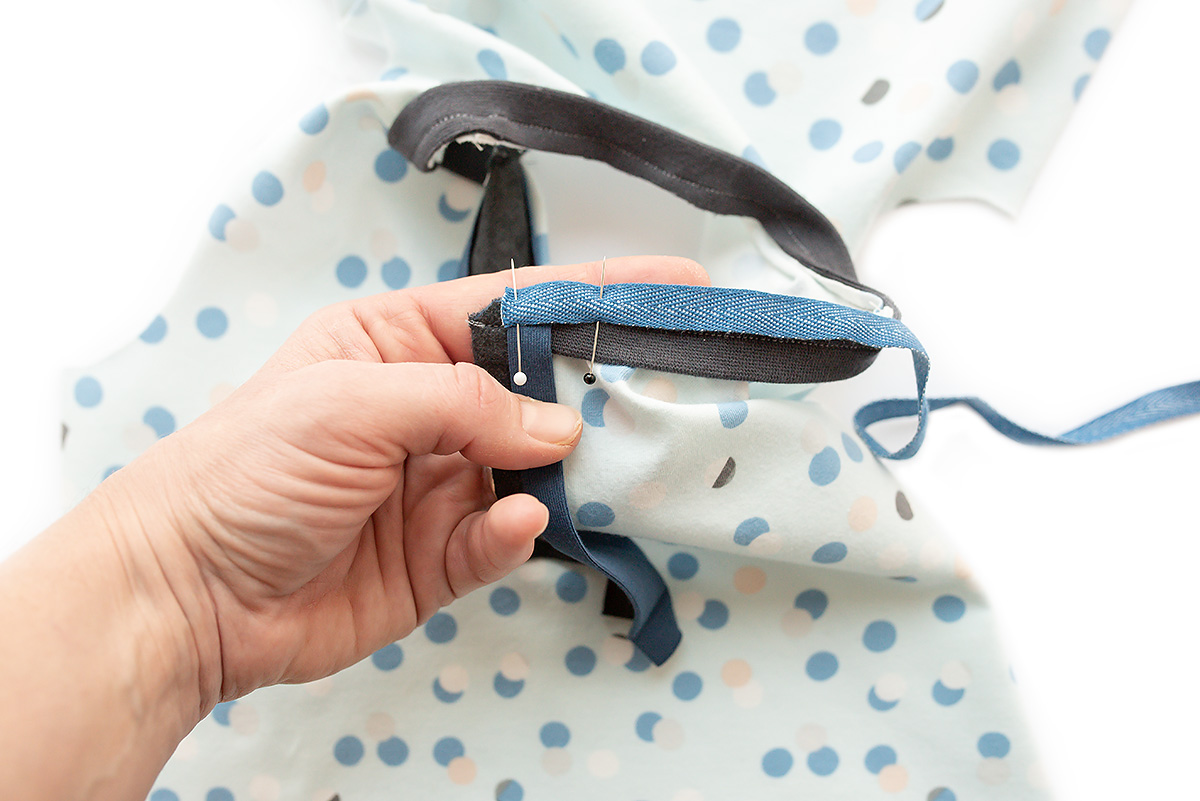
IMPORTANT: apply the twill tape as loosely as possible. If you pull too tightly it will cause issues when you sew the other side down of the twill tape, since that is sewn to a wider section of the neckline, and the t-shirt has more stretch than the twill tape.
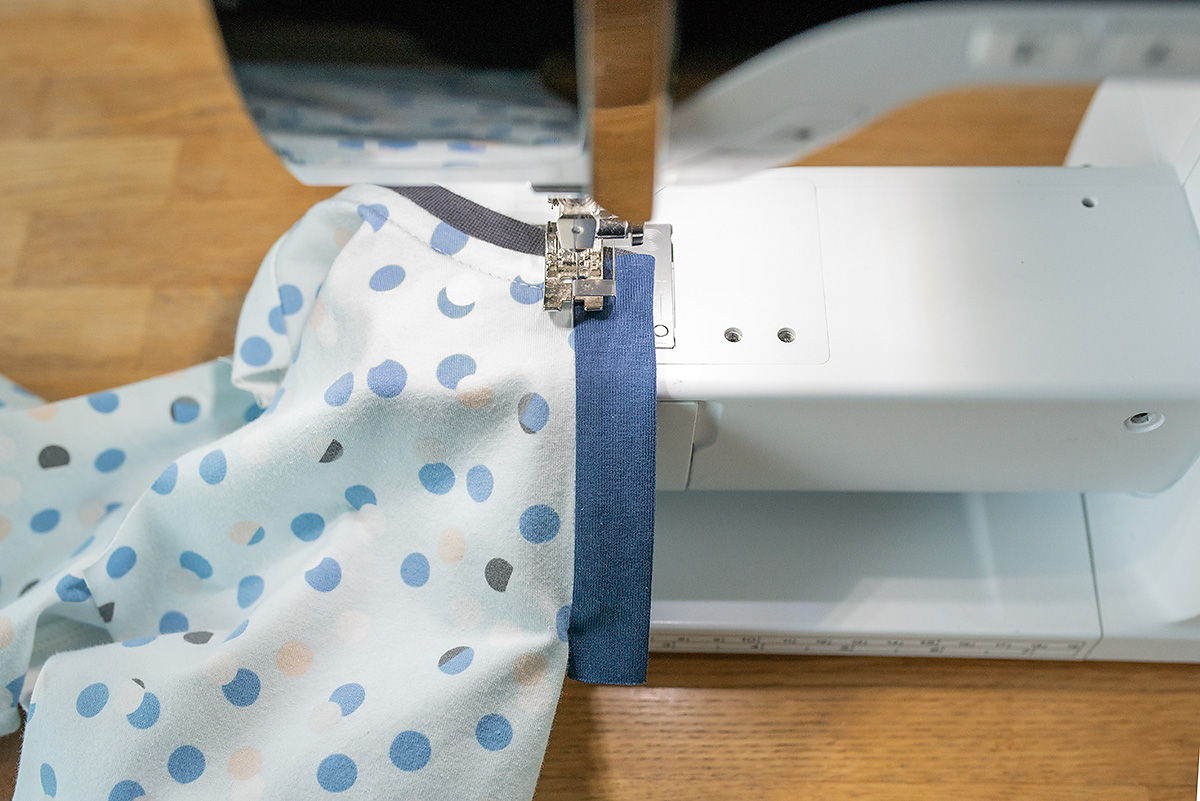
III) Edgestitch from the start of the twill tape, all around the neckband, until you get to the middle of the placket at the other end.
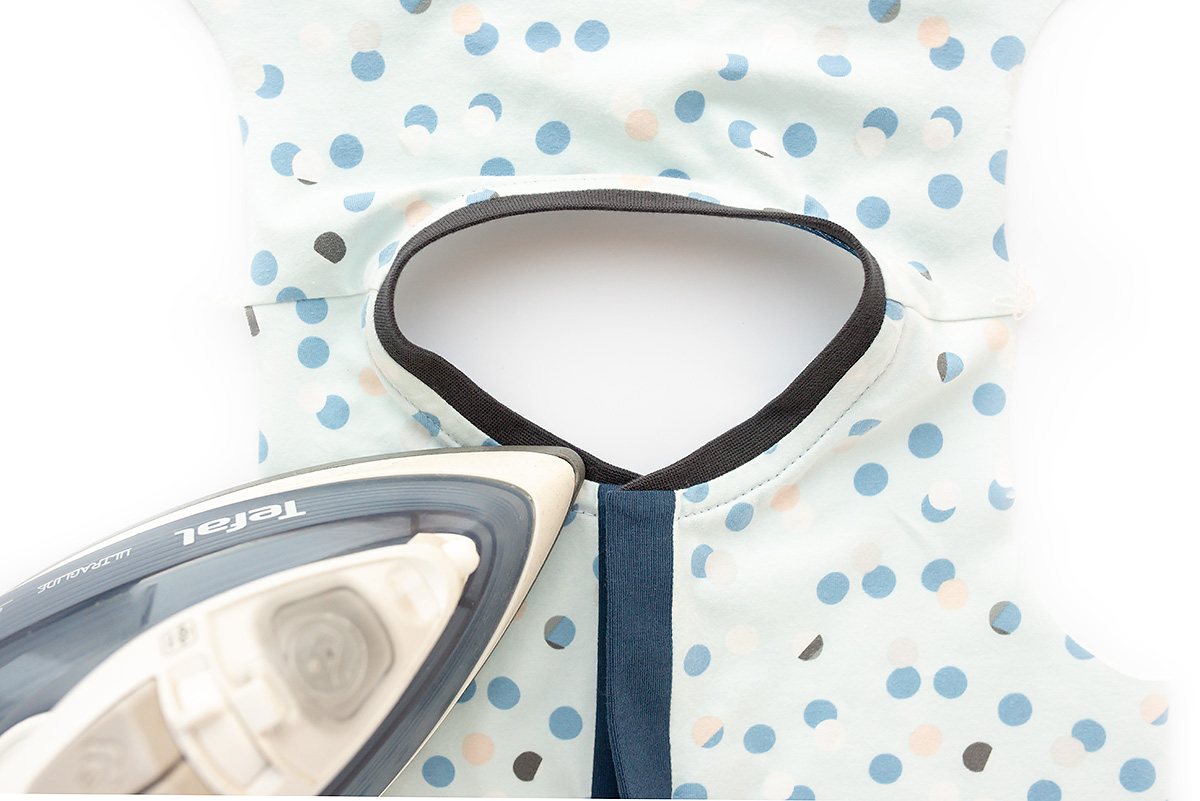
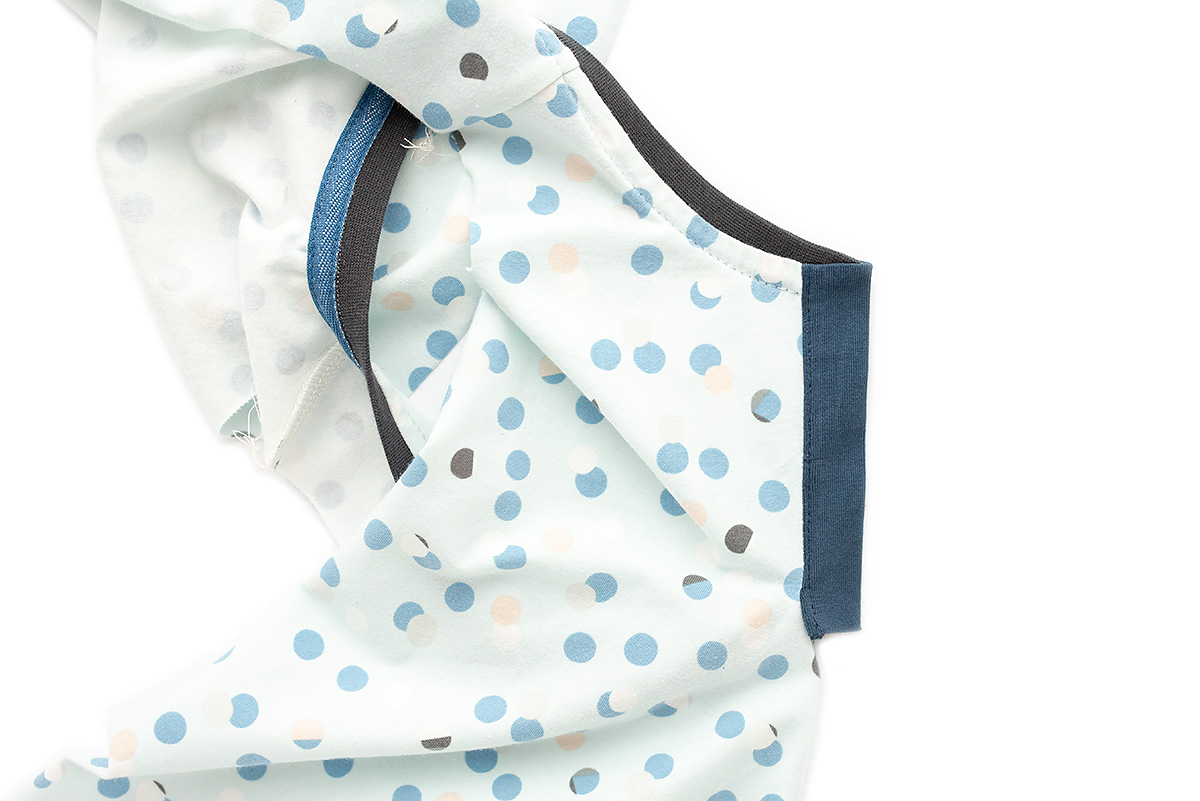
IV) Now turn the plackets out carefully using a point turner to push the edges out neatly. Press well.
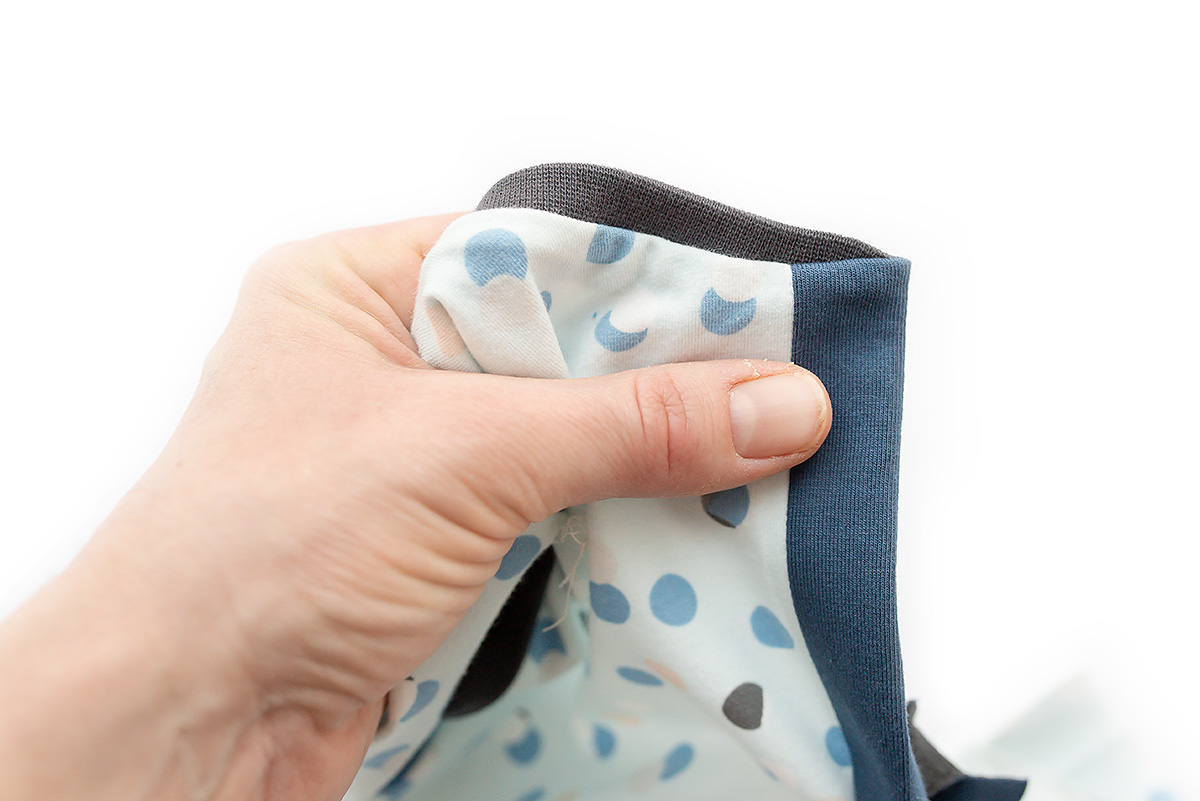
V) Arrange the neckband (or hood) up and the twill tape down, and press well.
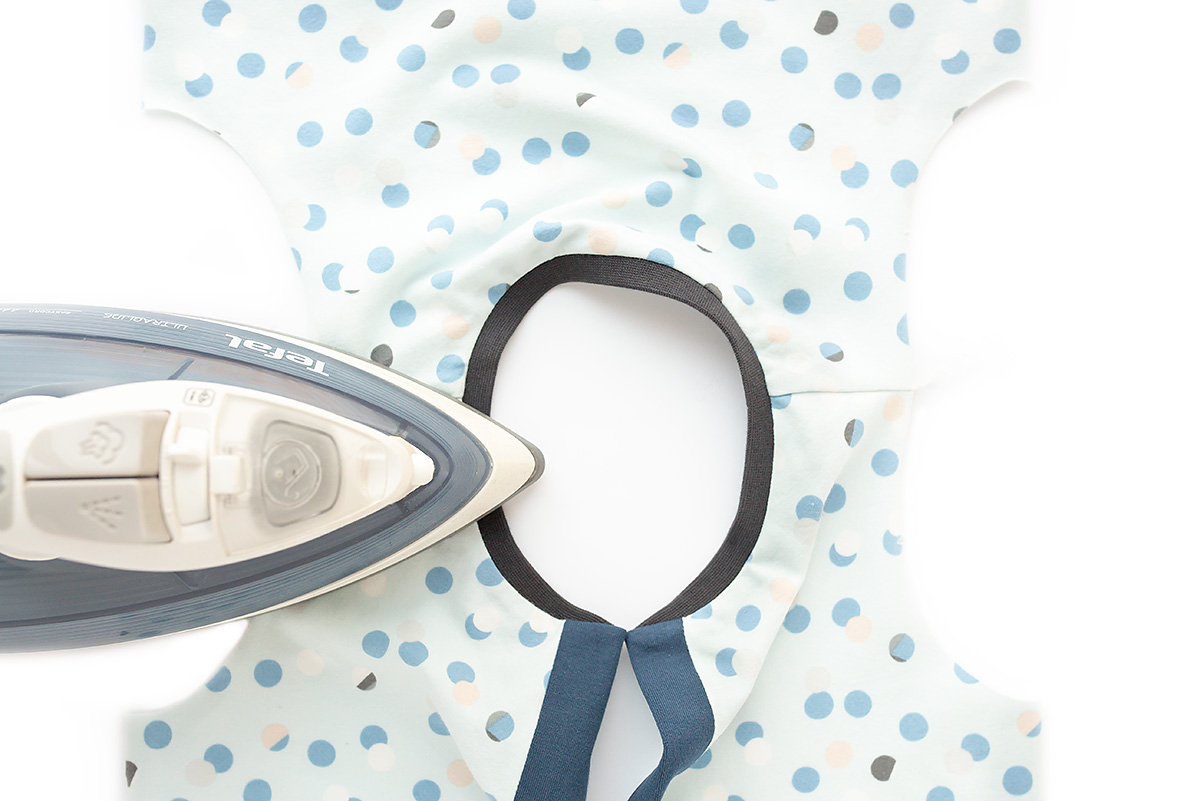
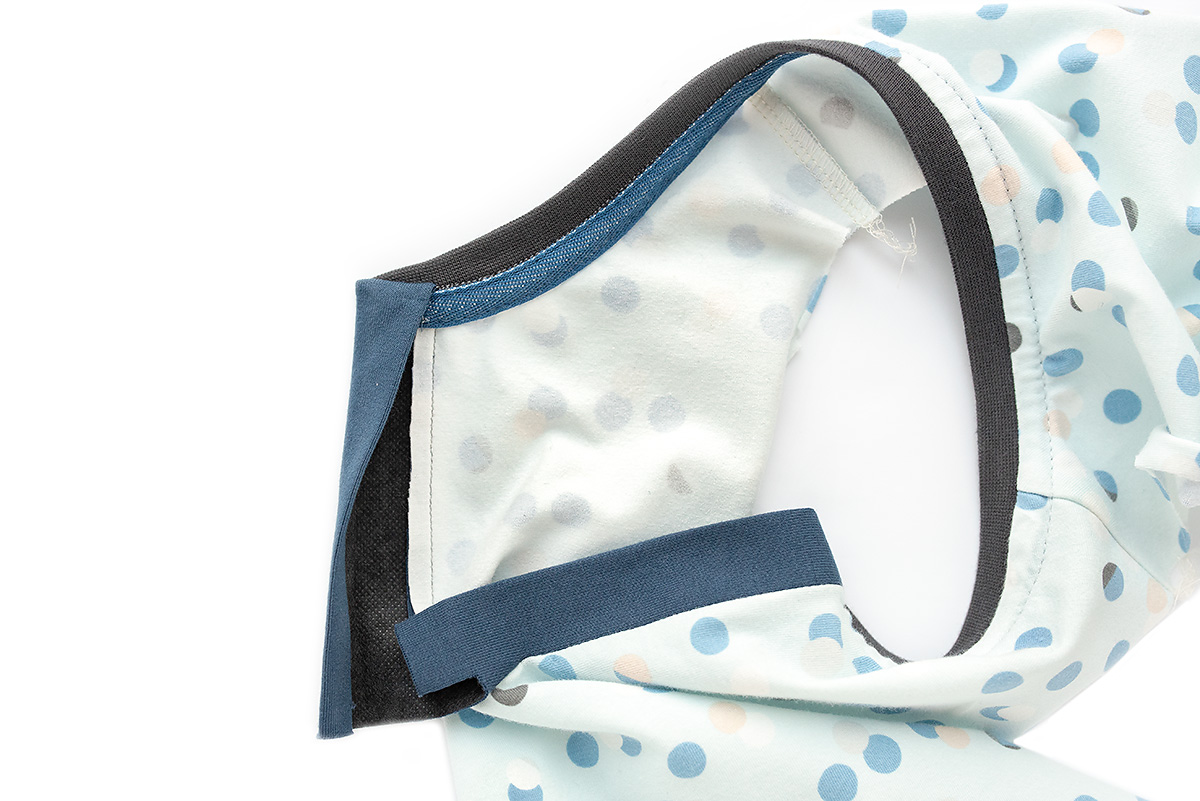
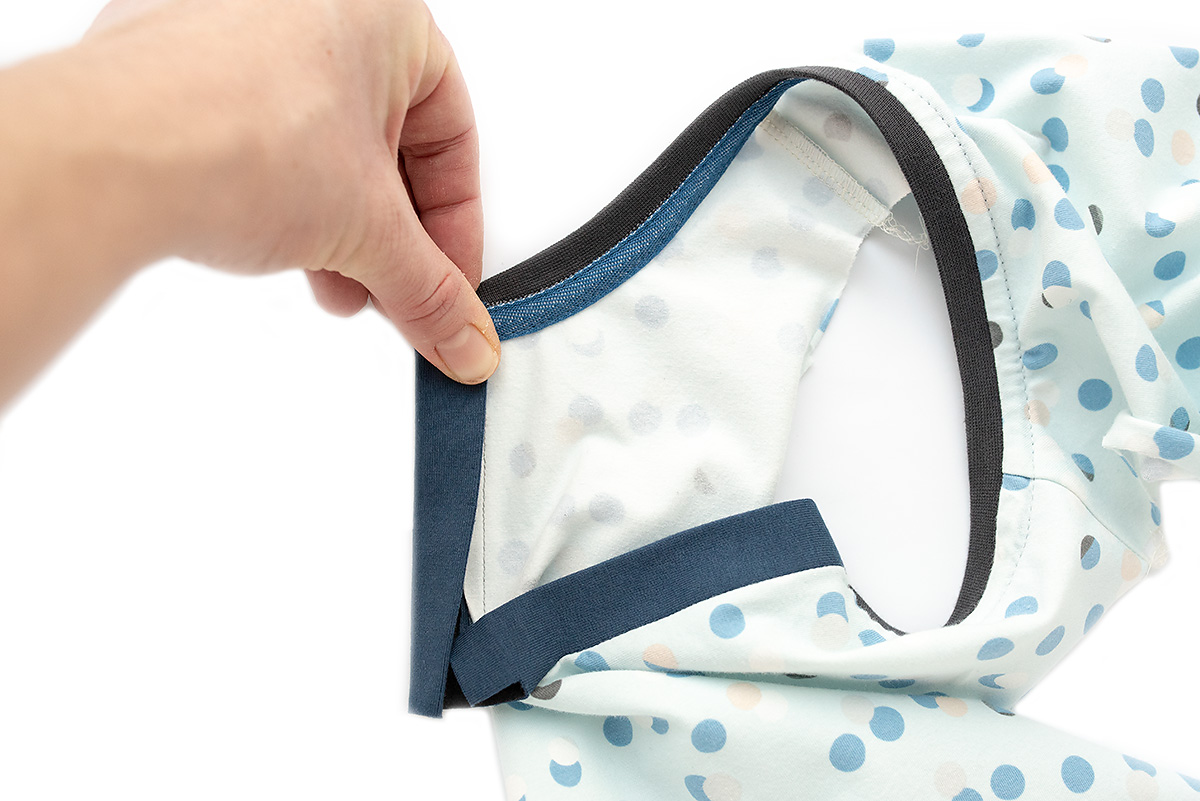
VI) With the wrong side of the t-shirt facing you, edgestitch around the outer edge of the twill tape to secure it in place. The bobbin stitches will show on the right side of the t-shirt, so take it slow if necessary, and choose your thread colour carefully.
Start from one placket edge, and edgestitch around to the other placket edge, so you are not sewing onto the plackets themselves. Make sure the seam allowances for the placket are facing towards the centre so they are not stitched down during this step.
I do not backstitch at either end, so I can carefully adjust the stitches by hand, if necessary. Finish threads and press well.
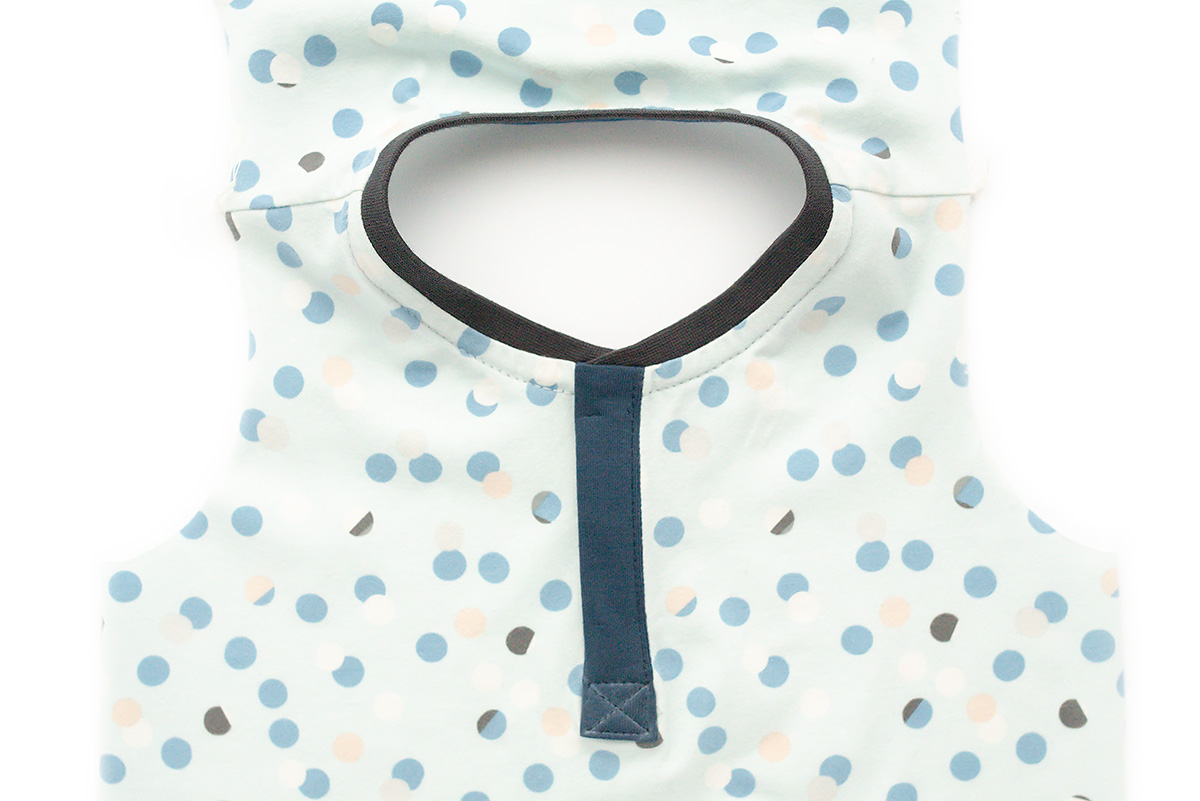
5. Sew down the (wearer’s) right placket
This is the shorter placket that will sit underneath the other placket.
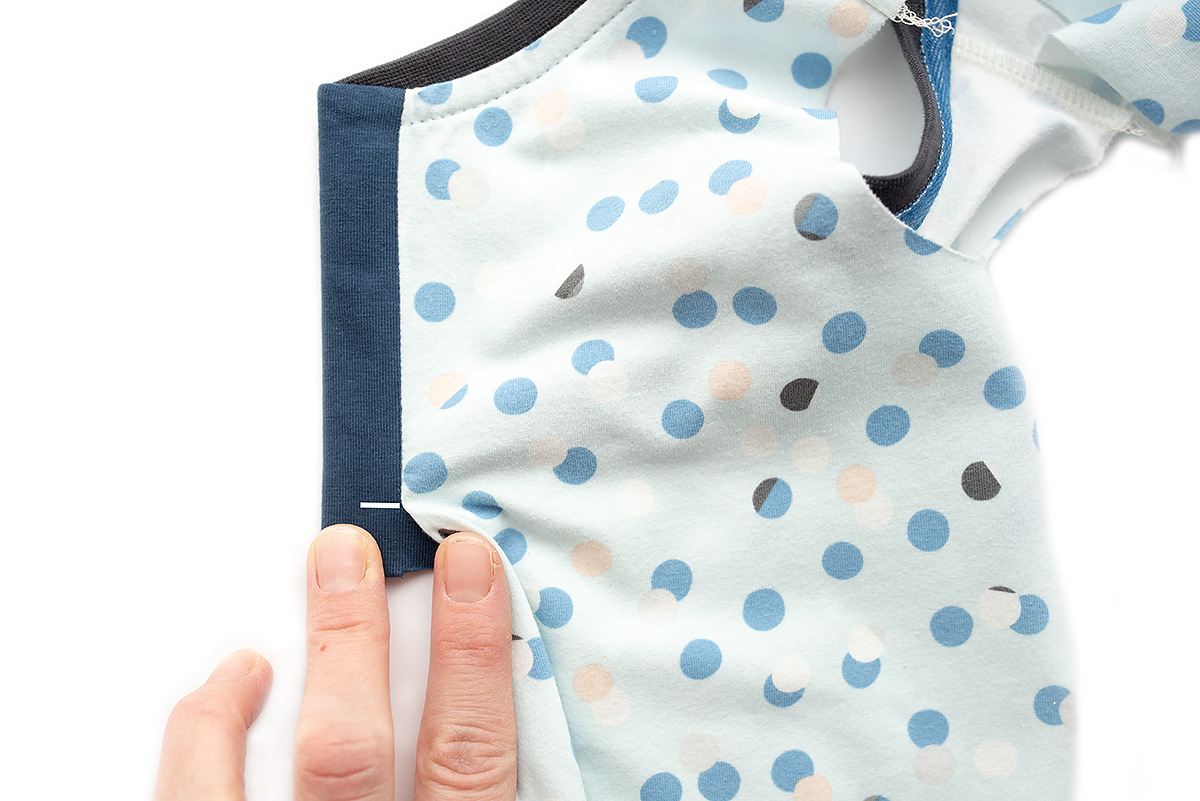
I) Flip the T-shirt over so you can see the wrong side of this placket, and position the rest of the T-shirt out of the way, as much as possible.
II) Start to position the folded edge of the placket so it barely covers the stitchline. You can use pins but I prefer to use Wondertape or fabric glue to keep this in place.
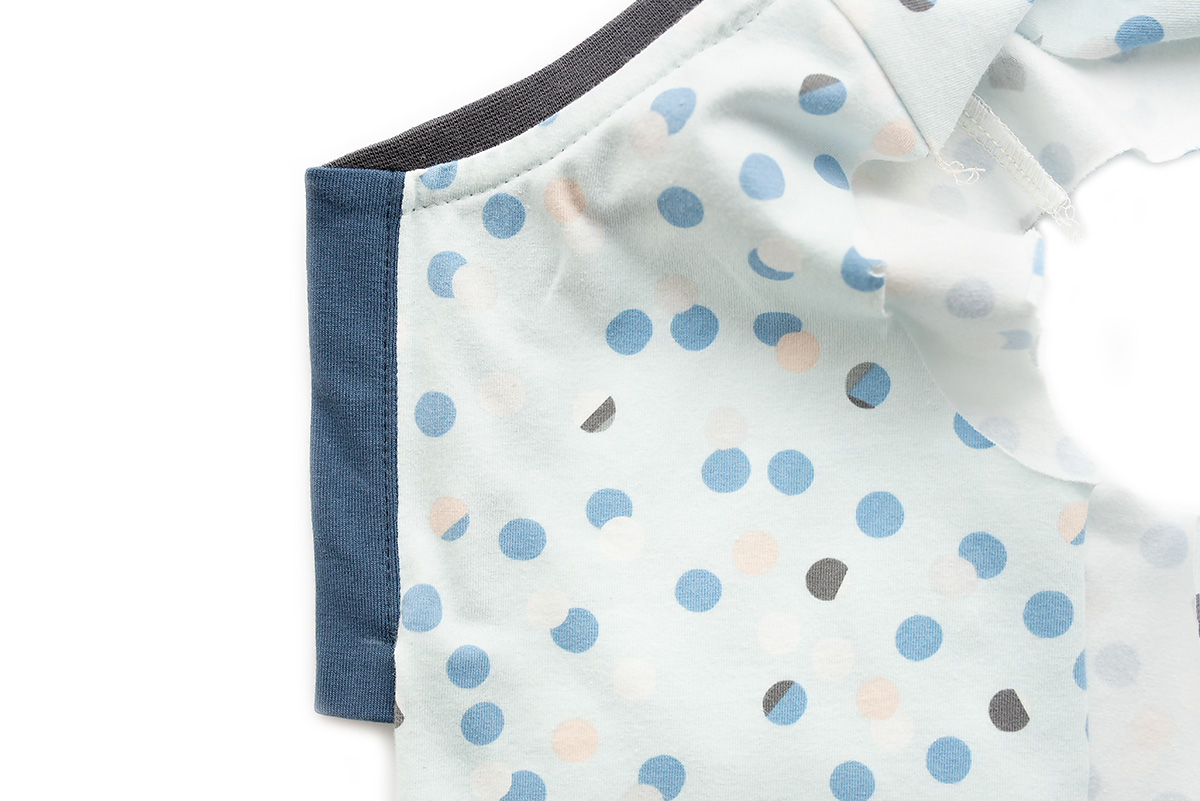
III) Continue until the full length of the placket is covered.
IV) Flip the T-shirt over and edgestitch from the right side of the placket, to secure the back of the placket.
Your right placket is now sewn.
6. Sew down the (wearer’s) left placket
This will be the upper placket, and it will help the following step if you prepare the bottom of the placket before sewing.
I) Arrange the placket as shown in the photo below.
II) Fold up the bottom of the placket, along the line you pressed earlier. Secure with Wondertape or fabric glue. If your placket fabric is quite thick you may need to trim the section folded up, to reduce bulk. You could also trim the bottom of the other placket by a few mm.

III) Position the folded edge of the placket so it barely covers the stitchline (as you did for the right placket).
IV) Turn the placket to the other side. Make a mark at the bottom of the placket stitching, where the placket stops being attached to the t-shirt.
V) Use an edgestitching foot to sew down the placket to secure the back. Start at the top and continue until you have sewn one or two stitches past the mark you made.
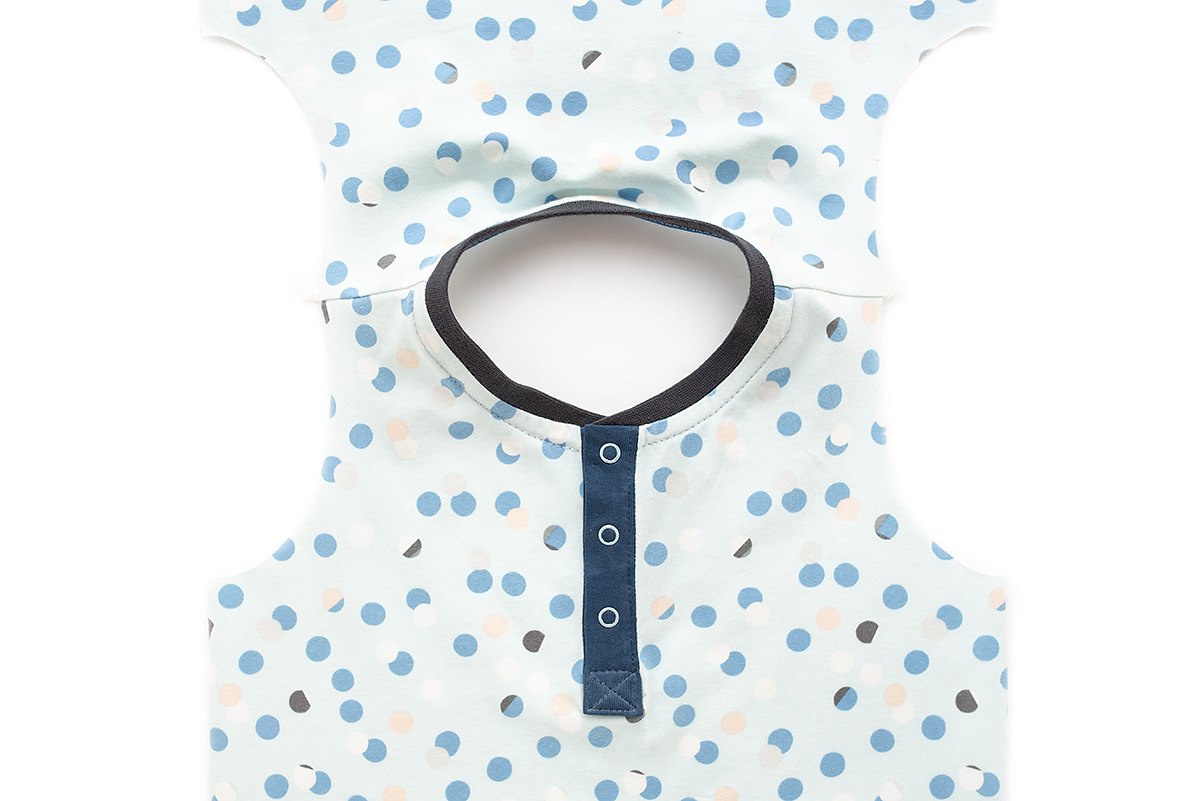
7. Secure the bottom of the plackets.
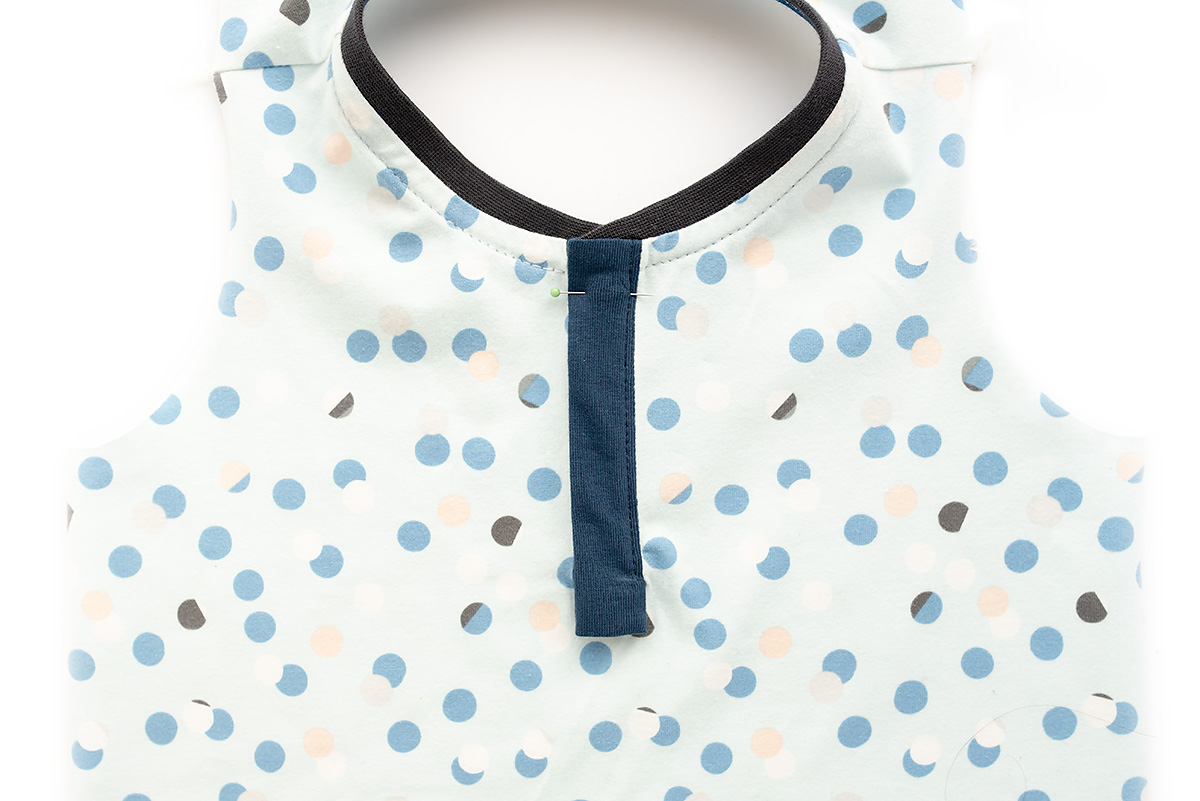
I) Arrange the two plackets so that the tops are level at the neckband, and they both lie flat. Ensure you cannot see any of the right placket underneath the left placket. Make sure that the triangle at the bottom of the placket opening is still pointing downwards. Secure the top with a pin and the bottom with Wondertape
II) Draw on stitch lines, making sure the top of the rectangle will secure the triangle that is below both plackets. Use the finished placket pattern pieces as a guide for this.
III) Sew around the edges of the box first, then sew the two diagonals. I prefer to use a regular foot for this task, as I find the edgestitching foot can push the fabric out and distort the shape.
8. Add snaps or buttons and buttonholes. Again, use the finished placket pattern pieces as a guide.
9. Continue sewing the rest of the T-shirt as usual.
Return to the pattern instructions on page 22 to sew the rest of your T-shirt.
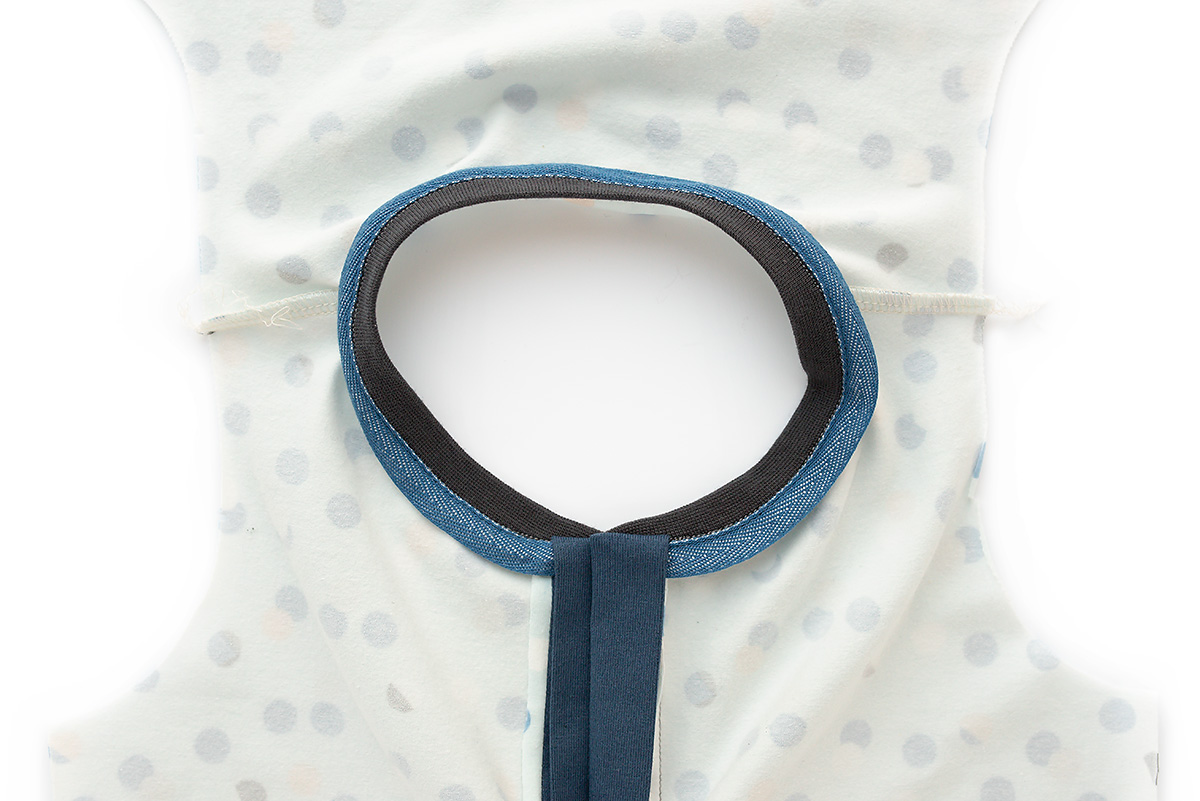
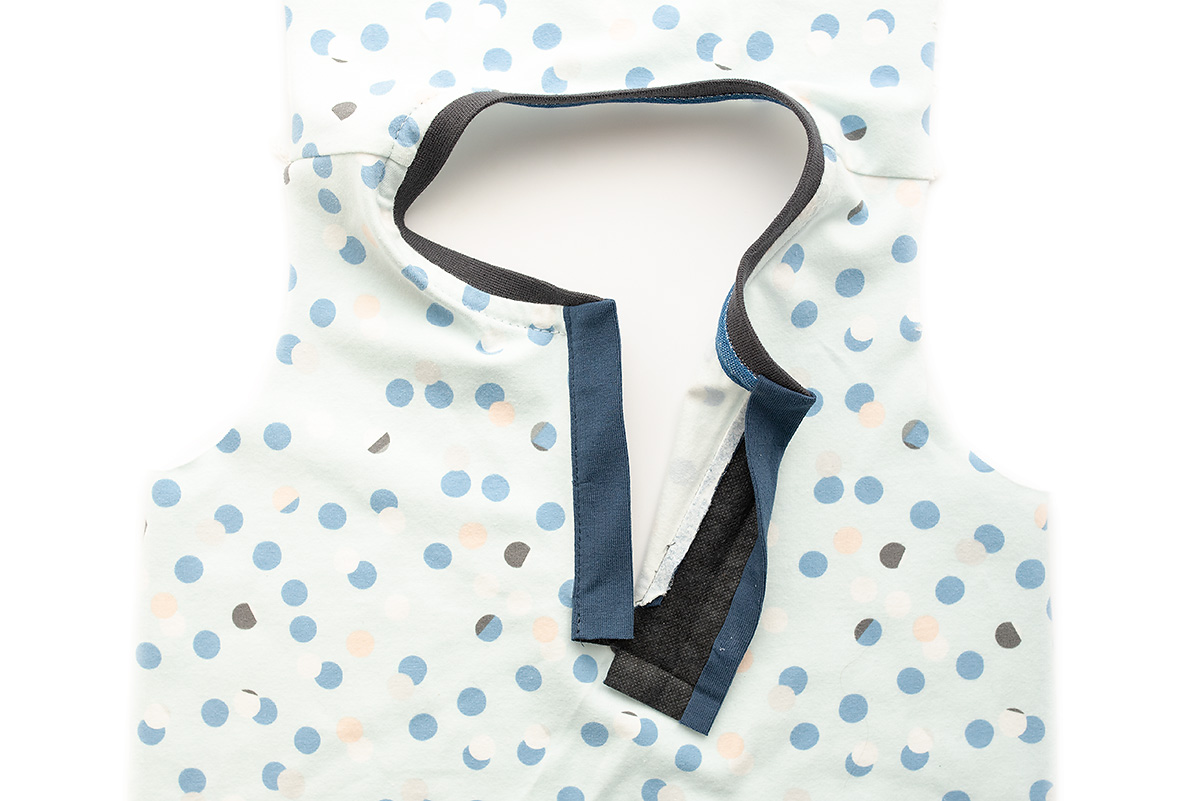
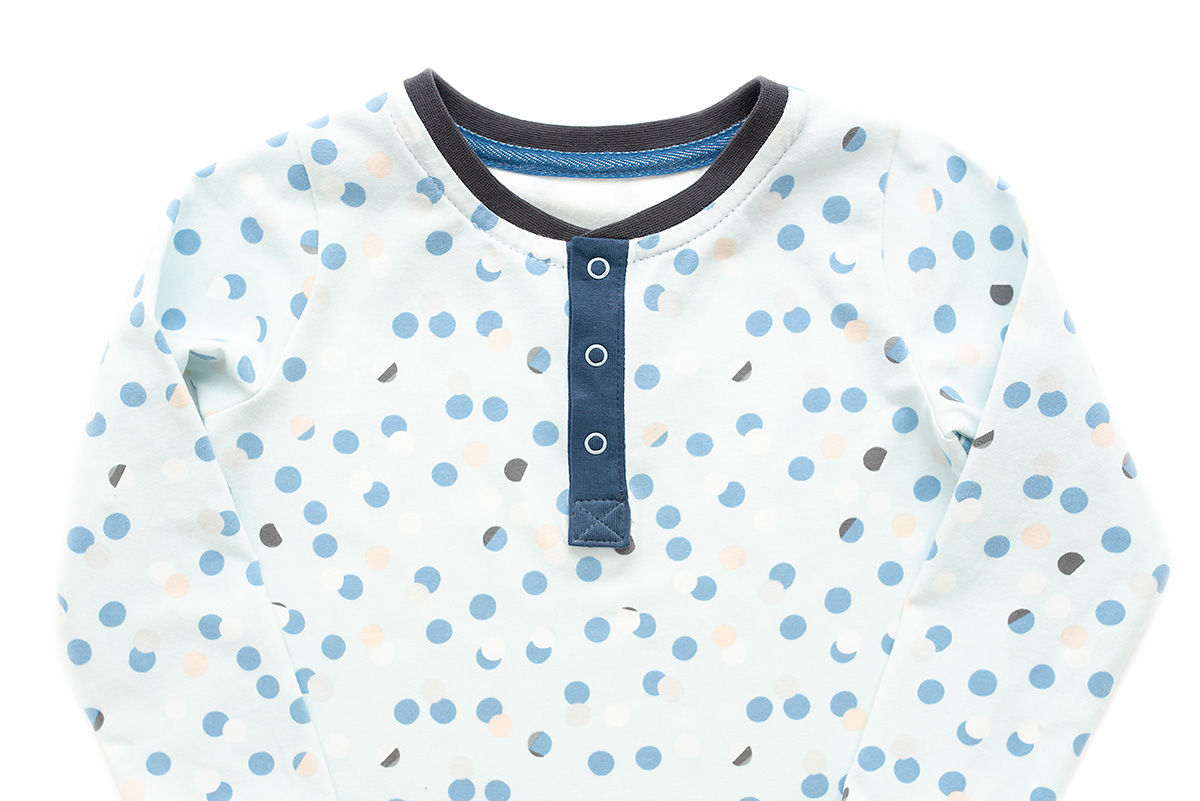
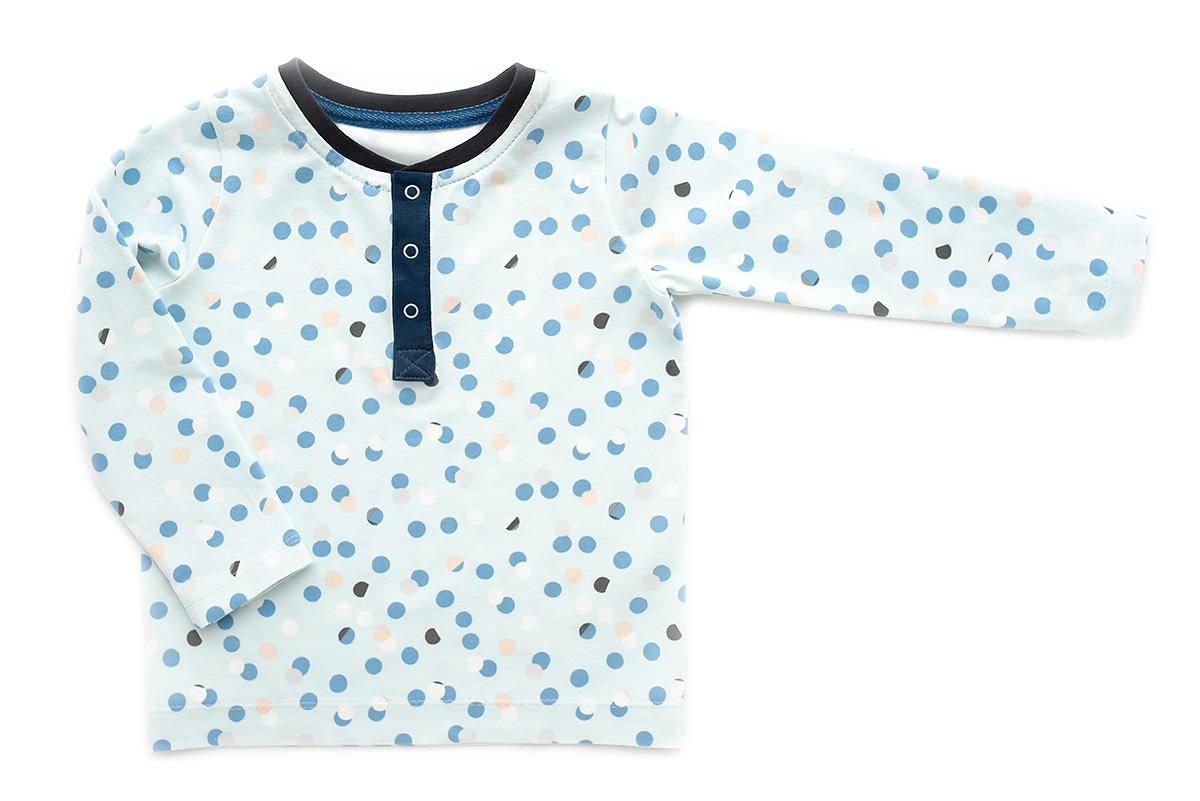 Admire your placket and the finish on the neckband.
Now you can add a henley plackets to any Rowan Tee you make. I’d love to see how you get on with this tutorial, and any of the others you have used from the Rowan Tee Hacks series. Use the hashtag #rowanteehacks on social media to share any you have made.