
We’re onto Day 3 already and it’s a fairly easy day today. We’re going to sew up the leg seams and hem the ankles.
If you’ve only just joined the Sew Along then the previous posts are:
- Pattern Details and Supplies
- Free 2T Pattern and Prep
- Day 1 – Pockets and Back Yoke
- Day 2 – Half Fly Tutorial
Today you will need:
- your front leg pieces with the front pockets and the half fly sewn
- your back leg pieces with the back yokes and back pockets sewn
Before we start I have to mention something I forgot on day 1 (and while sewing up the jeans in the photos). Ideally we need to finish the seam allowance of the back yokes, using a serger, mock overlock or zigzag stitch. This may be a bit more difficult if you opted to do two rows of topstitching and the stitching should help prevent the seam allowance from fraying. If you only did one row then you should be able to ease the remaining seam allowance out of the way to finish it. I’ve now edited the tutorial but apologies to those of you who had already sewn it.
TIP: Hemming is much easier if you pre-press your bottom seams on both the front and back legs. You need fold the bottom edge over 12mm (1/2″) to the wrong side and press. Then fold over to the wrong side again by the same amount. Press well then unfold for sewing.
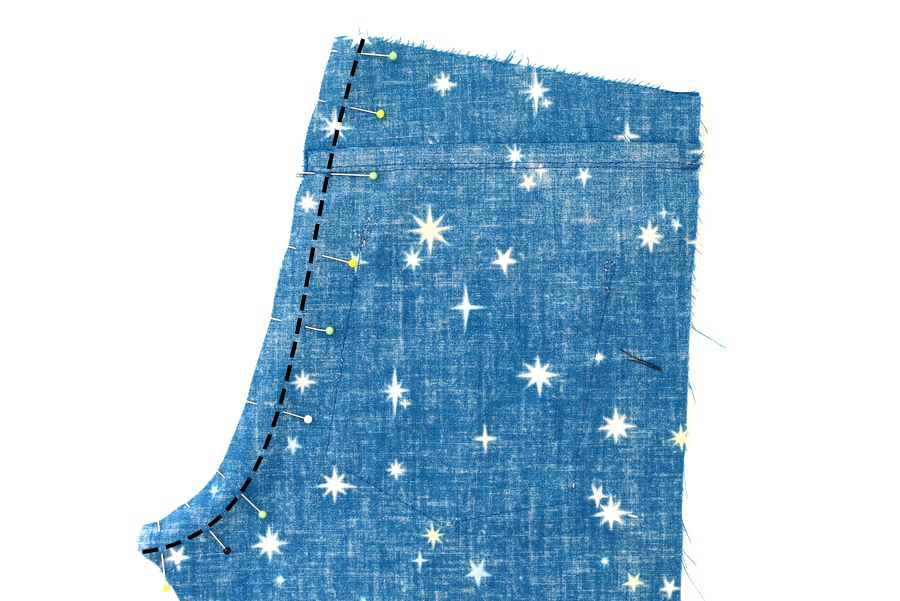 |
1. Place the back legs together with right sides facing and pin the back rise seam.Sew with a 1cm (3/8″) seam allowance.
Finish the raw edges seam allowances together and press towards the left leg. |
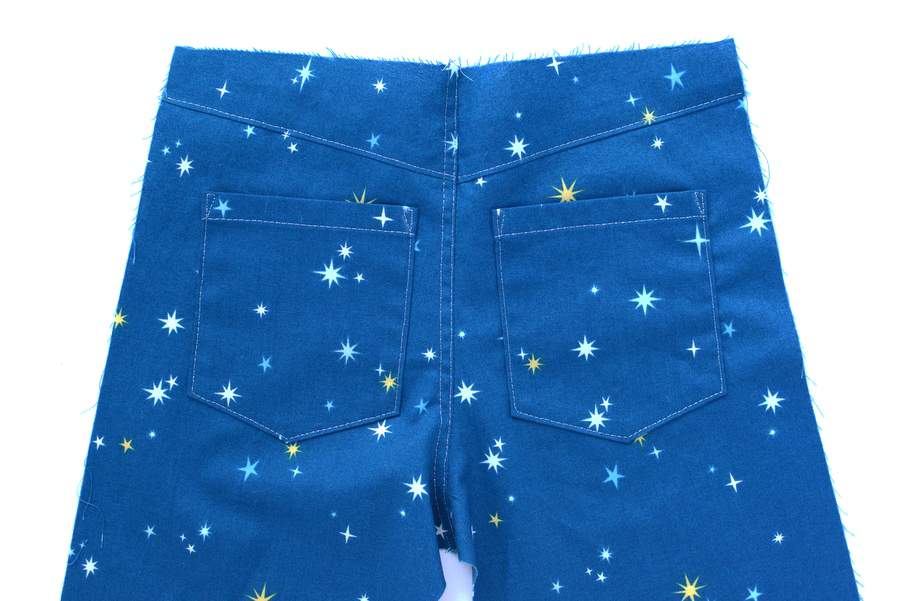 |
2. Topstitch on the left leg about 3mm (1/8”) from the edge of the seam. You could do a second line of topstitching 5mm to the left of the first (just be consistent with what you chose to do on the front legs).
Before continuing to the next step finish the raw edges of the inseams and side seams for both the front and back legs. If you use a serger make sure you don’t cut any of the edge off (turn you knife off if you have the option). |
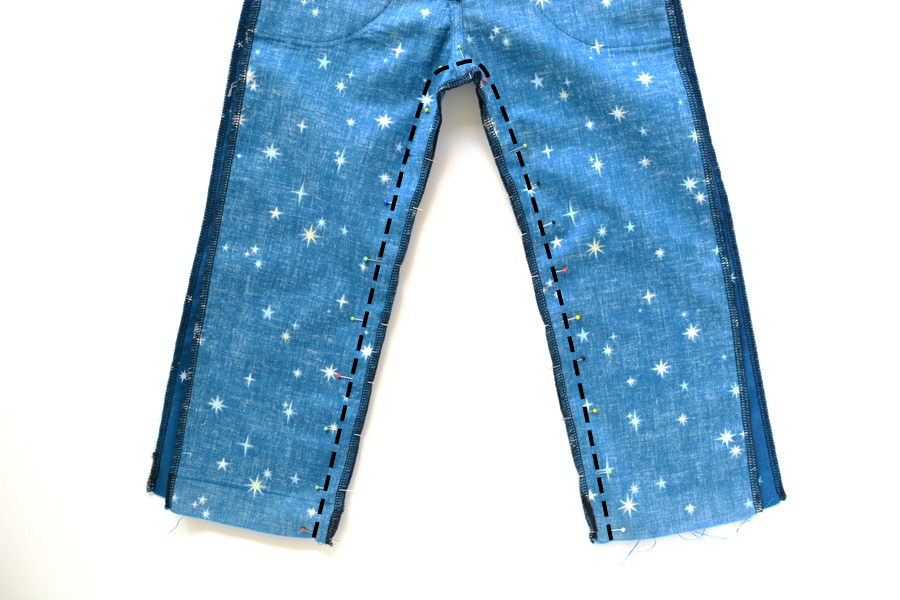 |
3. Arrange the front and back legs with right sides facing and pin the inseam. Sew with a 1cm (3/8″) seam allowance. Press the seam allowances towards the back legs. |
 |
4. Topstitch the seam about 3mm (1/8”) from the edge of the seam. You could also do a second line of topstitching 5mm above the first. |
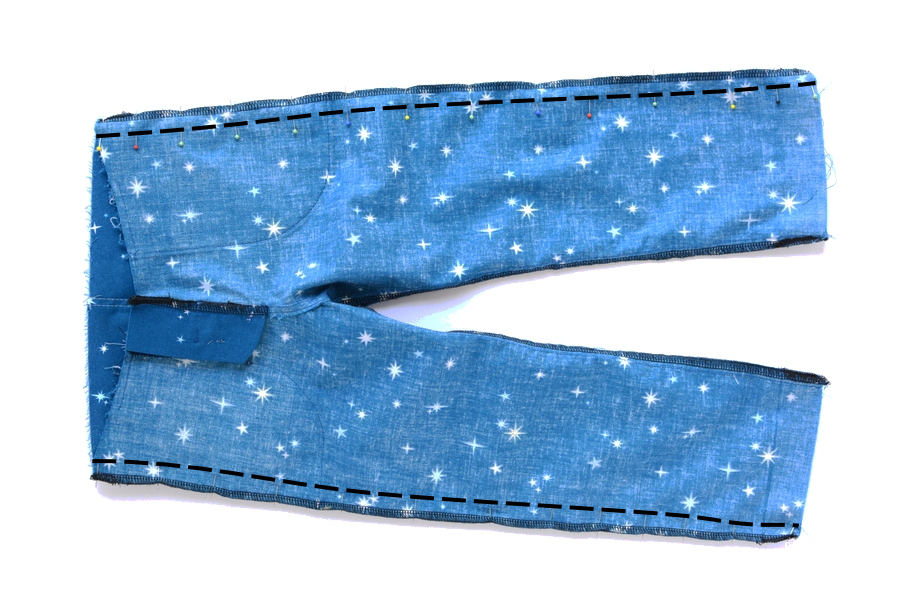 |
5. Arrange the front and back legs with right sides facing again. Pin the side seams and sew with a 1cm (3/8″) seam allowance. Press the seam allowances towards the back legs.
You could topstitch here if you want to but it can get a bit awkward. If you look at most pairs of jeans they will have side seam topstitching from the top down to about level with the bottom of the front pockets, so that is an alternative. I just left the seams without any topstitching. |
 |
6. Now we can hem the jeans. If you pre-pressed earlier this step will be very easy. Fold the bottom edge over 12mm (1/2″) to the wrong side and press. Then fold over to the wrong side again by the same amount. Press well. |
 |
7. Sew the hem. You can either sew from the right side with a 1cm (3/8”) seam allowance or edgestitch the innermost pressed edge from the wrong side. |
Originally that was all I had planned for today but when I was writing up tomorrow’s tutorial I realised that it was quite long so I’ve decided to move a bit of it into today. Of course you could choose to leave it until tomorrow but those of you who are extra keen can get ahead today.
BELT LOOPS PREP
You will only need the belt loop pattern piece for this section of the tutorial.
 |
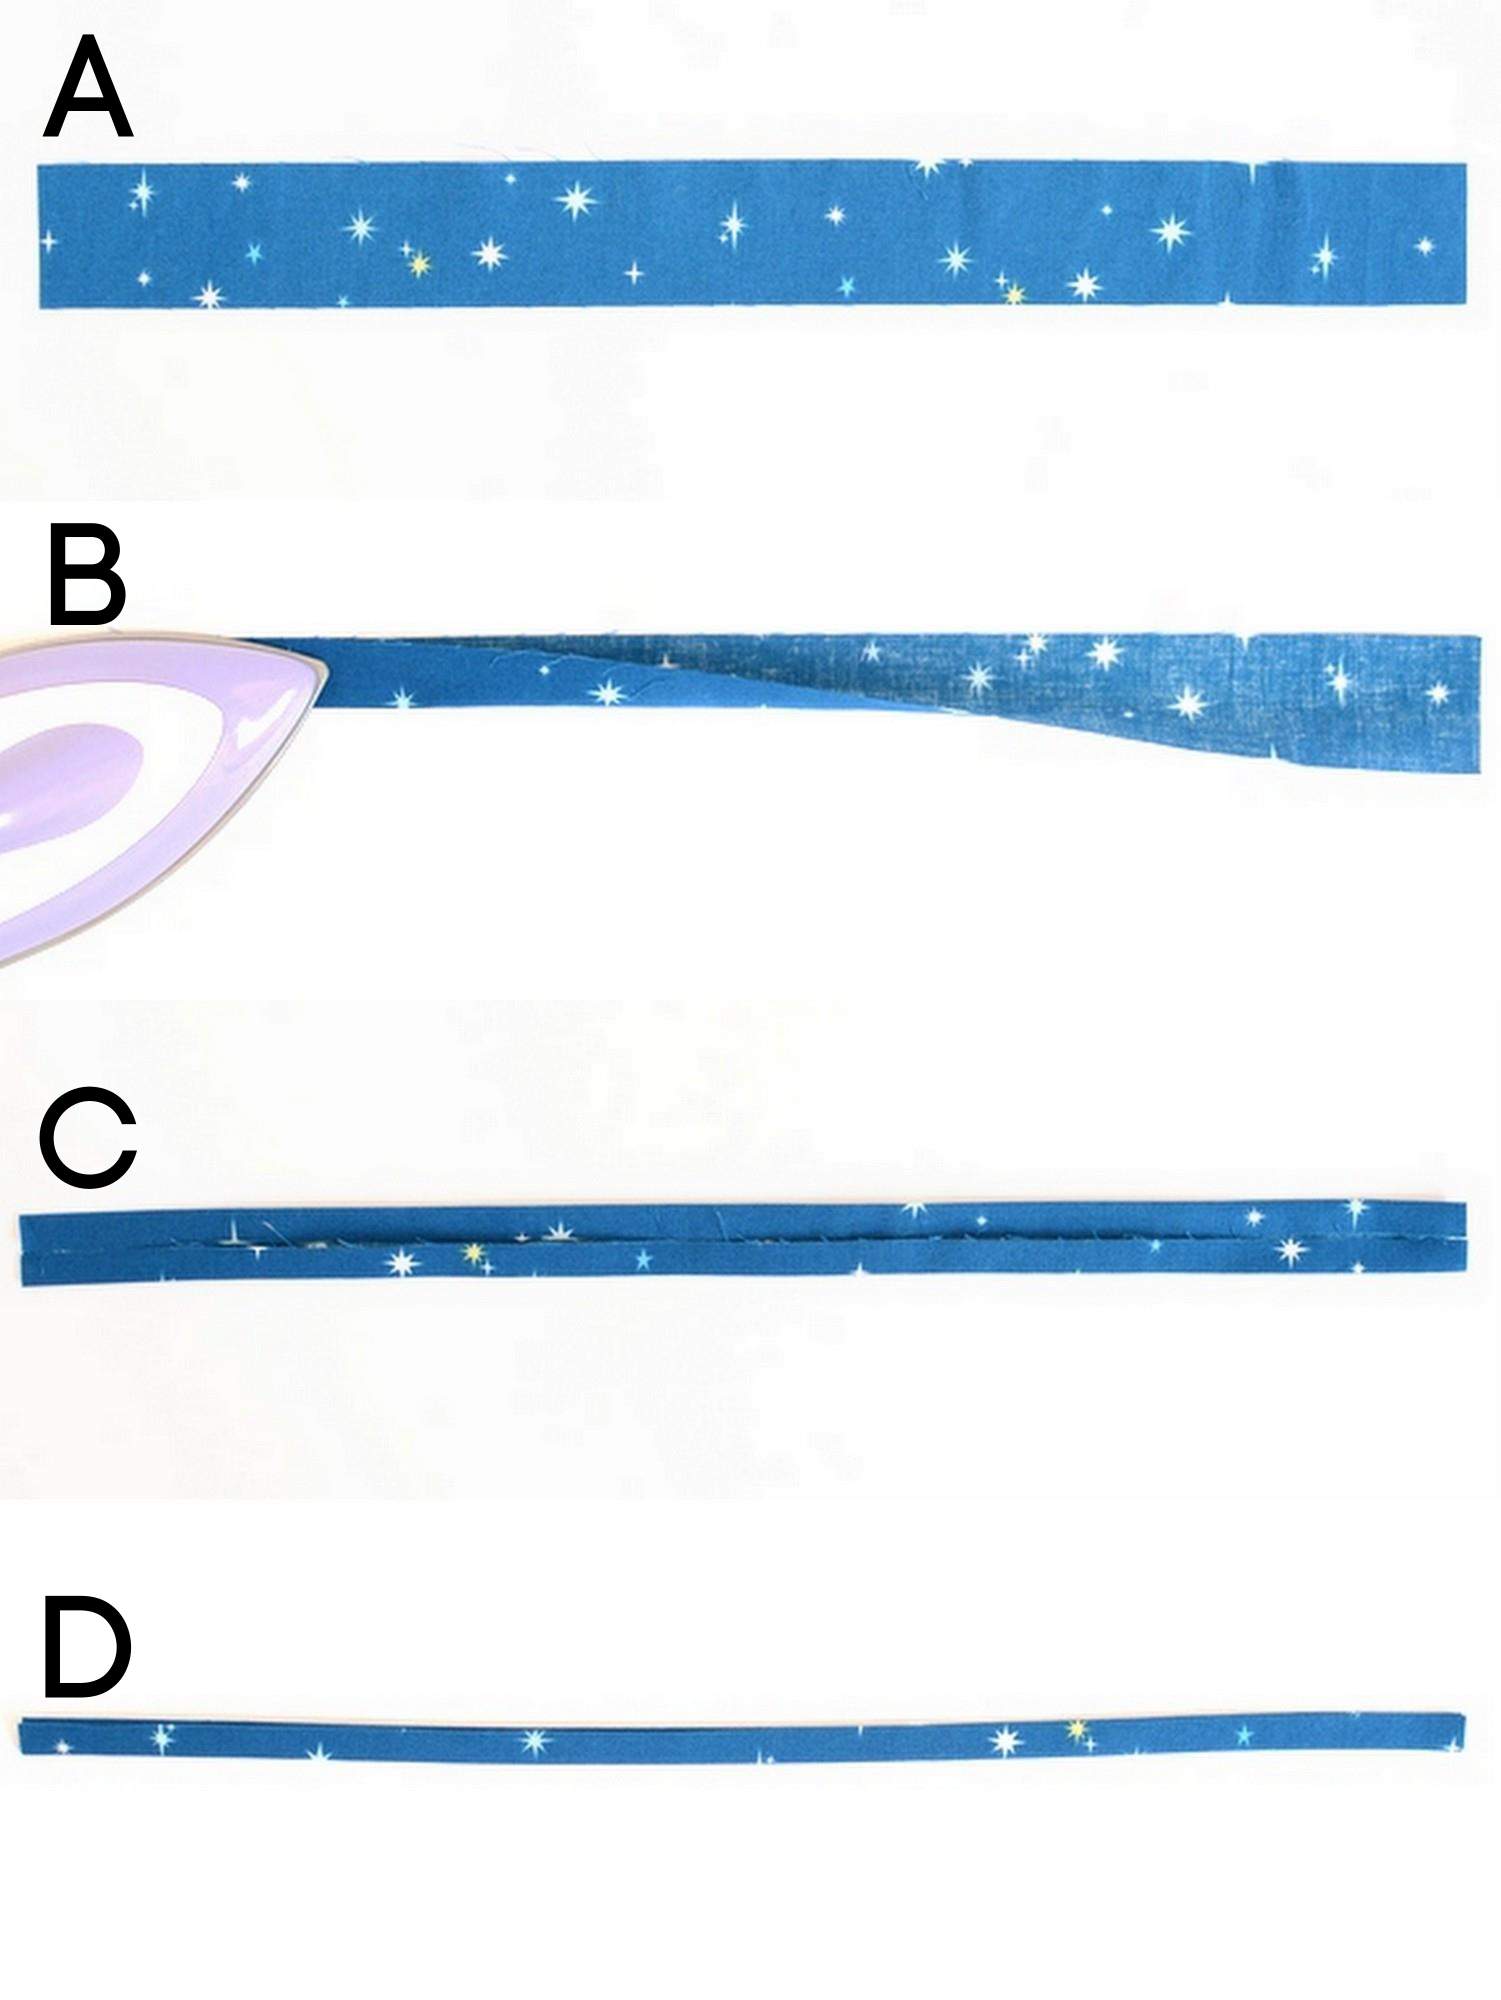
1. This step is just like creating double fold bias binding.
A. Take your belt loop piece. B. Fold in half lengthwise with wrong sides facing. C. Open it out and fold the two outer edges in towards the fold you just pressed. Press again. D. Finally, fold in half along the first fold you pressed again so the two outer edges are now enclosed. The piece should now be 12mm (1/2″) wide. |
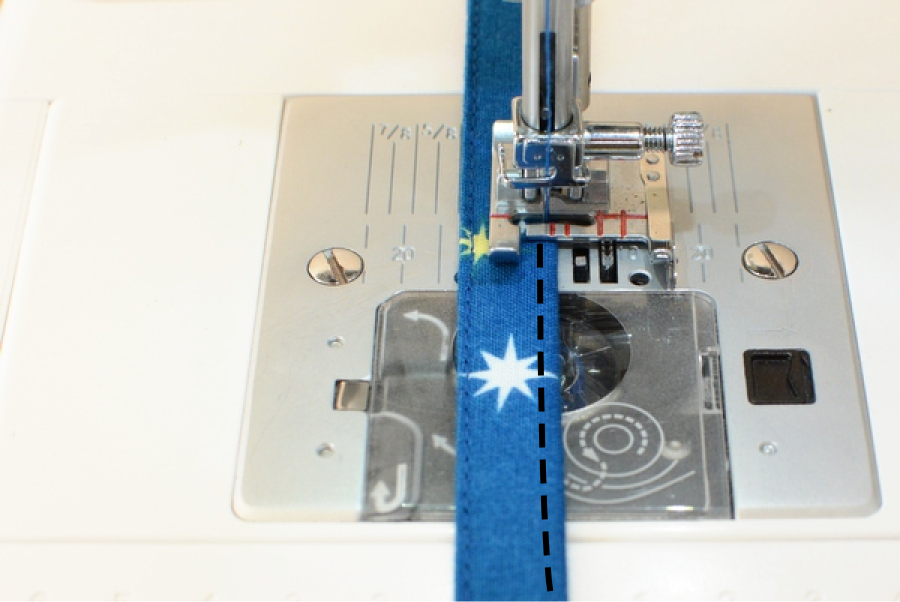 |
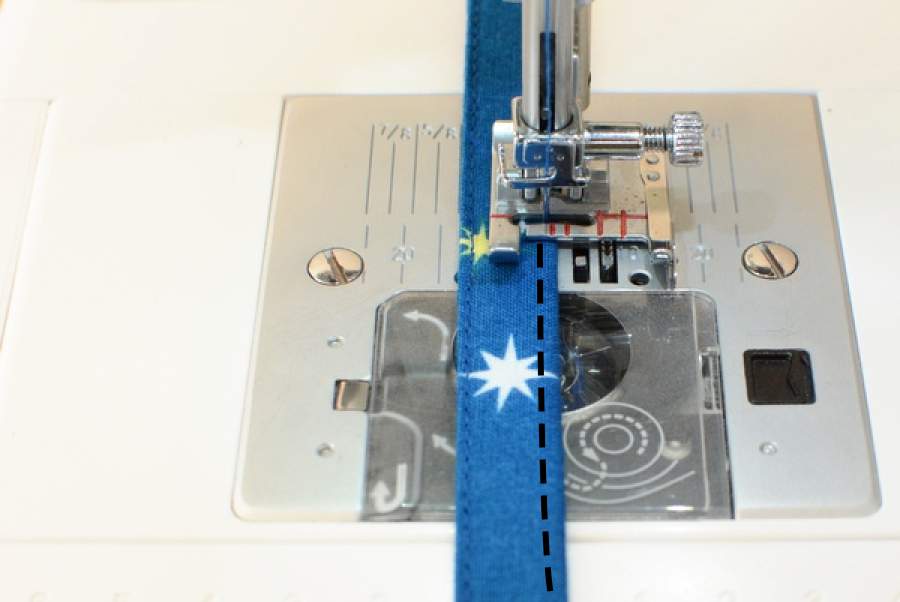
2. Edgestitch the piece along the length of the open edge. Next edgestitch along the other side. |
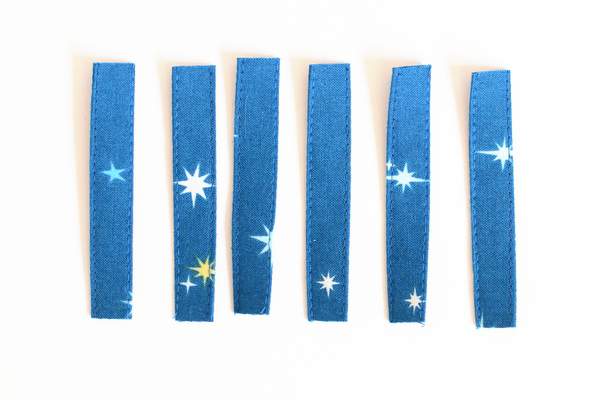 |
3. Cut your finished piece into six pieces that are 7.5cm (3″) long. They are now ready to attach to the jeans. |
That’s all for today. I can’t believe we’re nearly at the end already – all that’s left now is to sew on the belt loops and the waistband. I’ll see you again tomorrow!


2 Comments
I just joined today…but I will catch up! My first time to sew any kind of a fly into his pants! So excited!
I was a little behind but I’ve caught up now. The fabric I picked ended up being a lot thinner then I realized so I had to line them but it was so worth it. These are looking so cute. I can’t wait to try them on my little man when they’re done.