
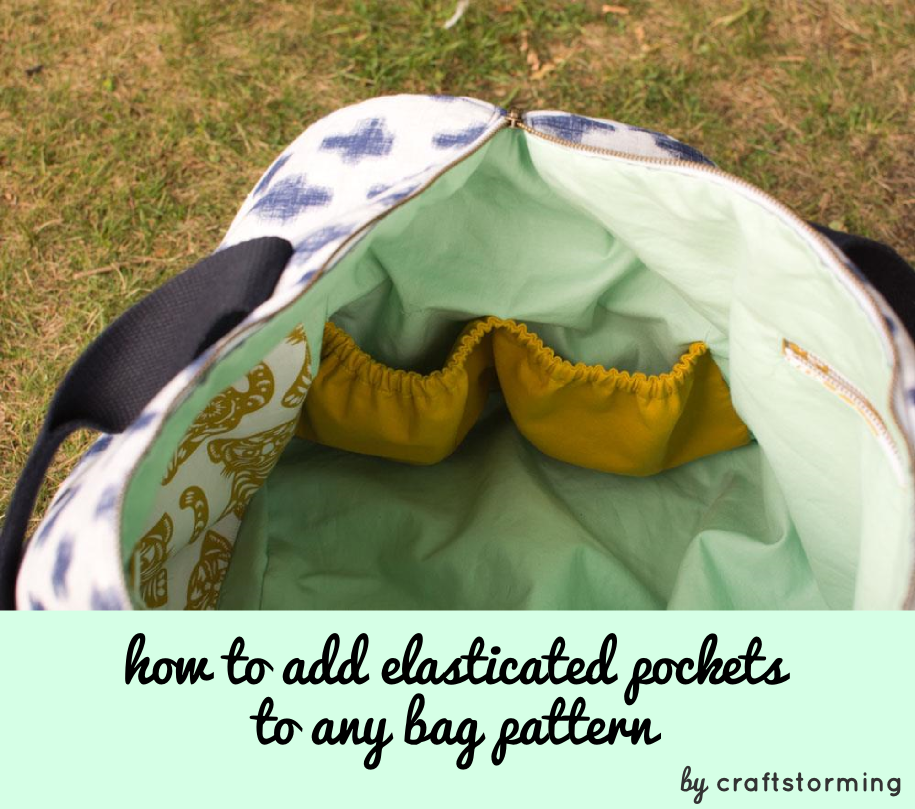
In my last post I showed you Portside Duffle bag that I made for the Great Pattern Hack. My hack was to add a lot of interior pockets, including double elasticated pockets at both ends of the bag. Today I am sharing how I added these. This method could easily be applied to other bag patterns.
The pockets are made and sewn in place before the bag is pieced together. So let’s begin:
Supplies:
- original bag pattern
- paper for drafting pocket piece
- additional fabric for pockets (plus interfacing if required)
- 1cm (3/8″) wide elastic
- regular sewing supplies
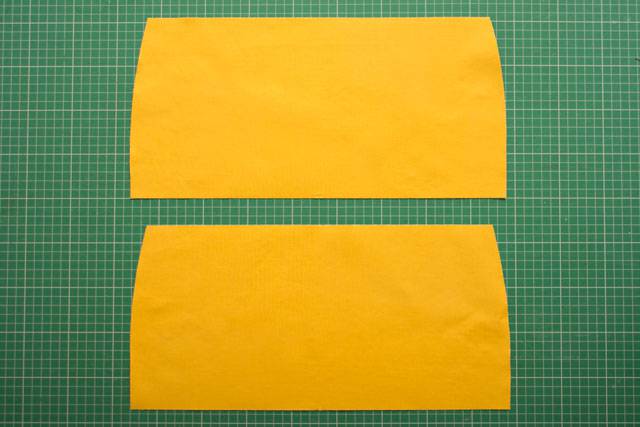
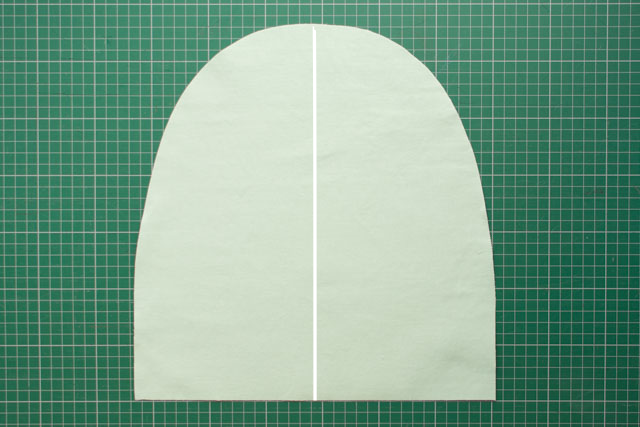
1. Draft pocket piece
Take the bag piece you will be attaching the pocket to. Here I am attaching it to the end of the bag lining. You can add these pockets to the outer or lining of a bag.
 * Note that I chose to cut out two pocket pieces for each set of elasticated pockets. This is because the fabric was quite lightweight and I wanted nice sturdy pockets. If you already have a more heavyweight fabric you could use one pocket piece for each set of pockets. Simply adapt the tutorial by adding more at the top of your pocket piece for a hem allowance. You can then double fold to create the elastic casing.
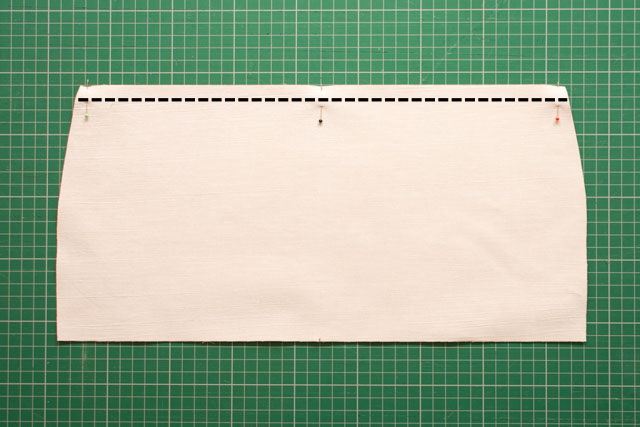
2. Cut pieces, place right sides facing and sew
Cut 2 pocket pieces and interface if necessary. Place the pieces with right sides facing and sew across the top with a 1.25cm (1/2″) seam allowance.
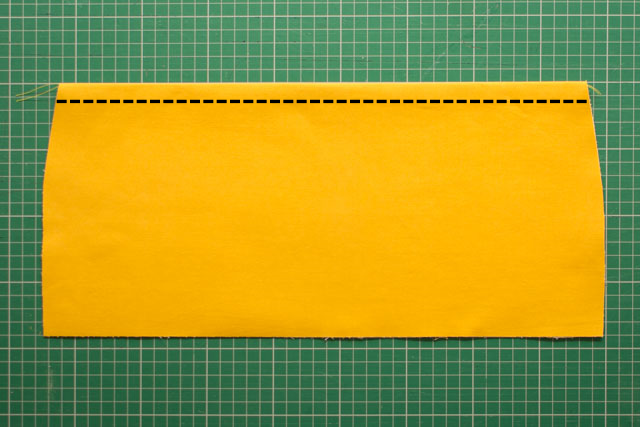
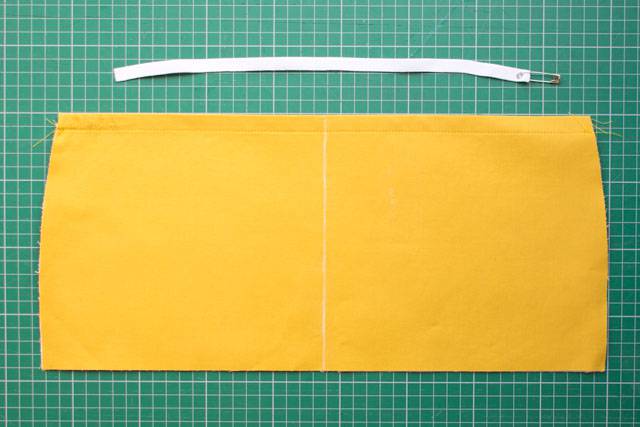
3. Press, fold over and stitch elastic casing
Press the seam and fold the pocket pieces so they are wrong sides facing. Sew along the top of the pocket, 1.25cm (1/2″) from the top edge to create a casing for the elastic.
4. Mark centre on pocket and bag piece
If you wish to separate your elasticated pocket into two then mark the centre clearly on the pocket piece.
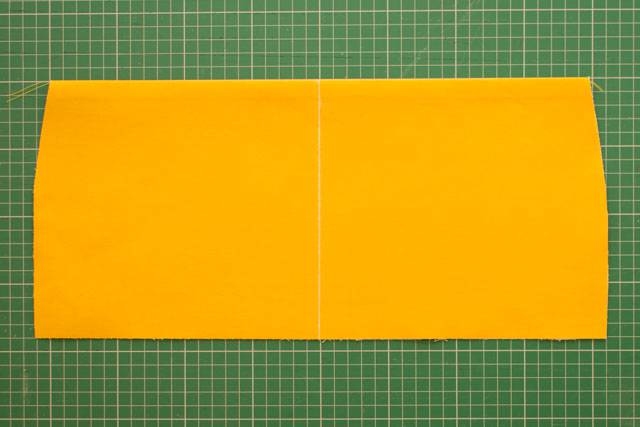
You also need to add a centre line to the bag lining piece you will be sewing the pocket to.
5. Feed elastic through and secure ends
Measure the original width of the bag at the top of the pocket. Cut this length of elastic.
Feed the elastic through using a bodkin / safety pin. Once you have pulled through so the elastic has almost disappeared at one end, secure it in place by stitching (and backstitching) within the seam allowance.
When you have pulled the elastic through to the second end, pull enough elastic through so the top of the pocket roughly matches the original width of the bag. If you do not pull through enough your pockets may be baggy, if you pull through too much then your pockets will tend to pull on the sides of the bag lining.

6. Gather bottom edge to match bag piece
Sew two rows of gathering stitches within the seam allowance of the bottom edge. Pull the bobbin threads until the width of the pocket equals the width at the bottom of the bag piece, with nice even gathers.
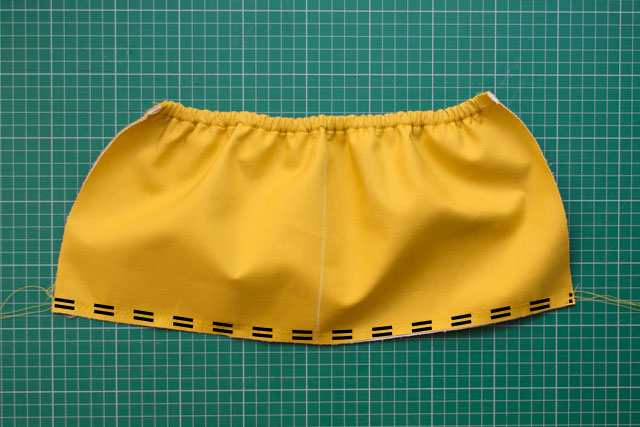
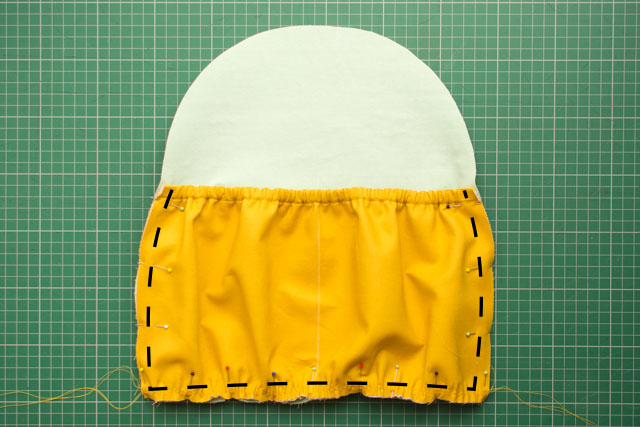
7. Baste pocket onto bag piece
Pin the pocket onto the bag, matching the sides and bottom edge. Baste in place within the seam allowance.
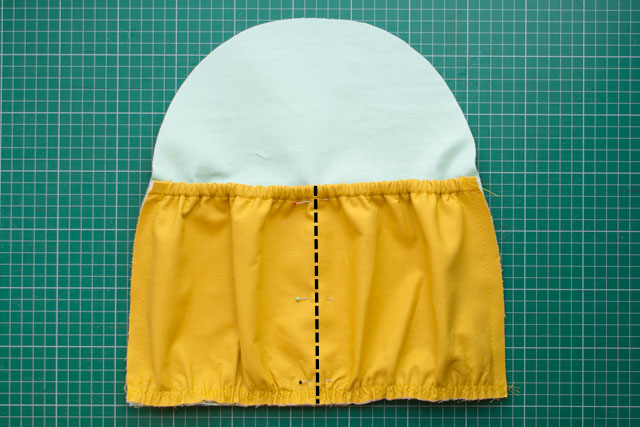
8. Sew divider(s) into pockets
Lay the centre of the pocket as flat as possible and match the centre lines on the pocket and bag pieces. Pin in place and sew along the centre line you marked. I like to use a triple straight stitch here for a nice secure stitch. Make sure to backstitch a few times at the top of the pocket, for extra reinforcement.

Now your pockets are ready and you can sew your bag as normal. Once your bag is finished you will really appreciate the extra time you took to add these pockets.


No Comments